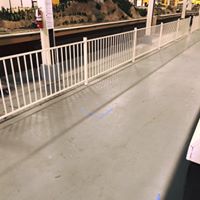
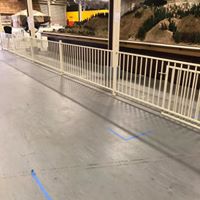
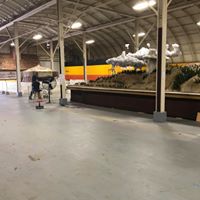
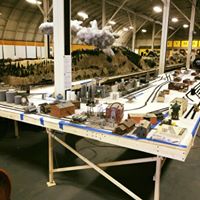
Area where the 2020 Extension will be

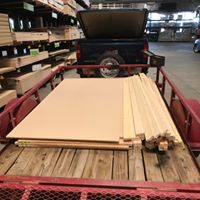
Material for the new tables
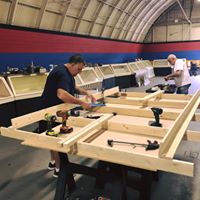
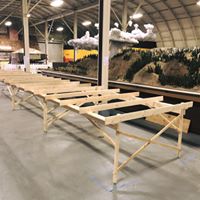
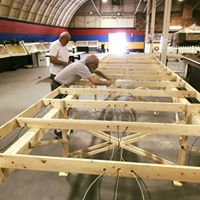
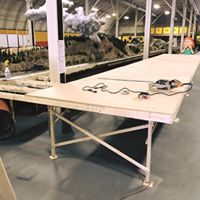
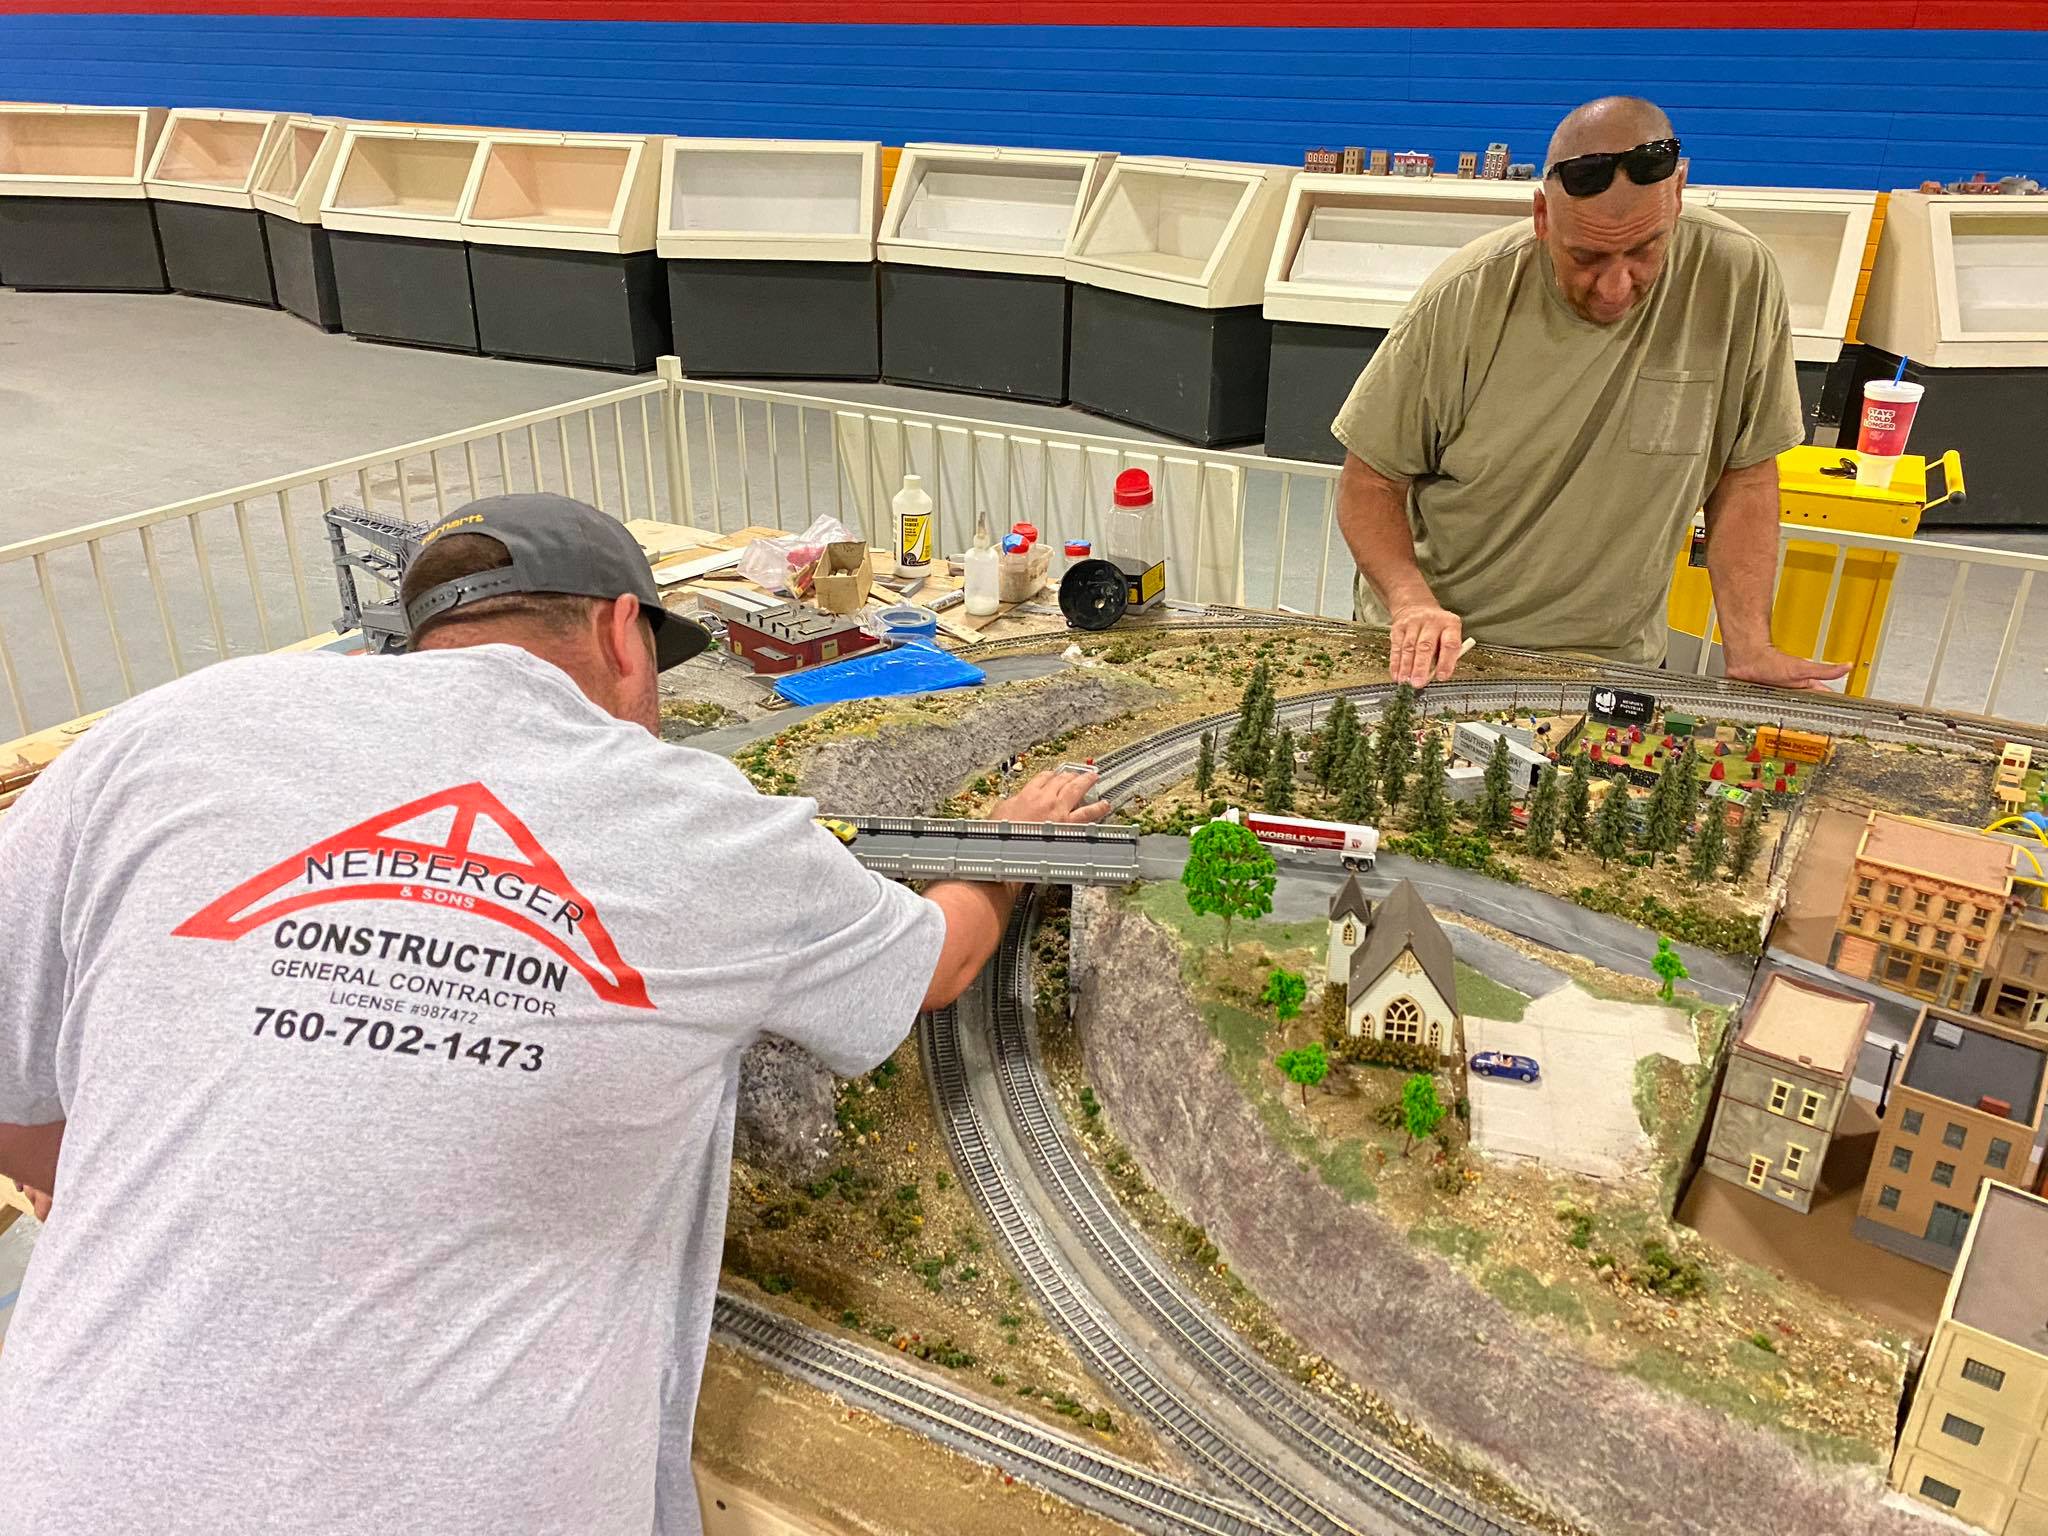
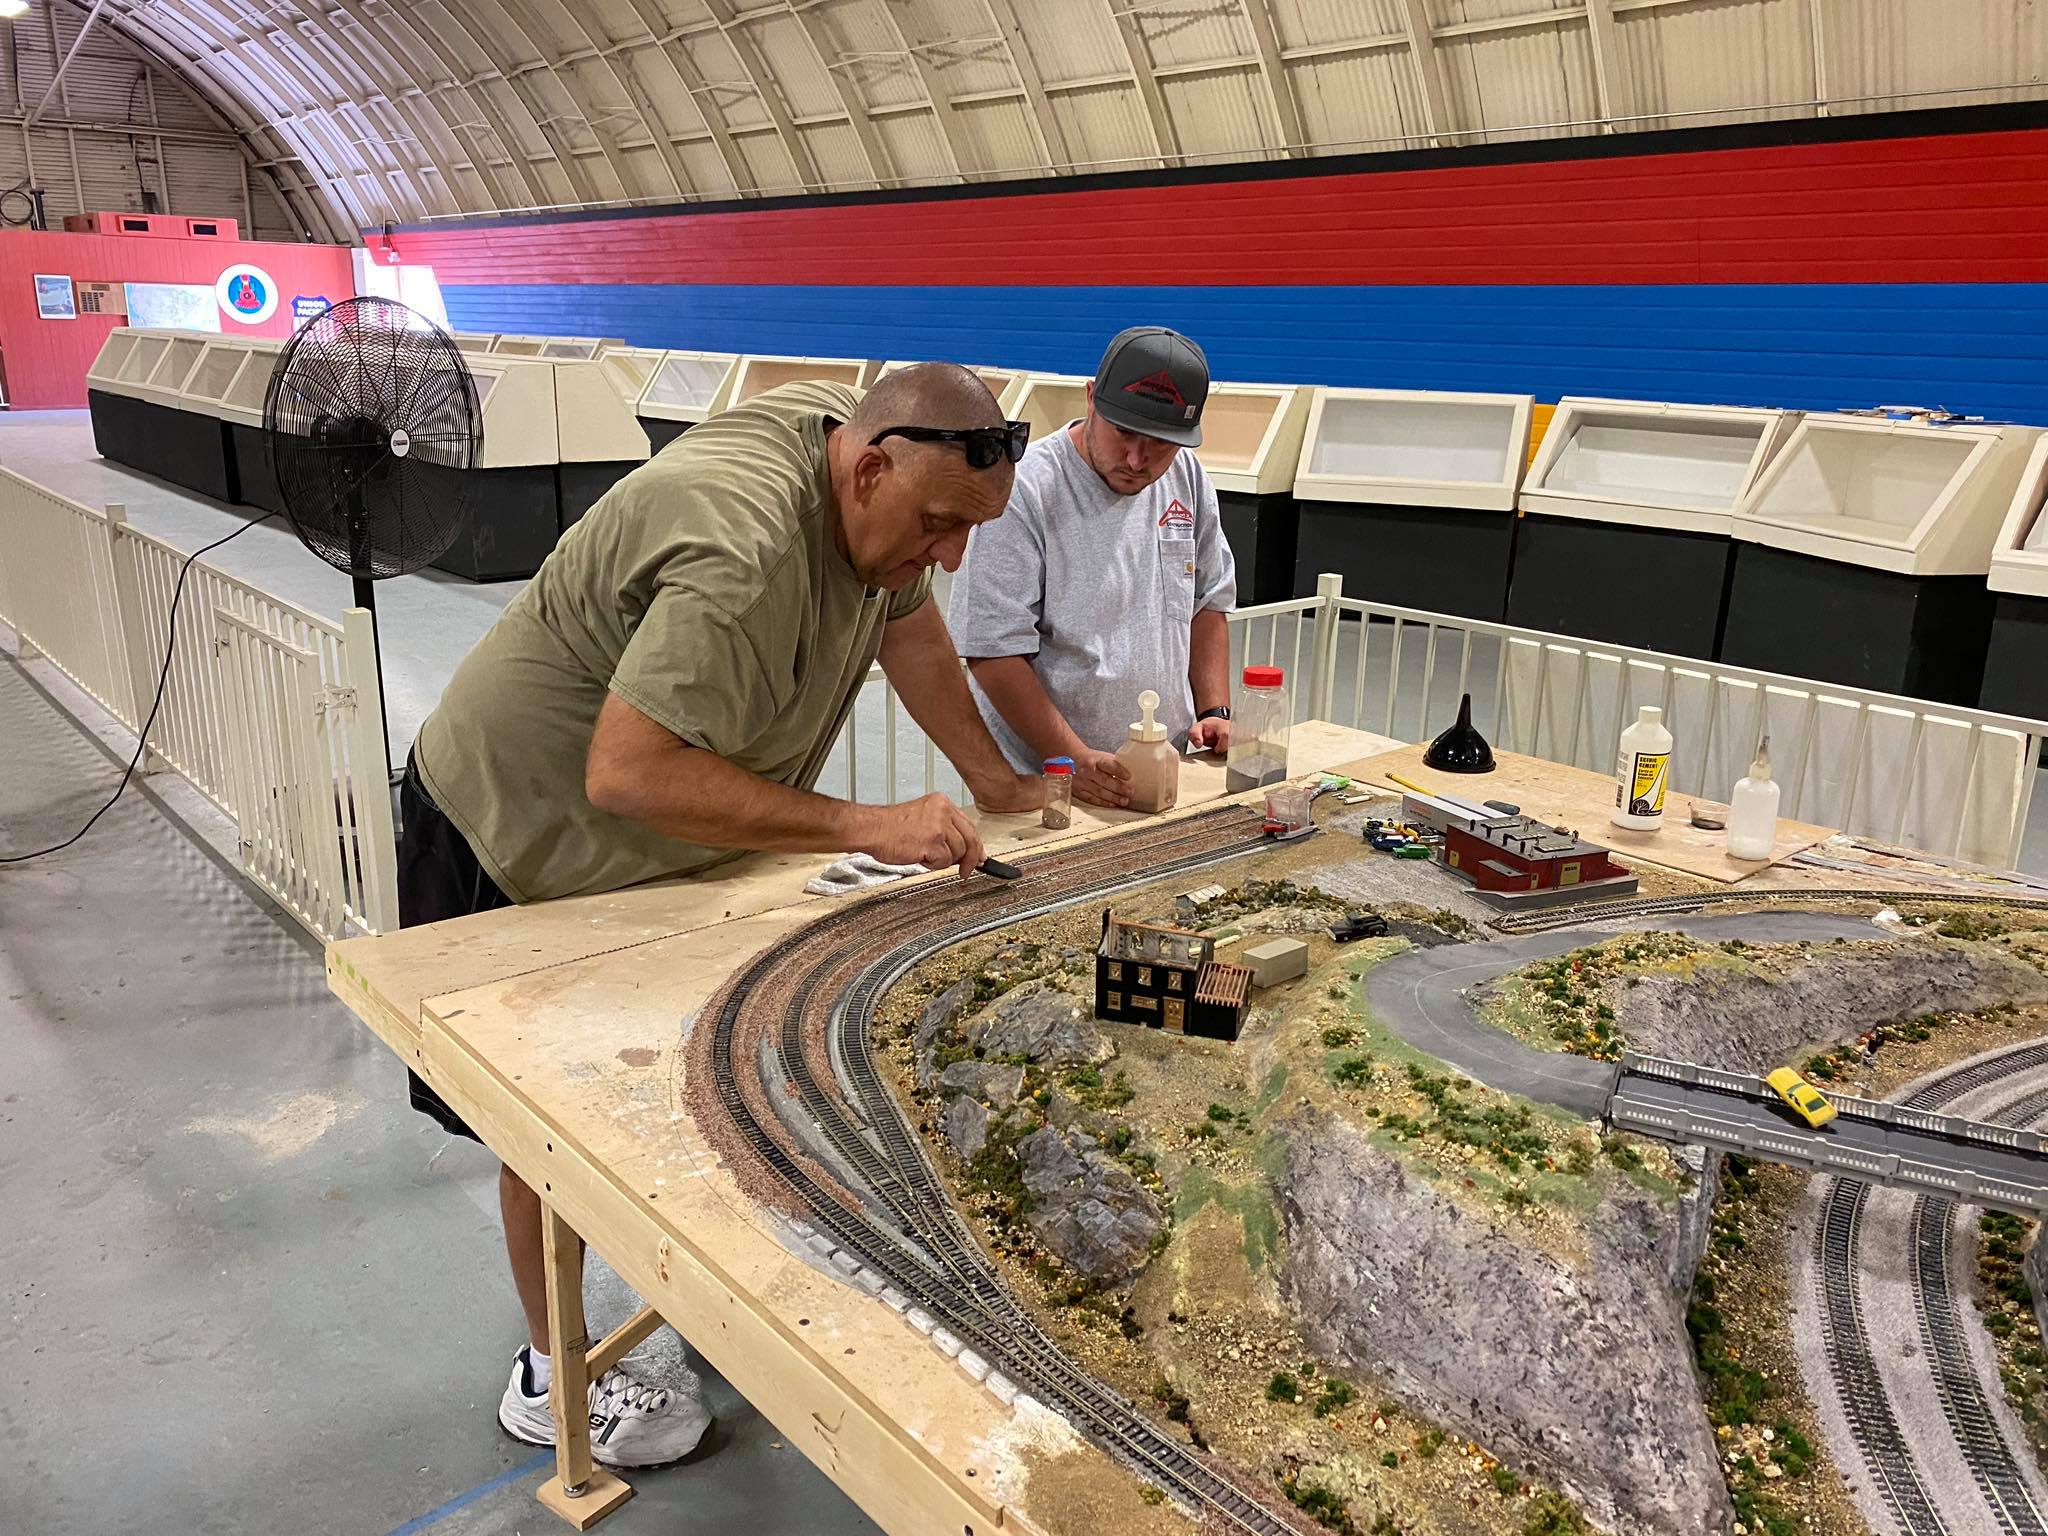
Building the new tables
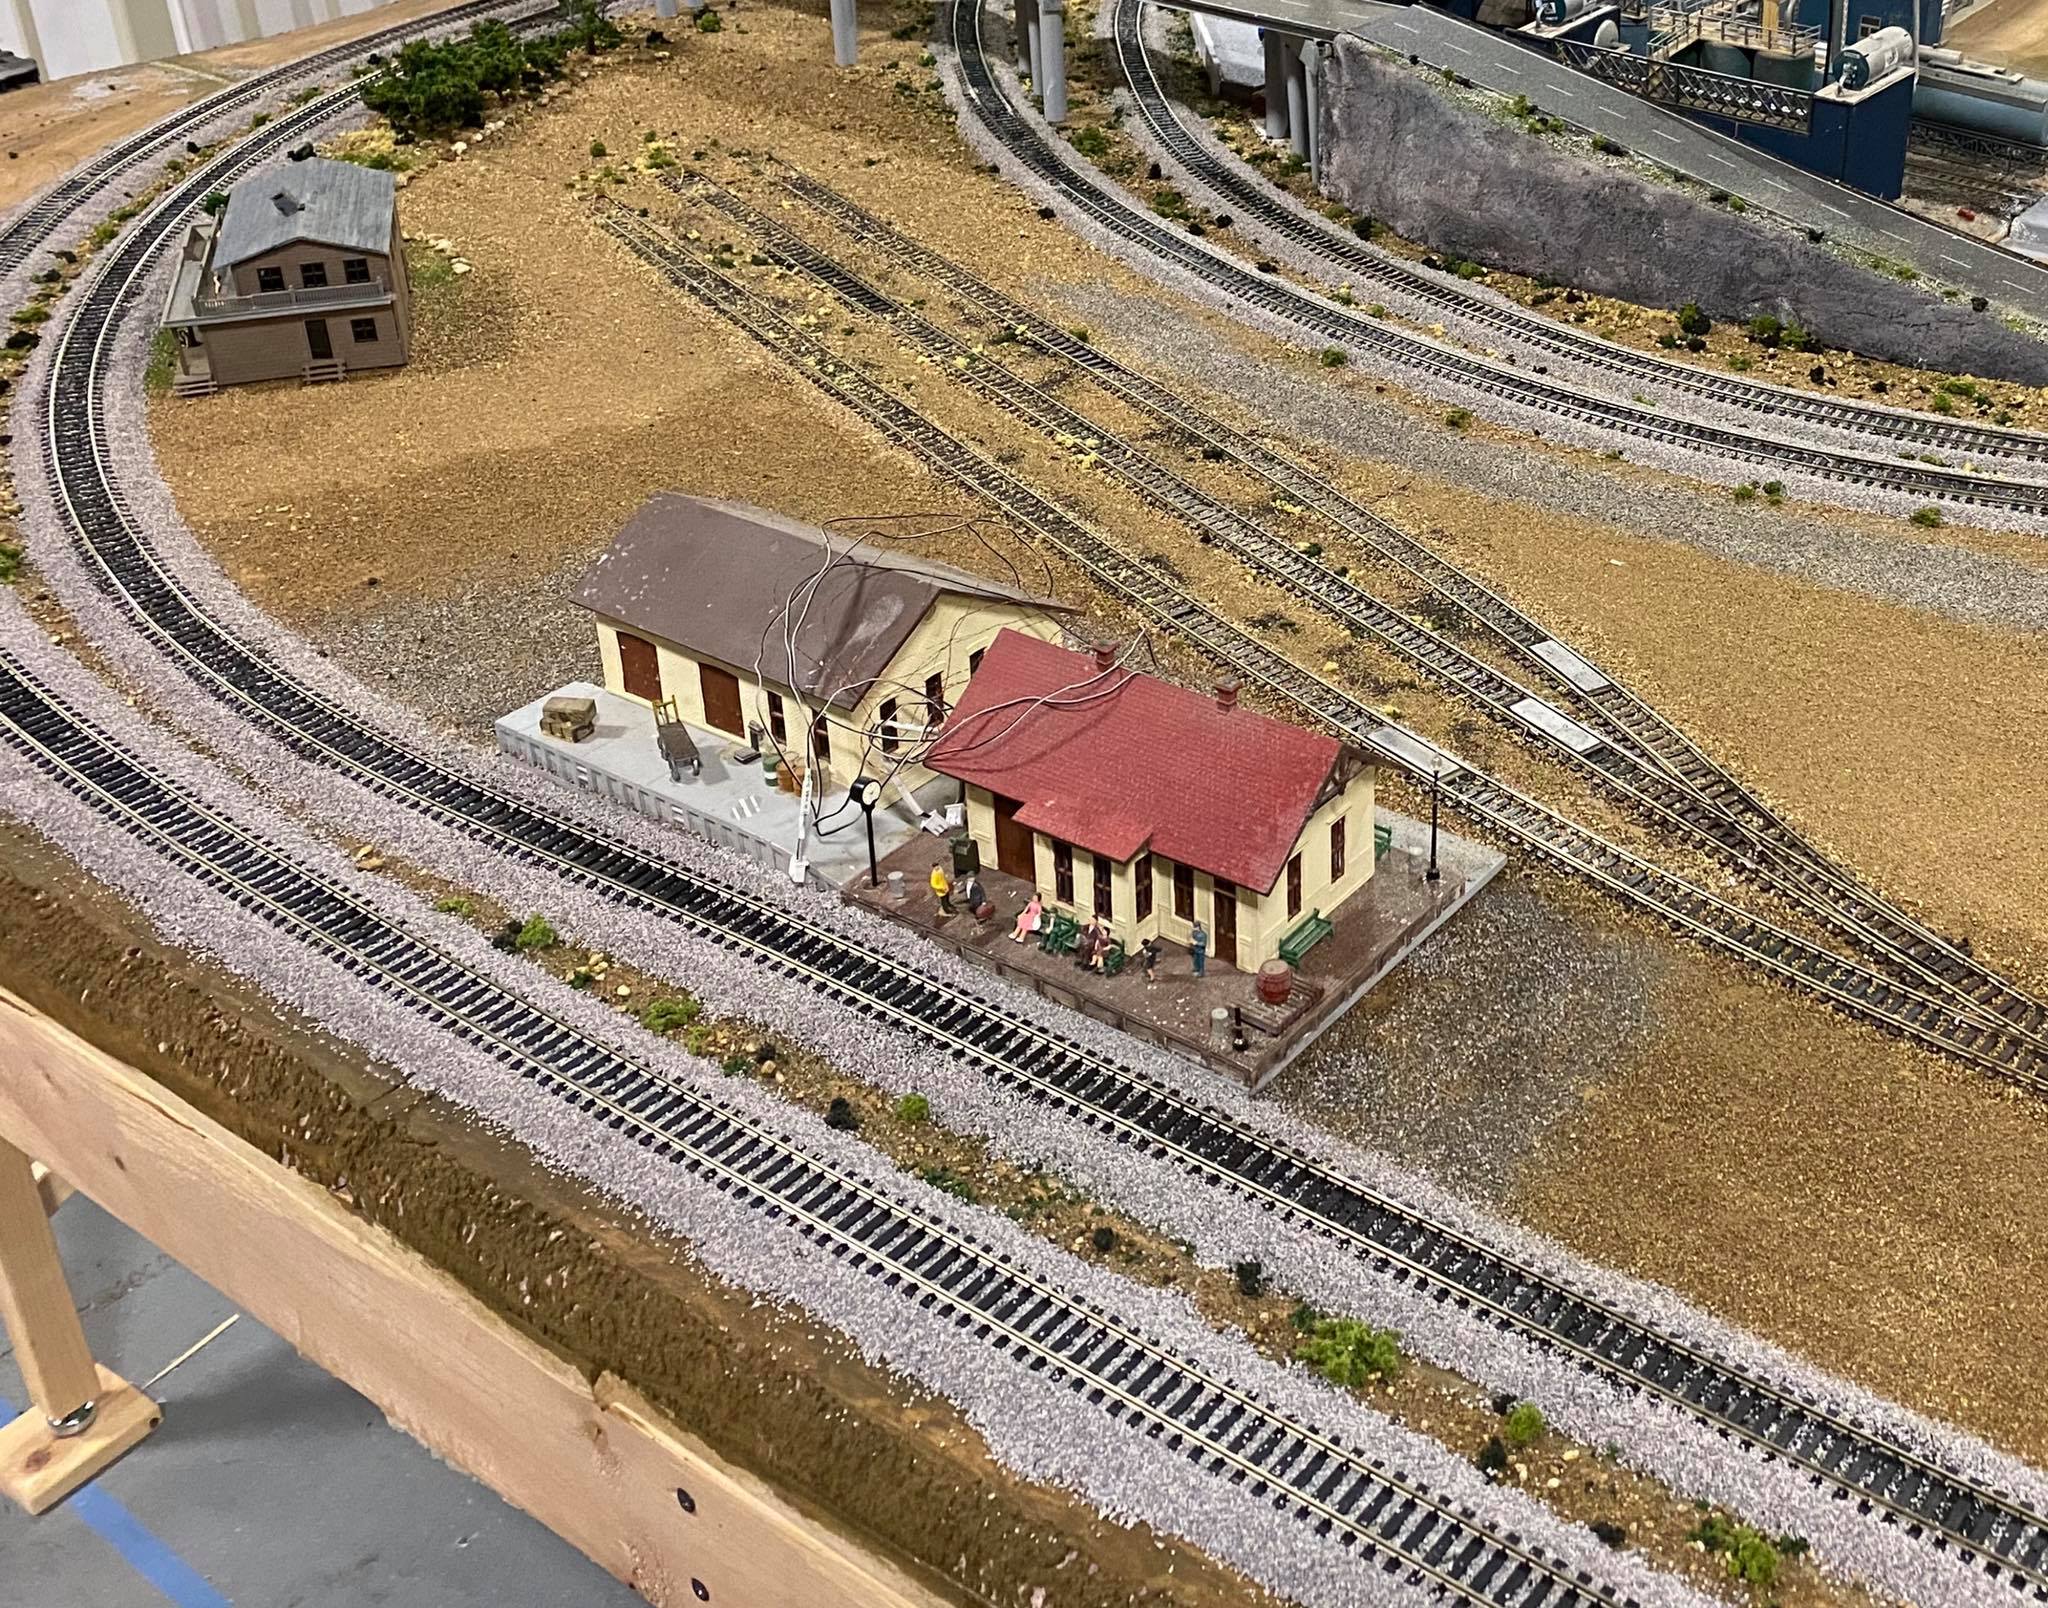
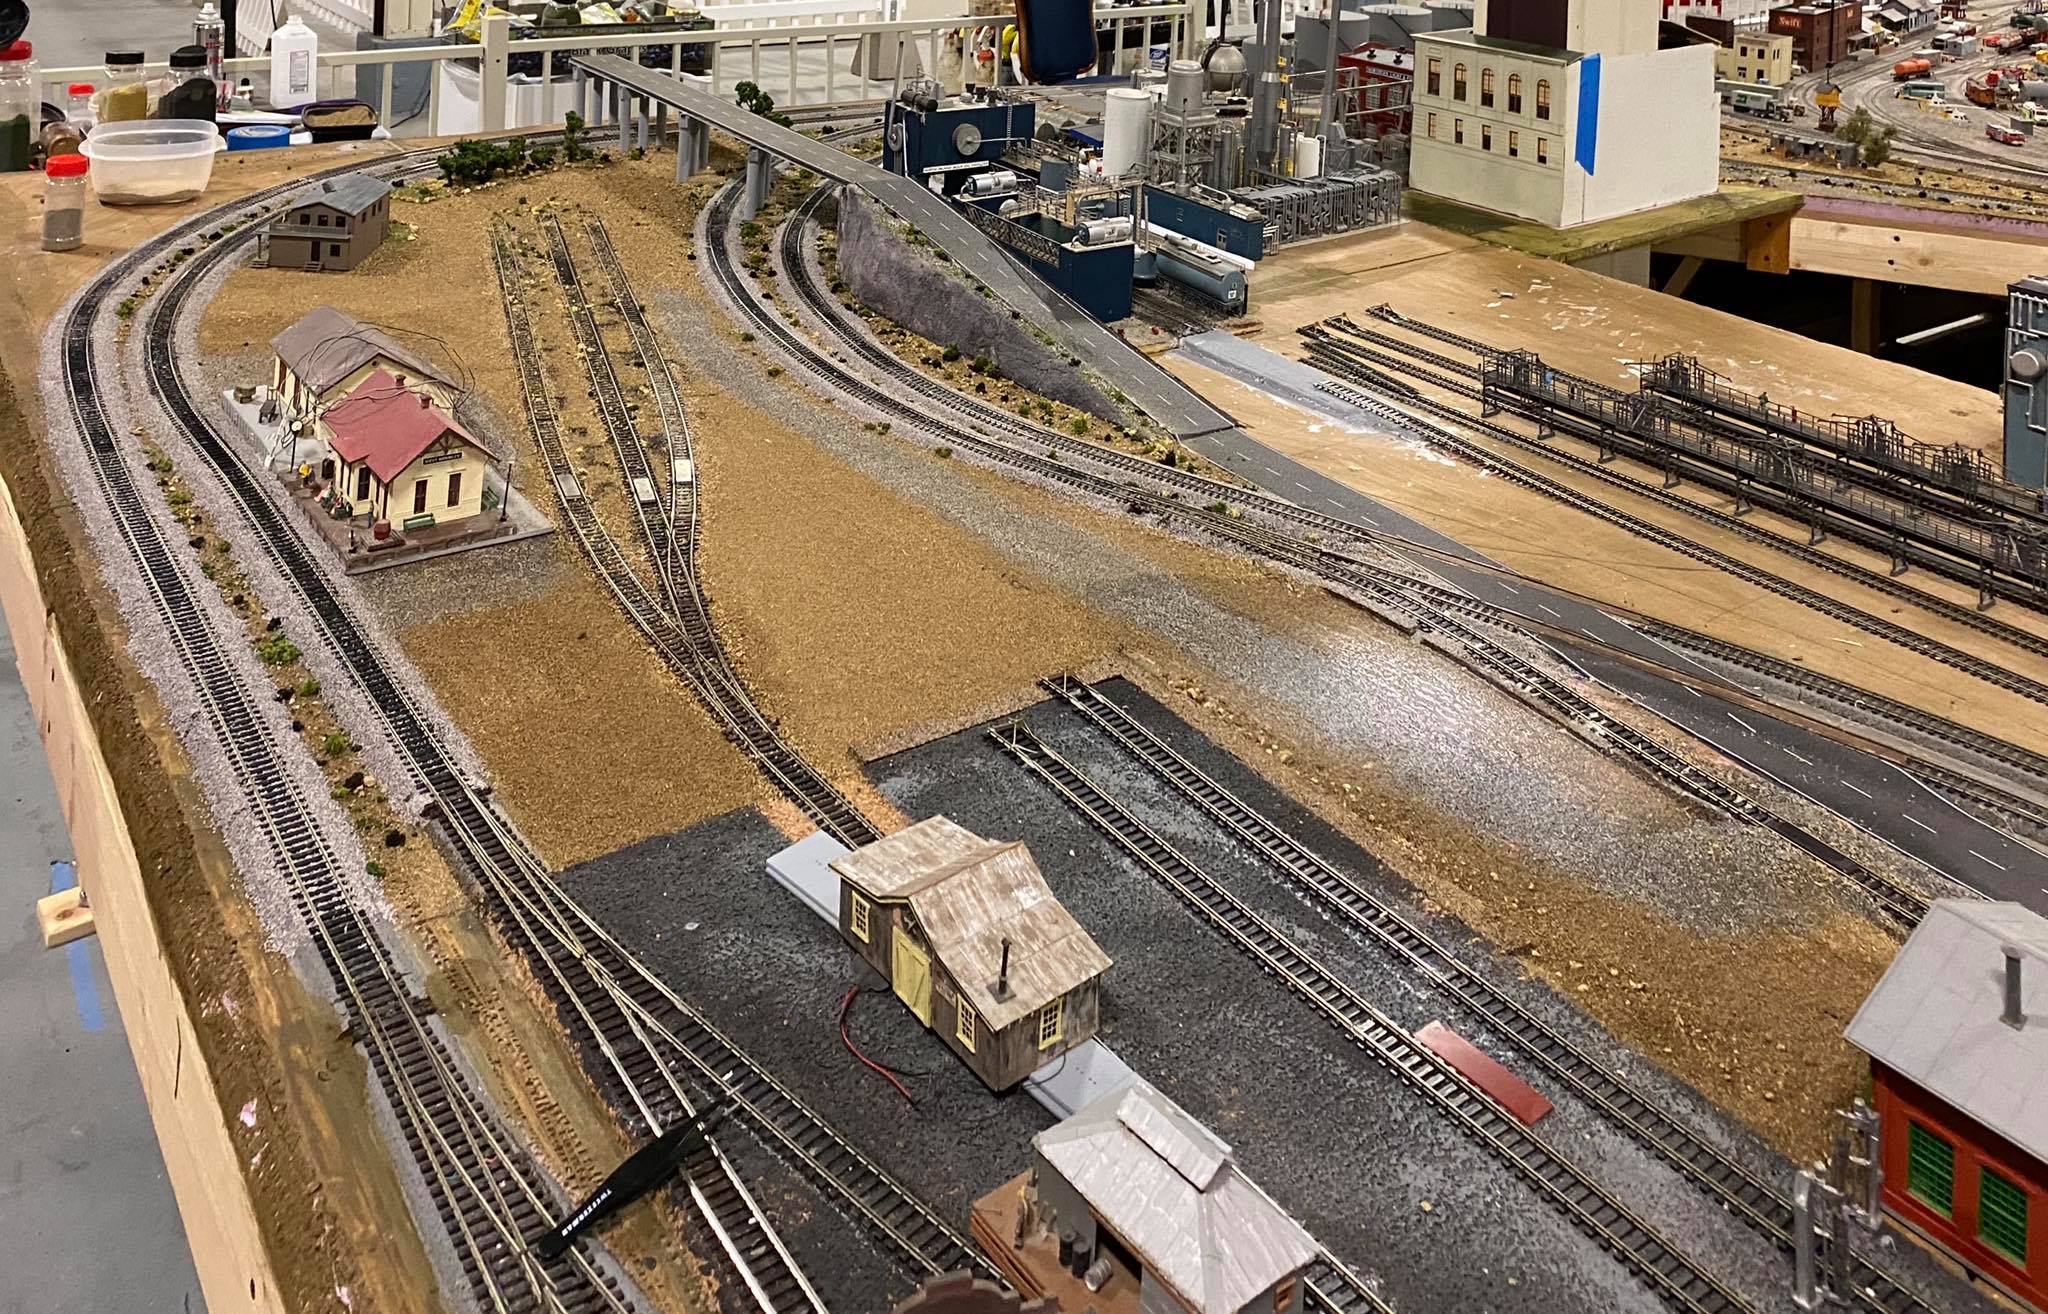
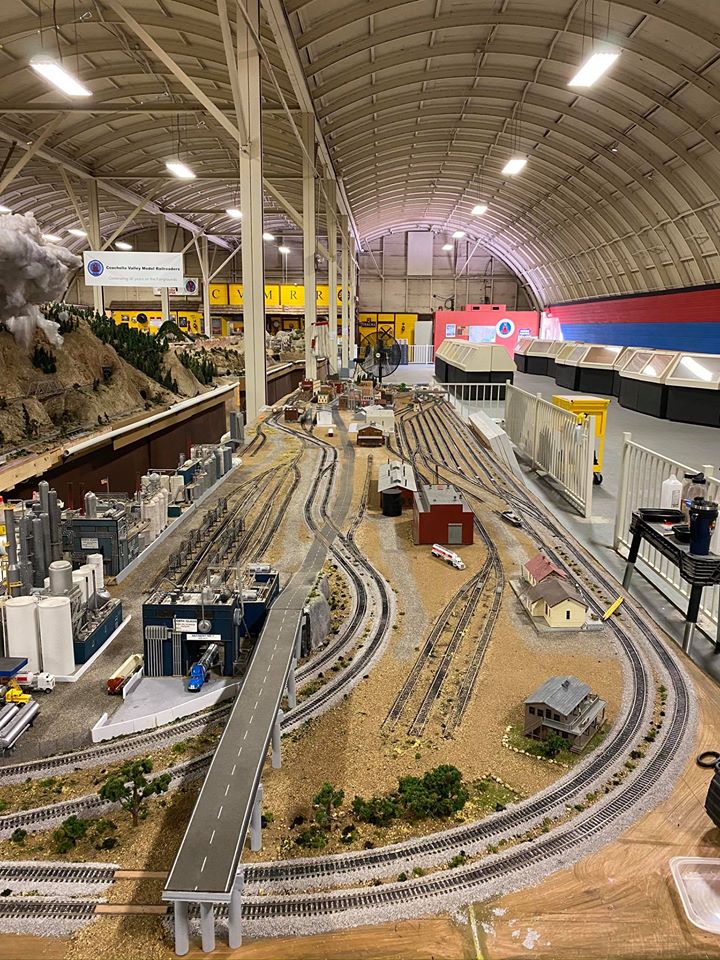
2020 New Extension Scenes
|
Area where the 2020 Extension will be |
|
|
|
|
|
Material for the new tables |
Building the new tables |
|
|
|
 |
Setting out where buildings will go |
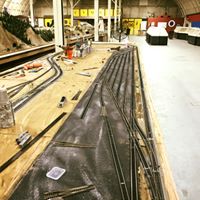
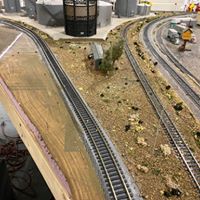
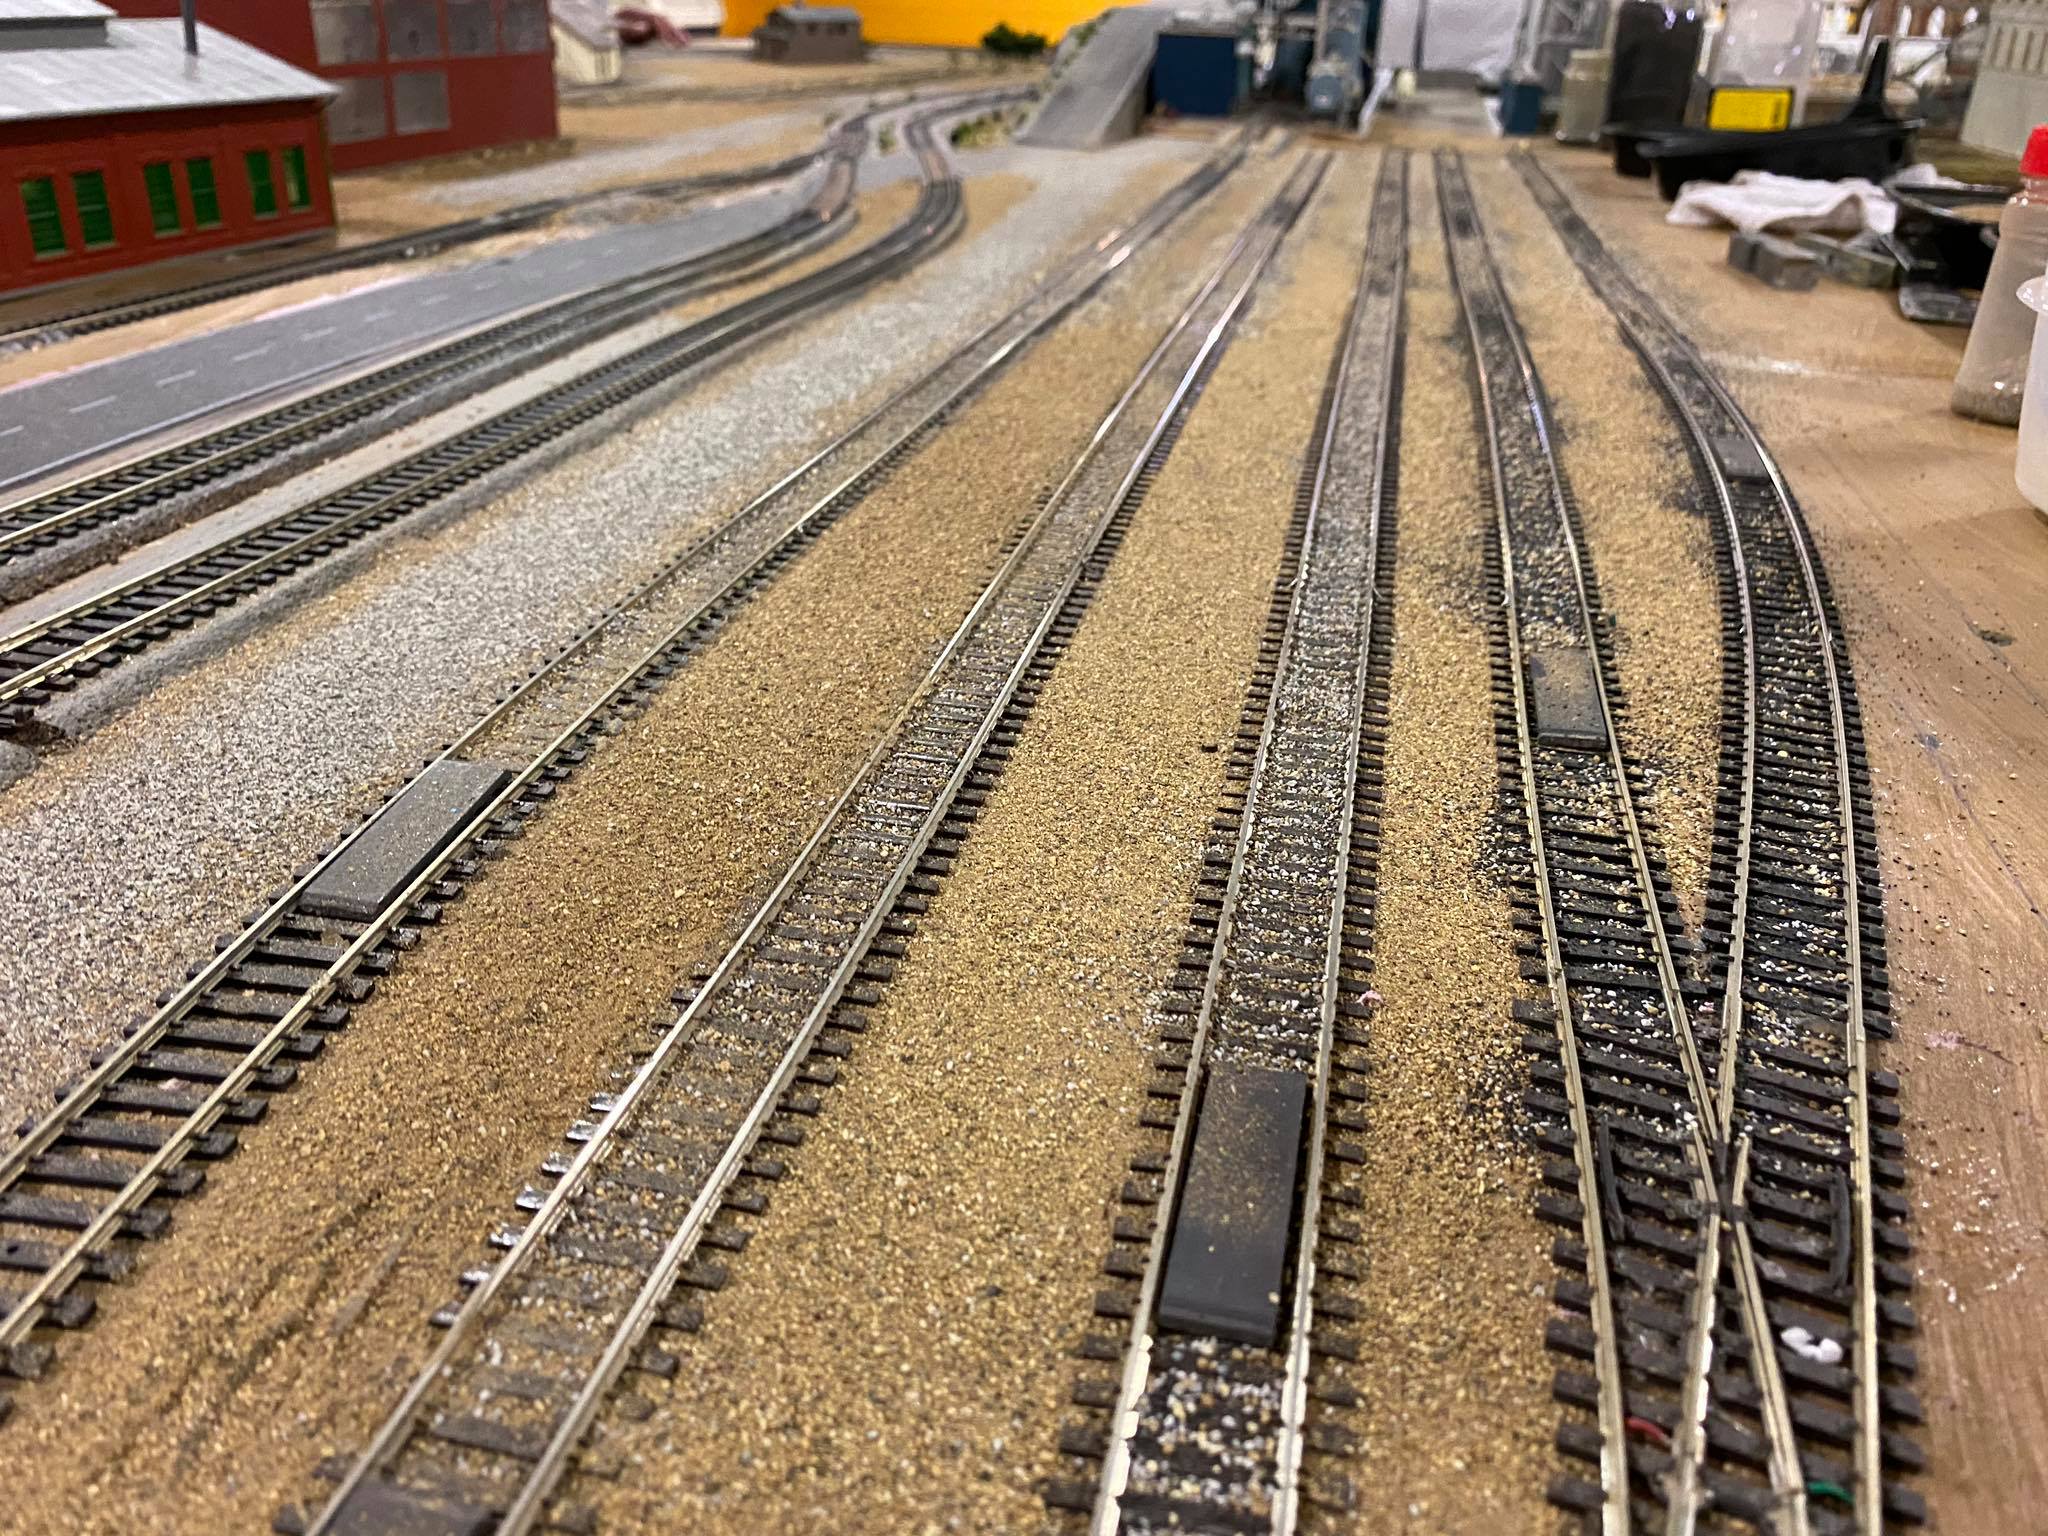
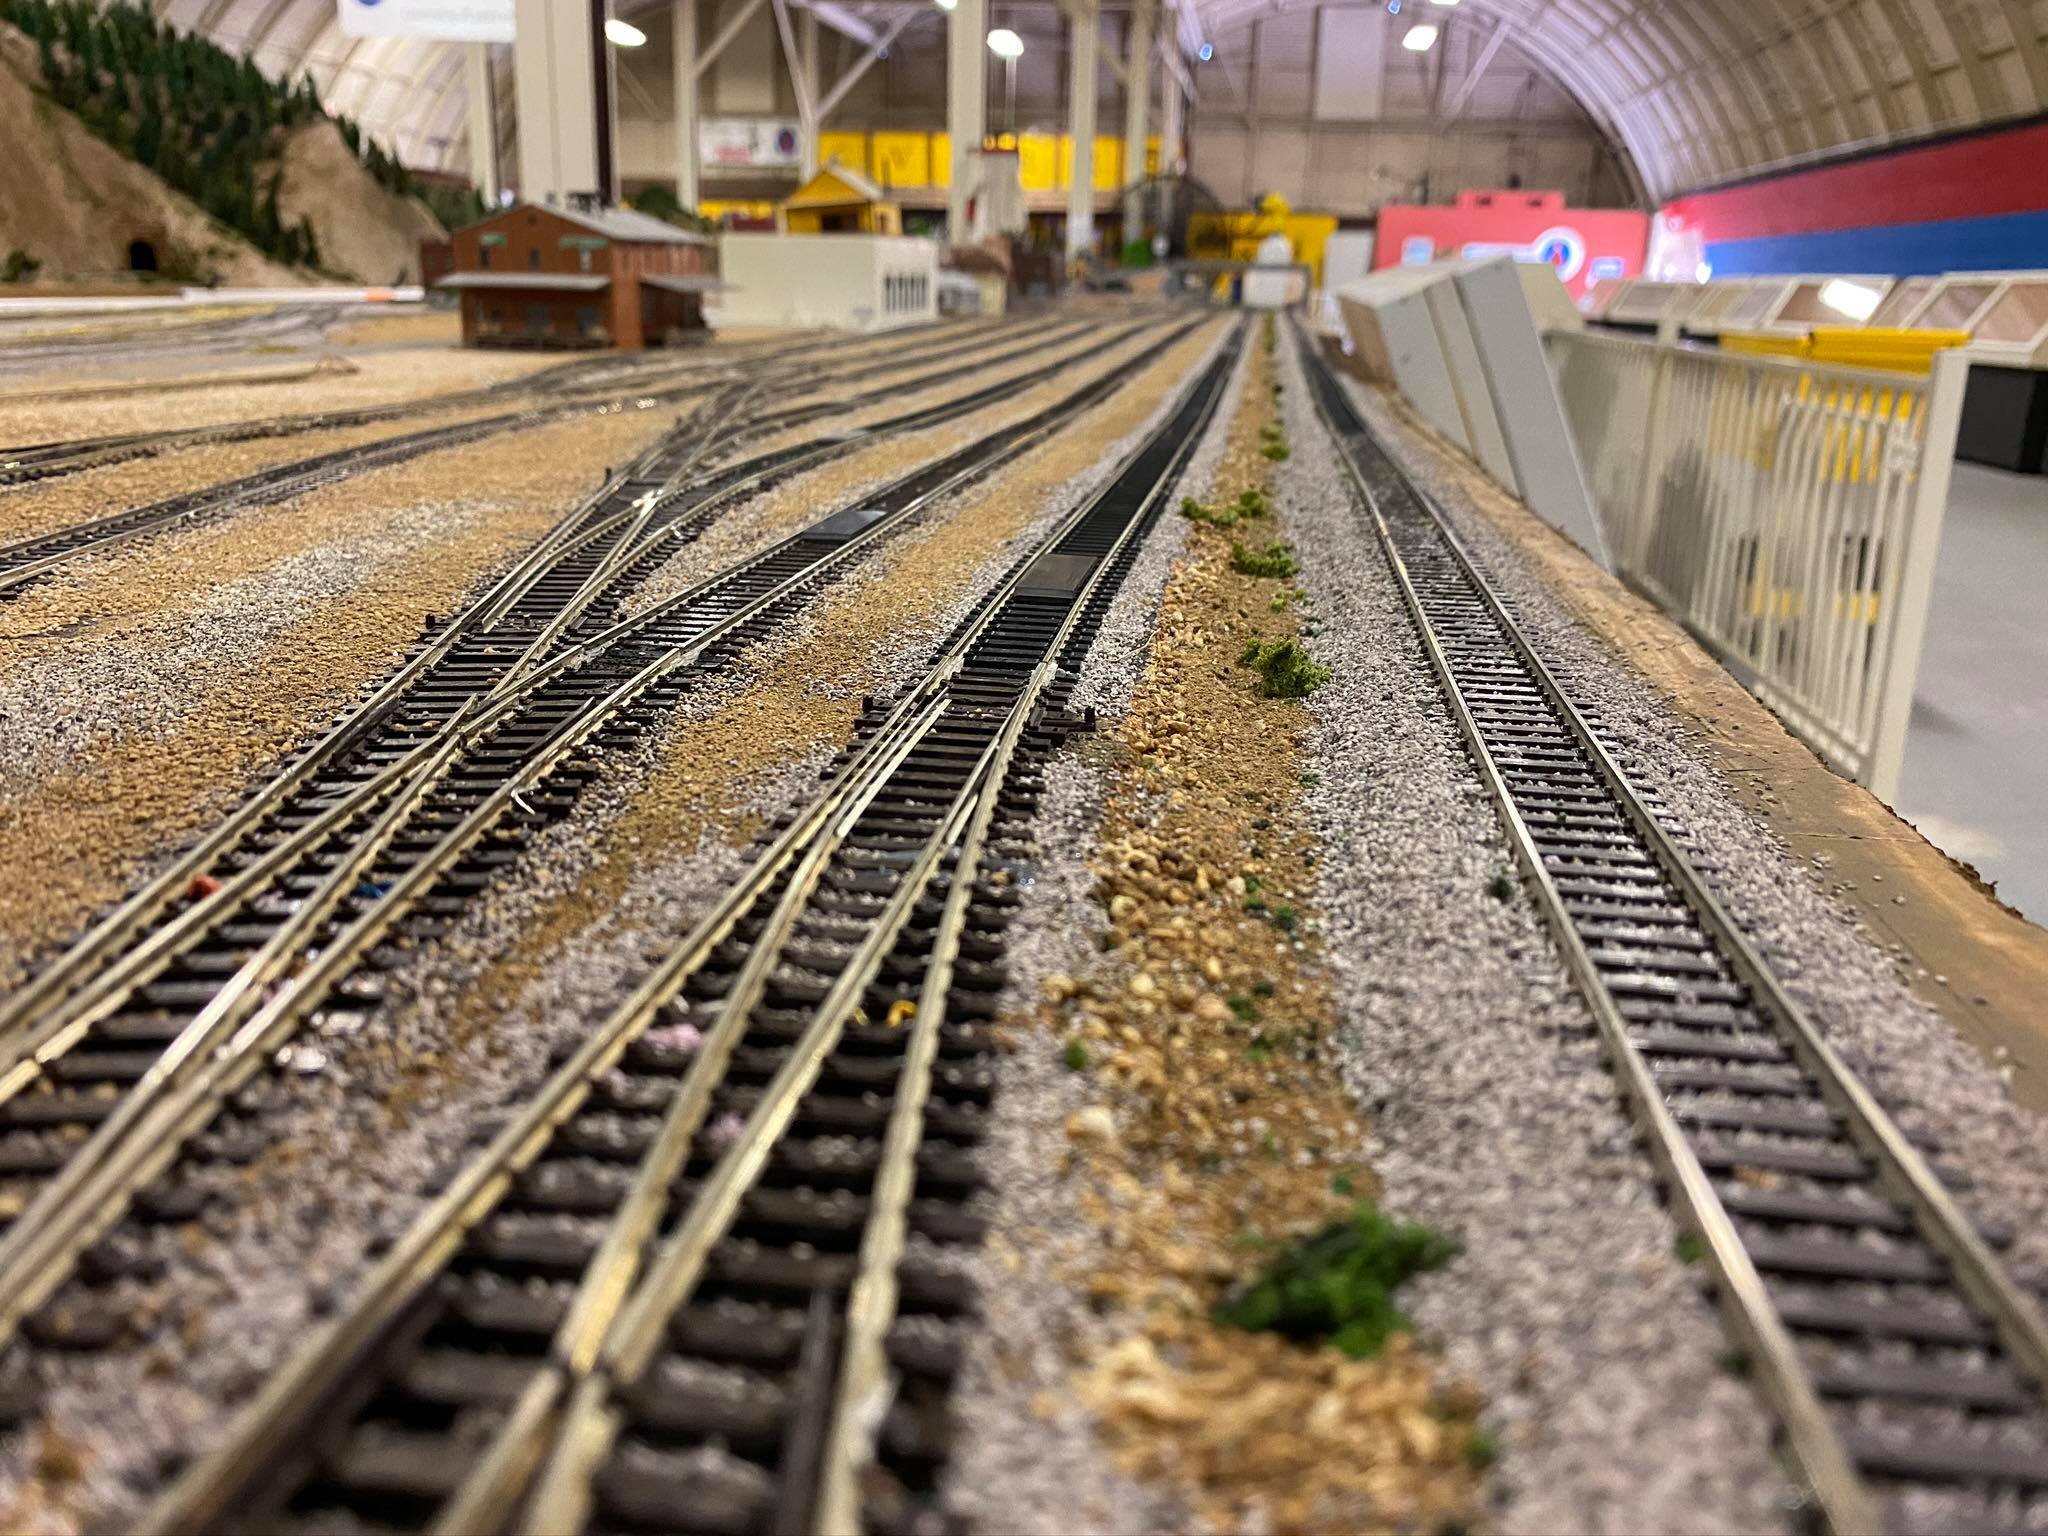
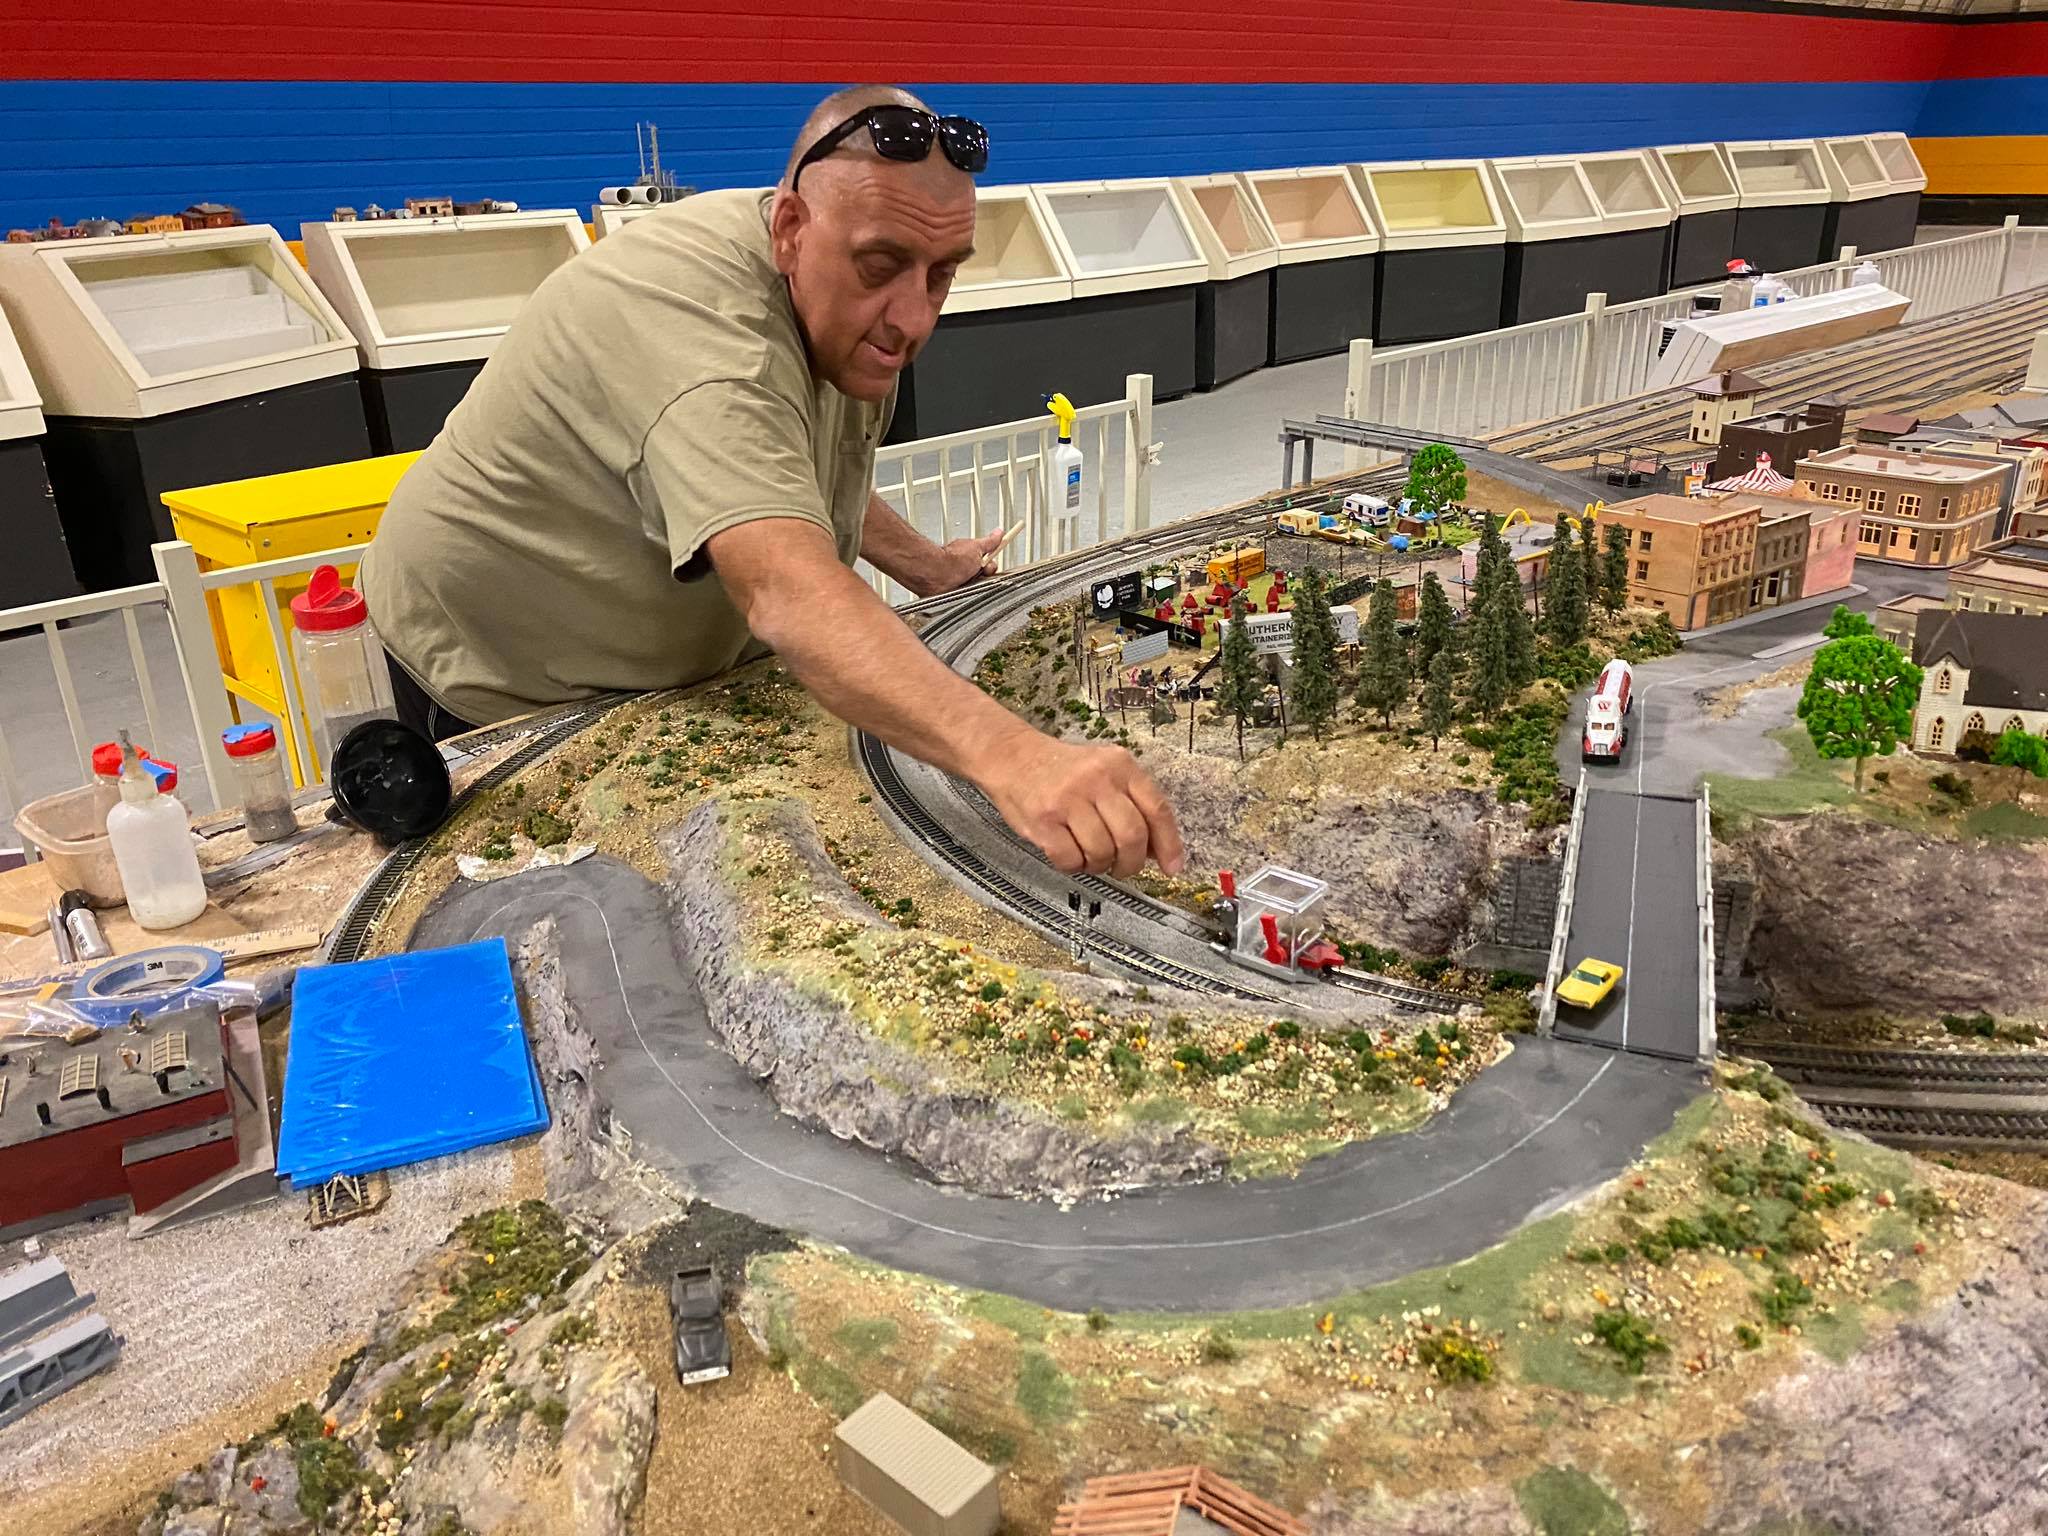
Installing track |
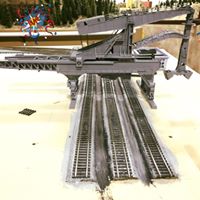
Where the Hulett Off-Loader will be |
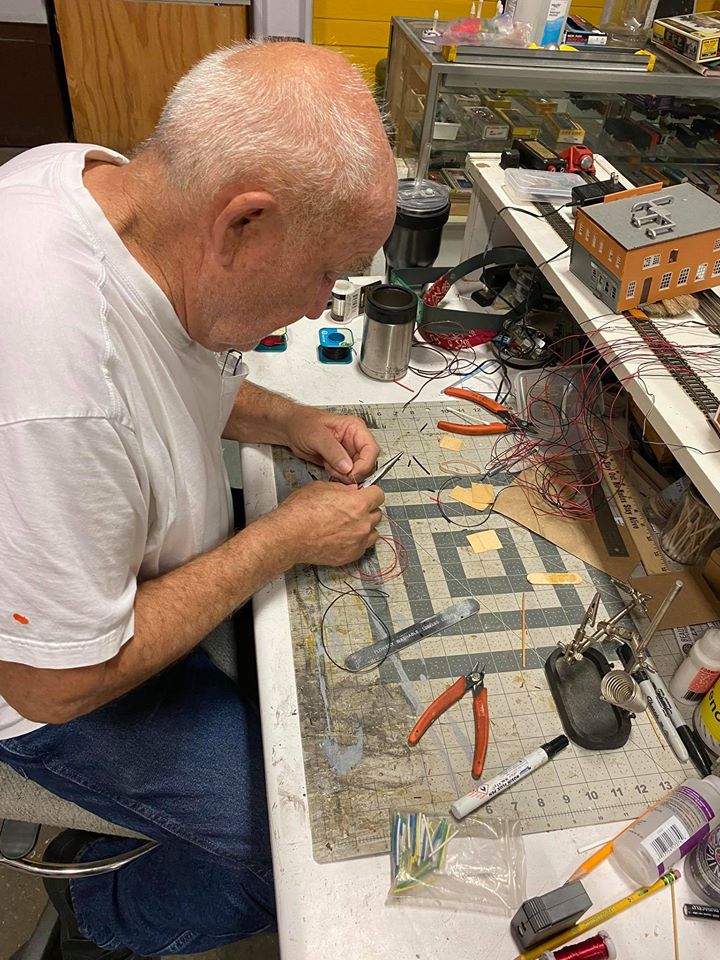
Track feed wires |
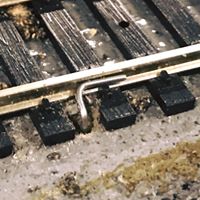 How we solder the feeds to the rails |
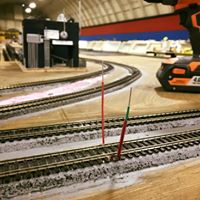
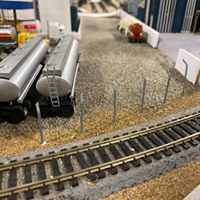
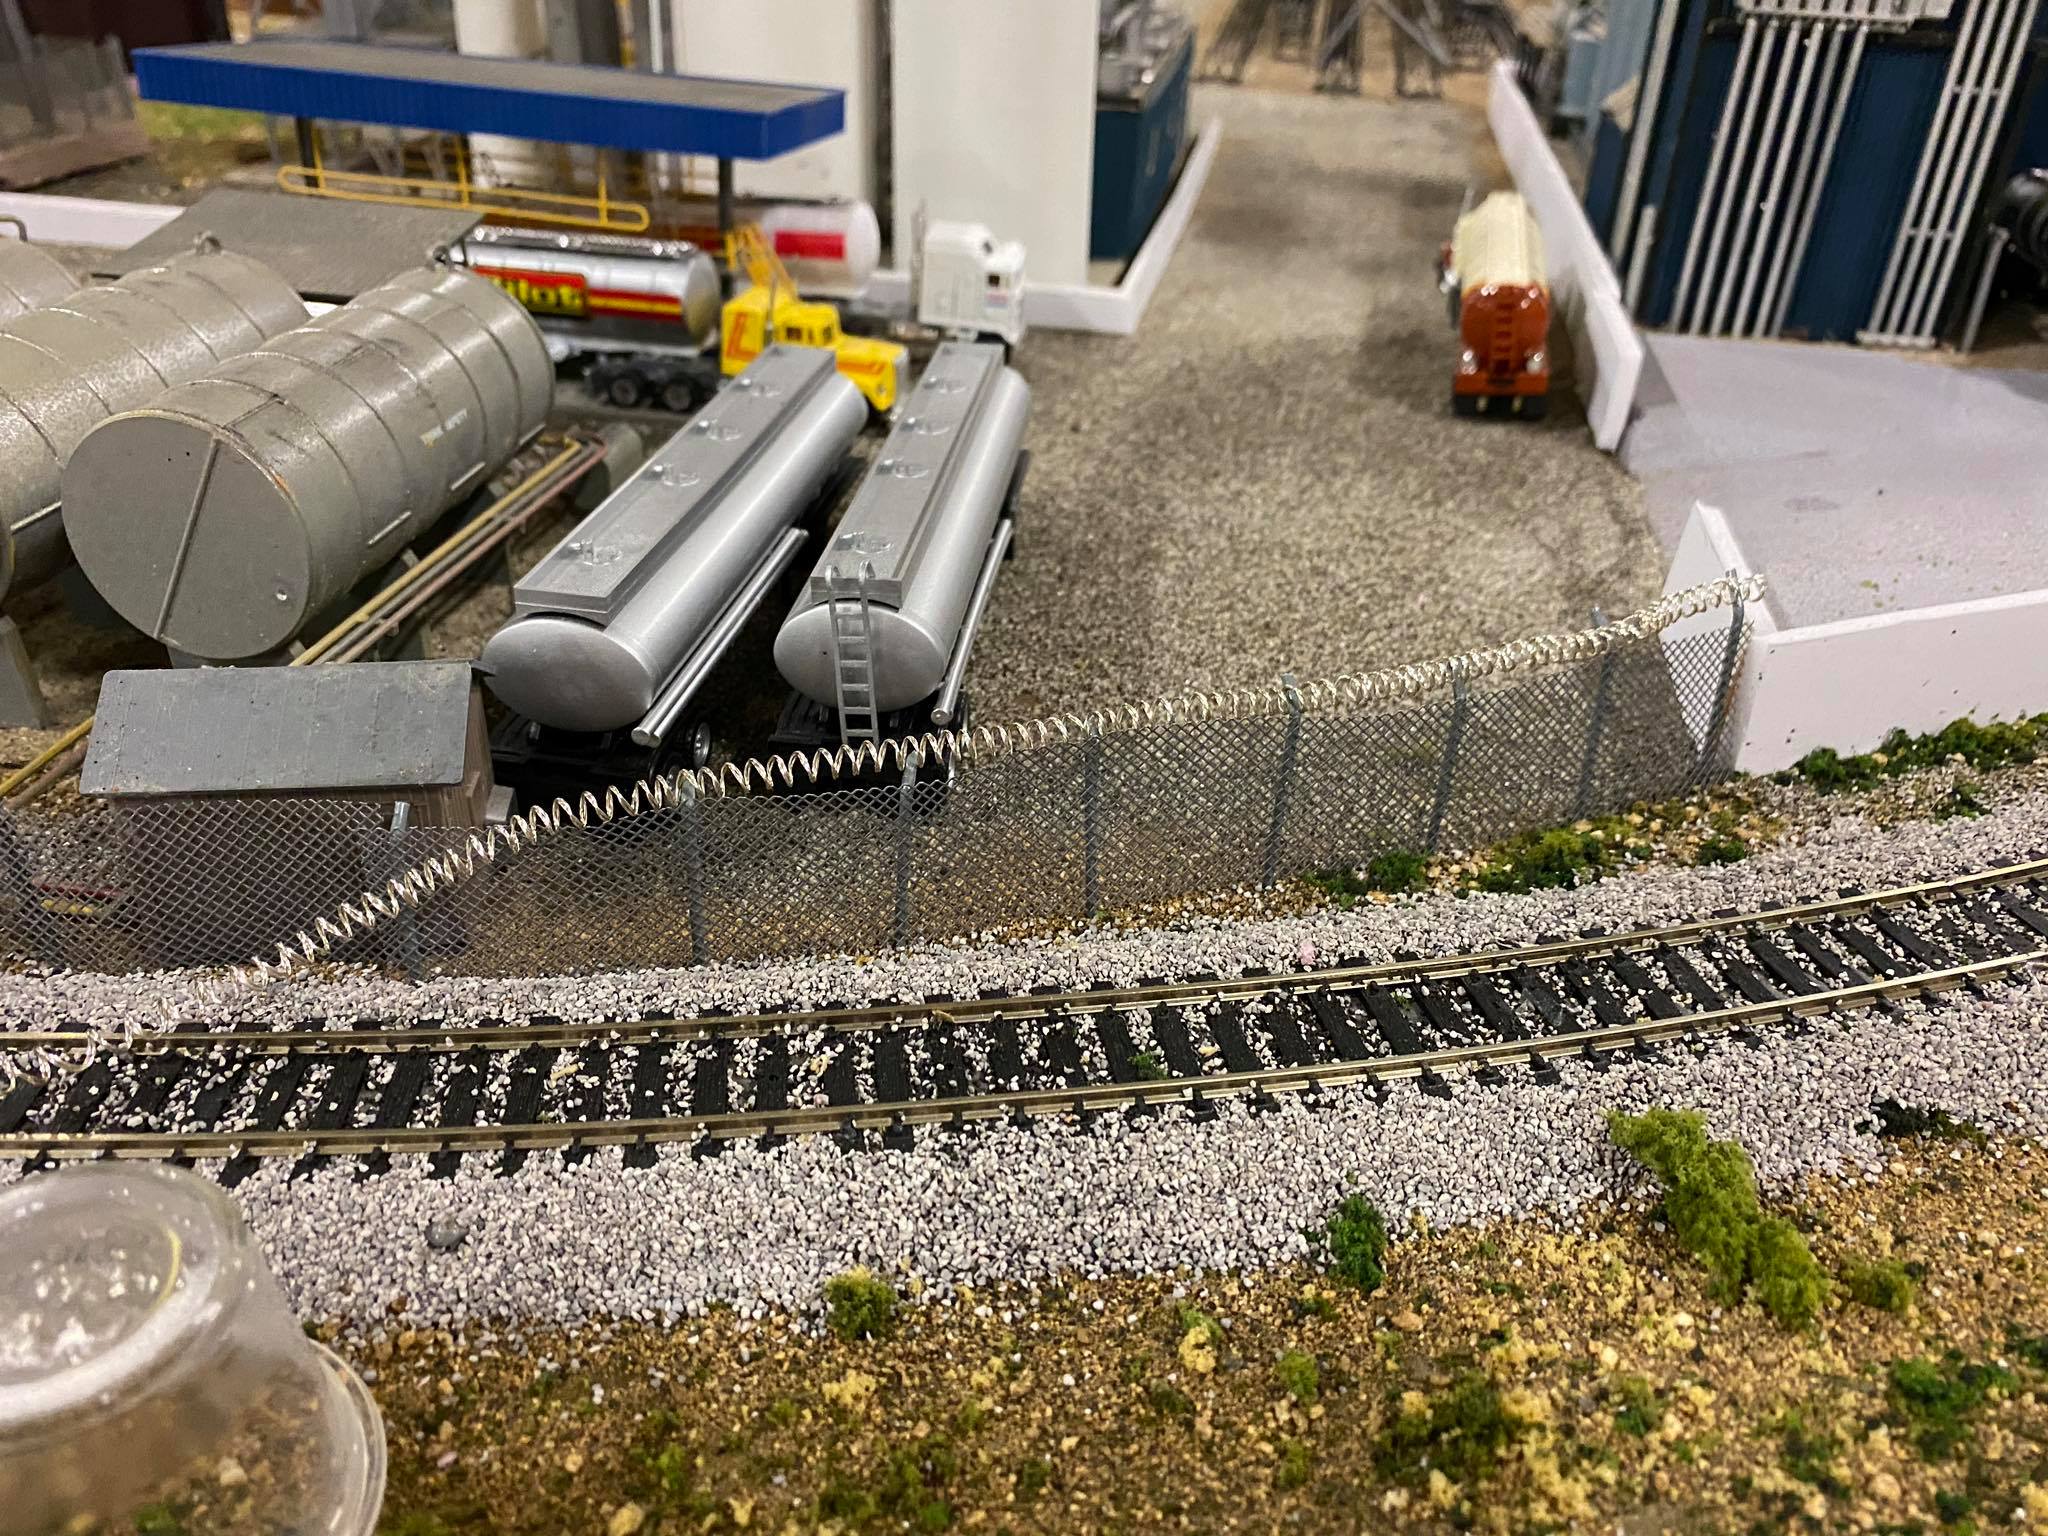
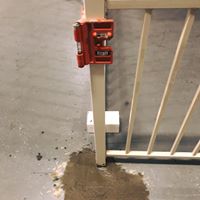 Setting new fence posts |
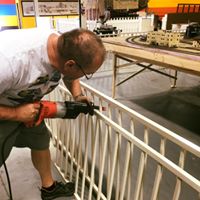 Alex Installing the fence railing |
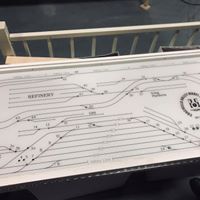
New panel for the extension yard |
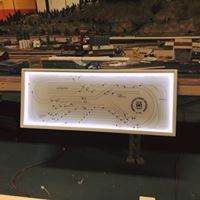
New panel lit up |
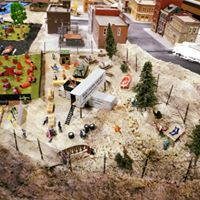
New paint ball park |
 Over view of paint ball park |
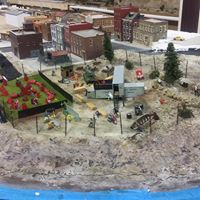
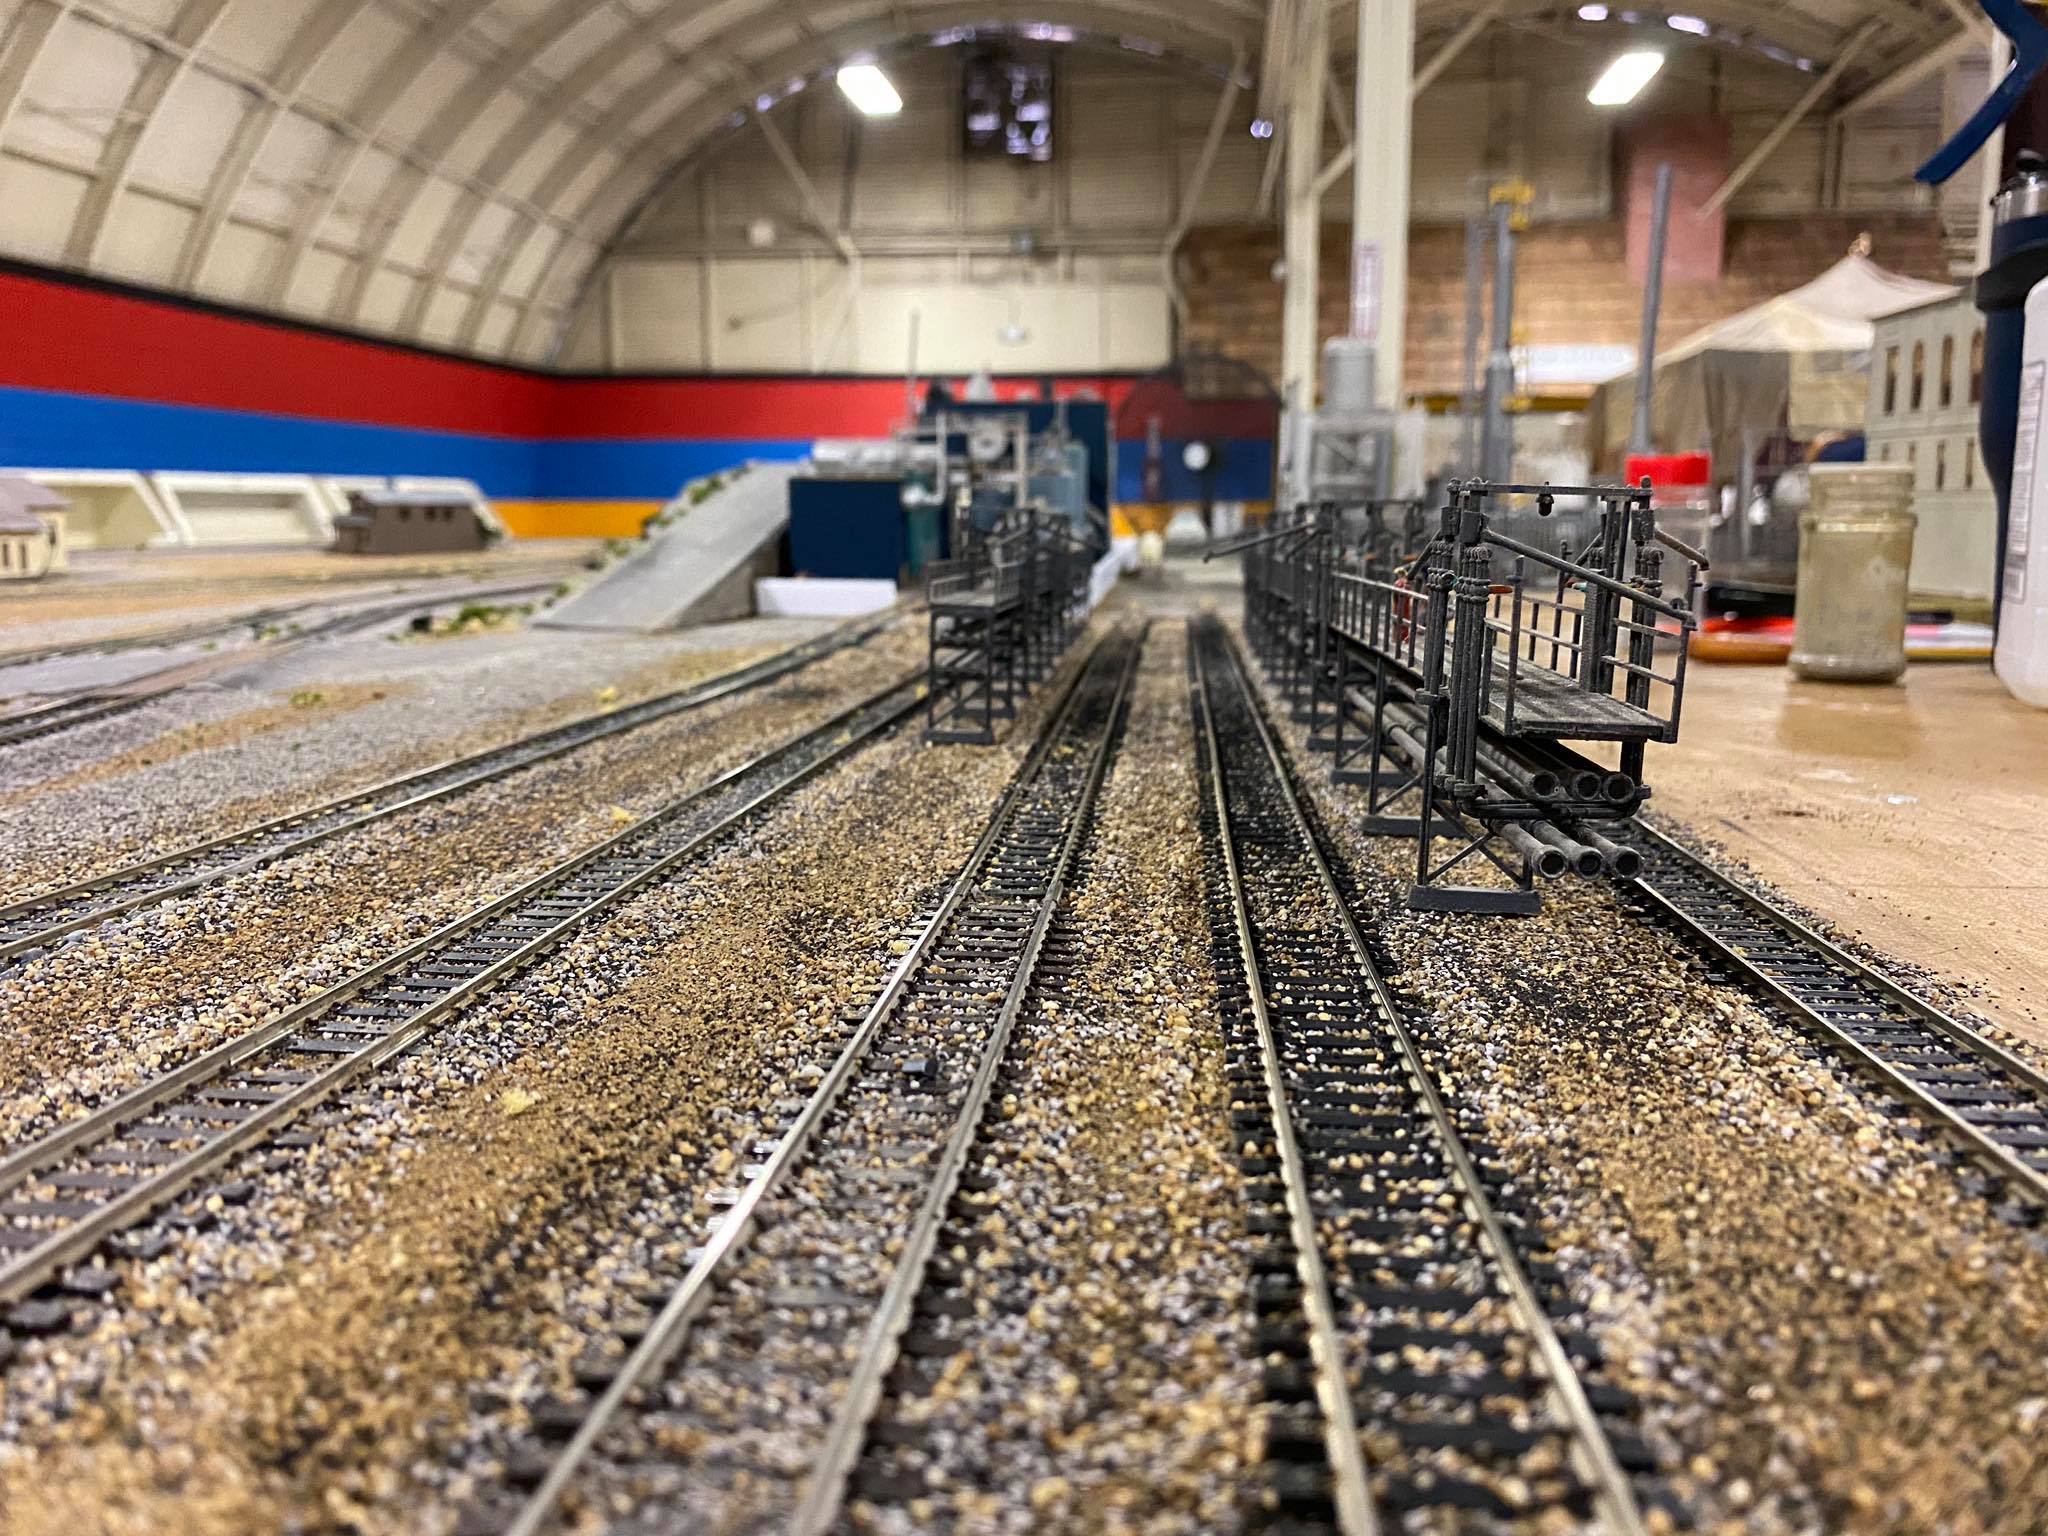
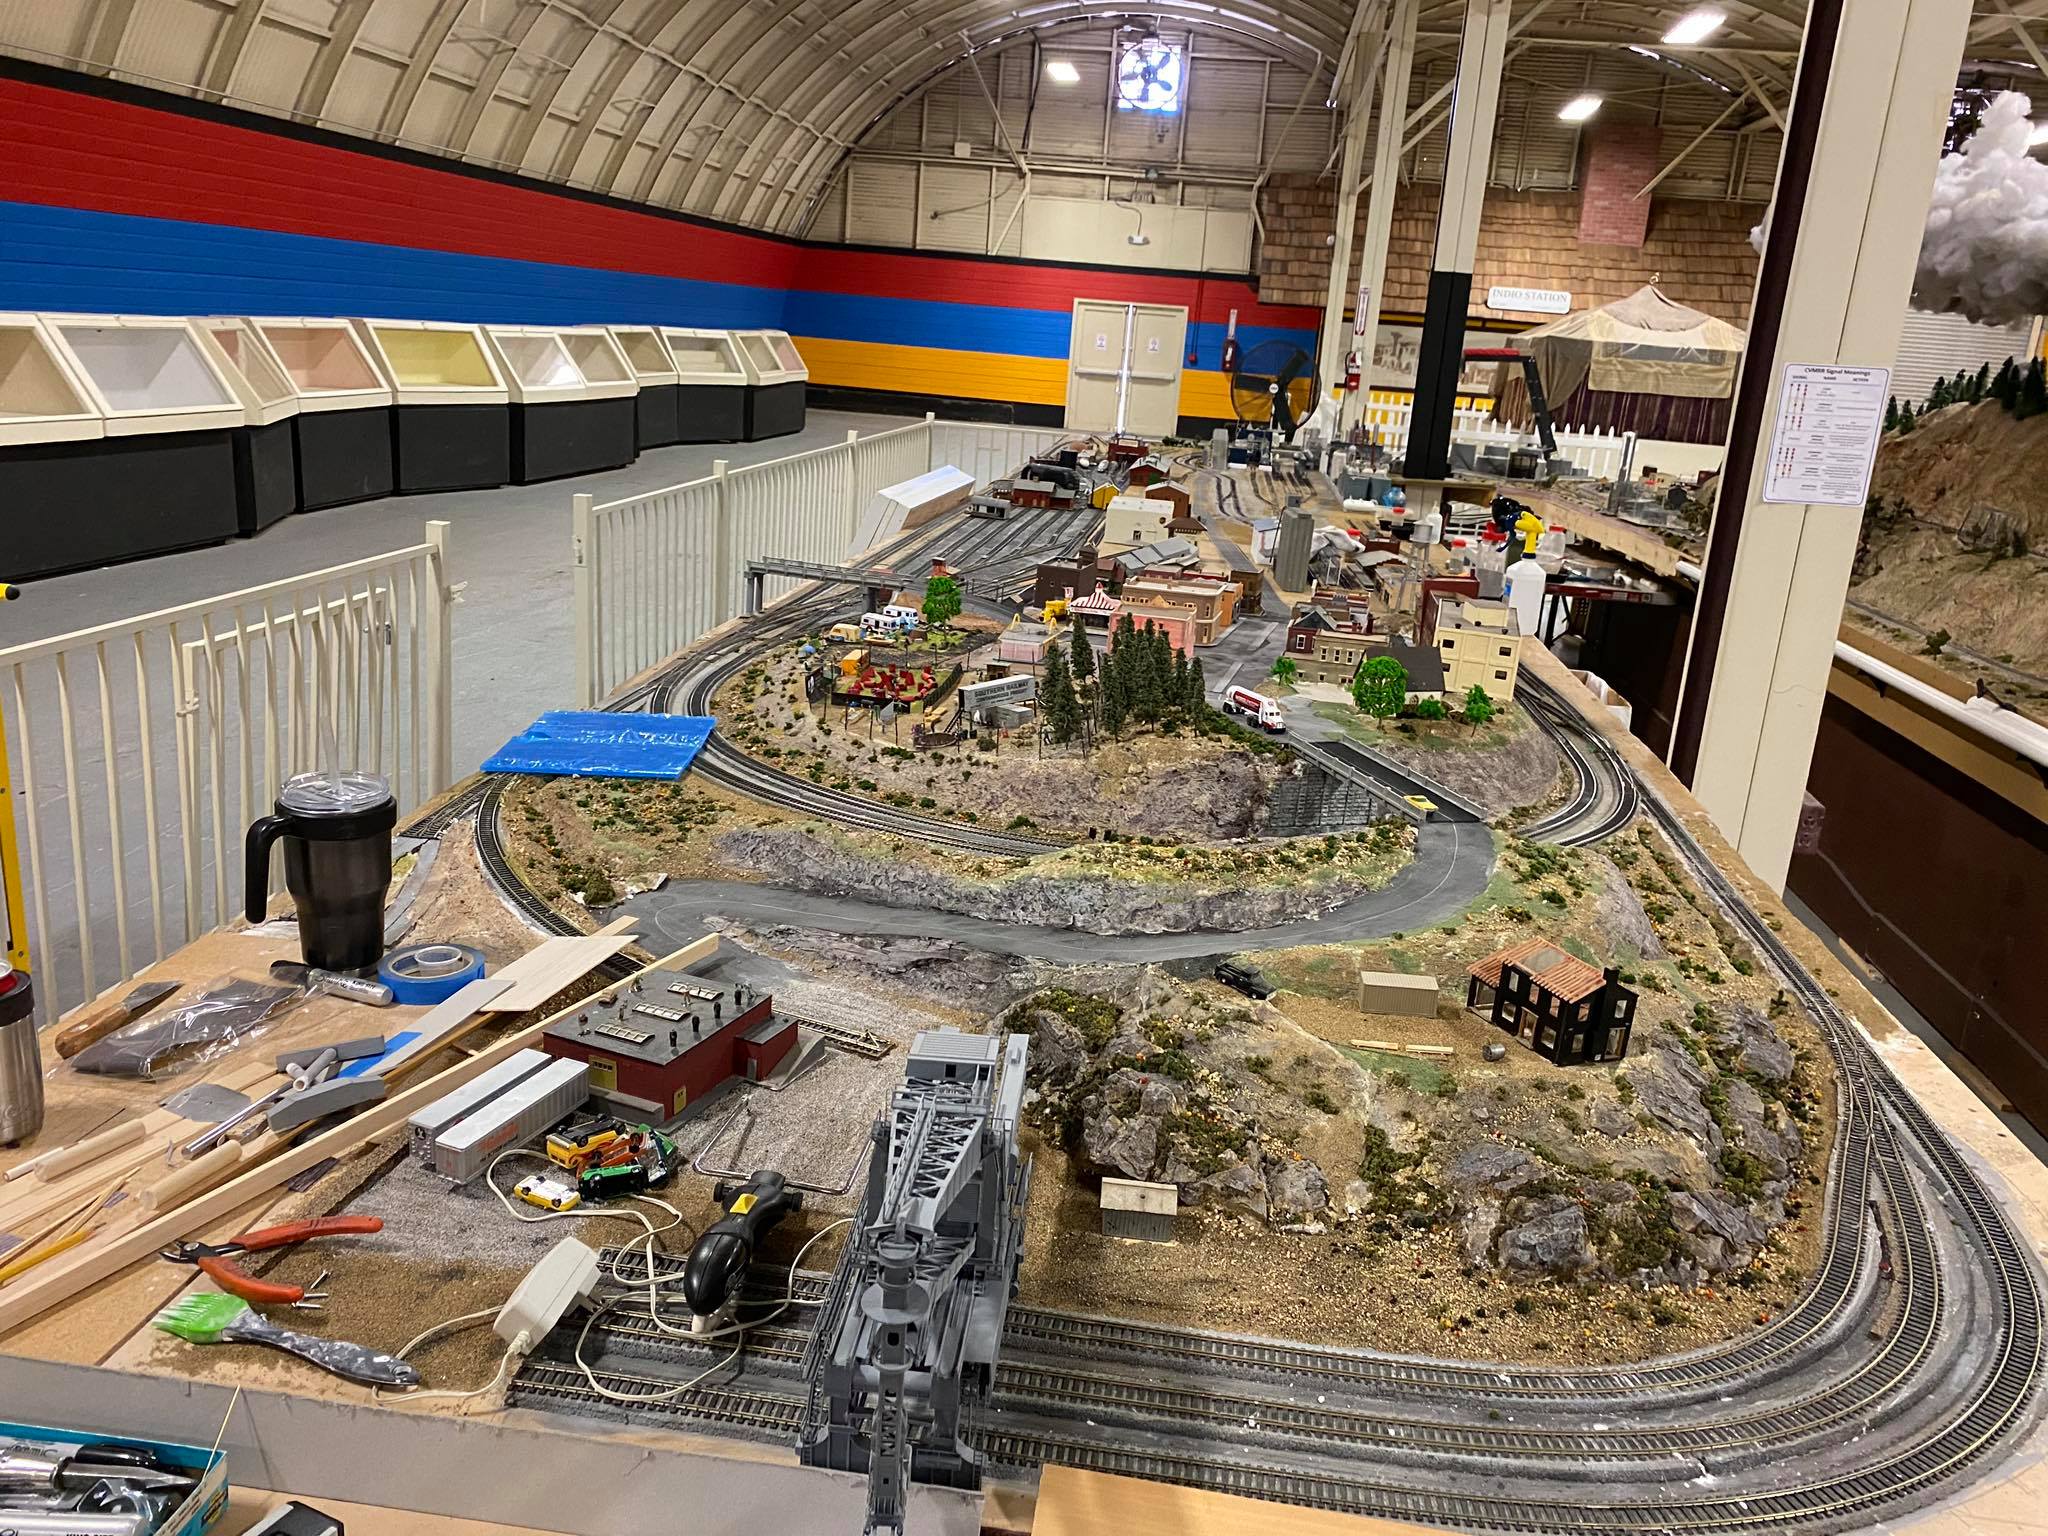
Starting to scenic the new extension |
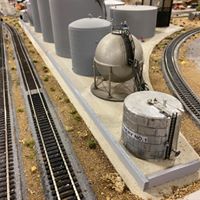
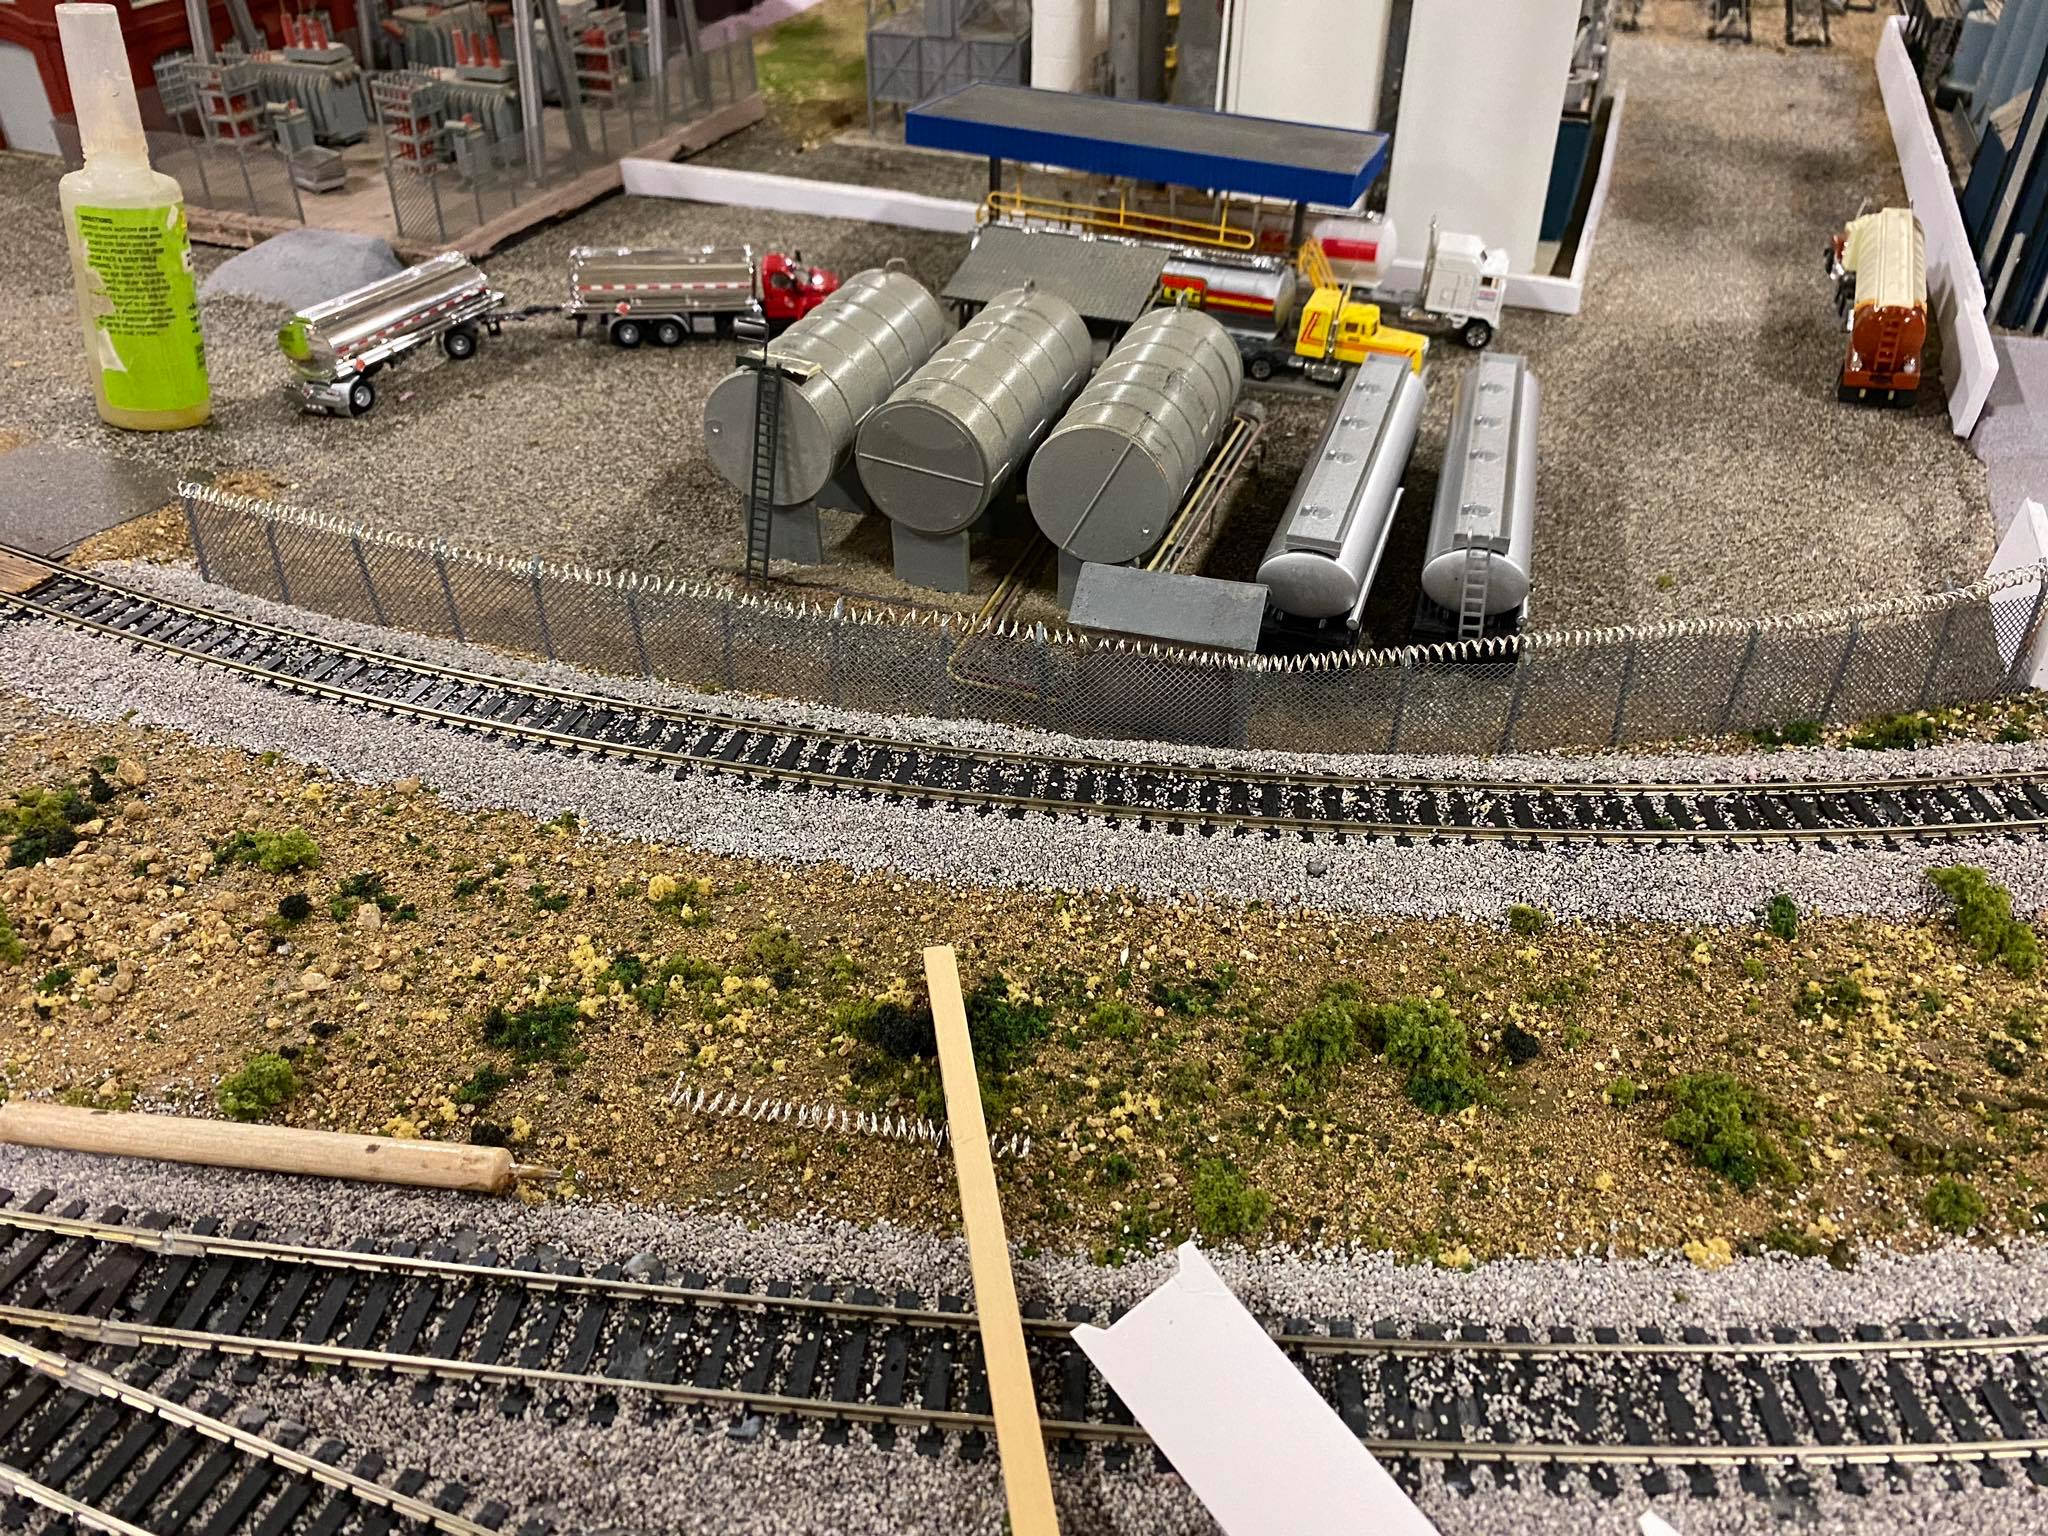
Oil storage tanks on the new extension |
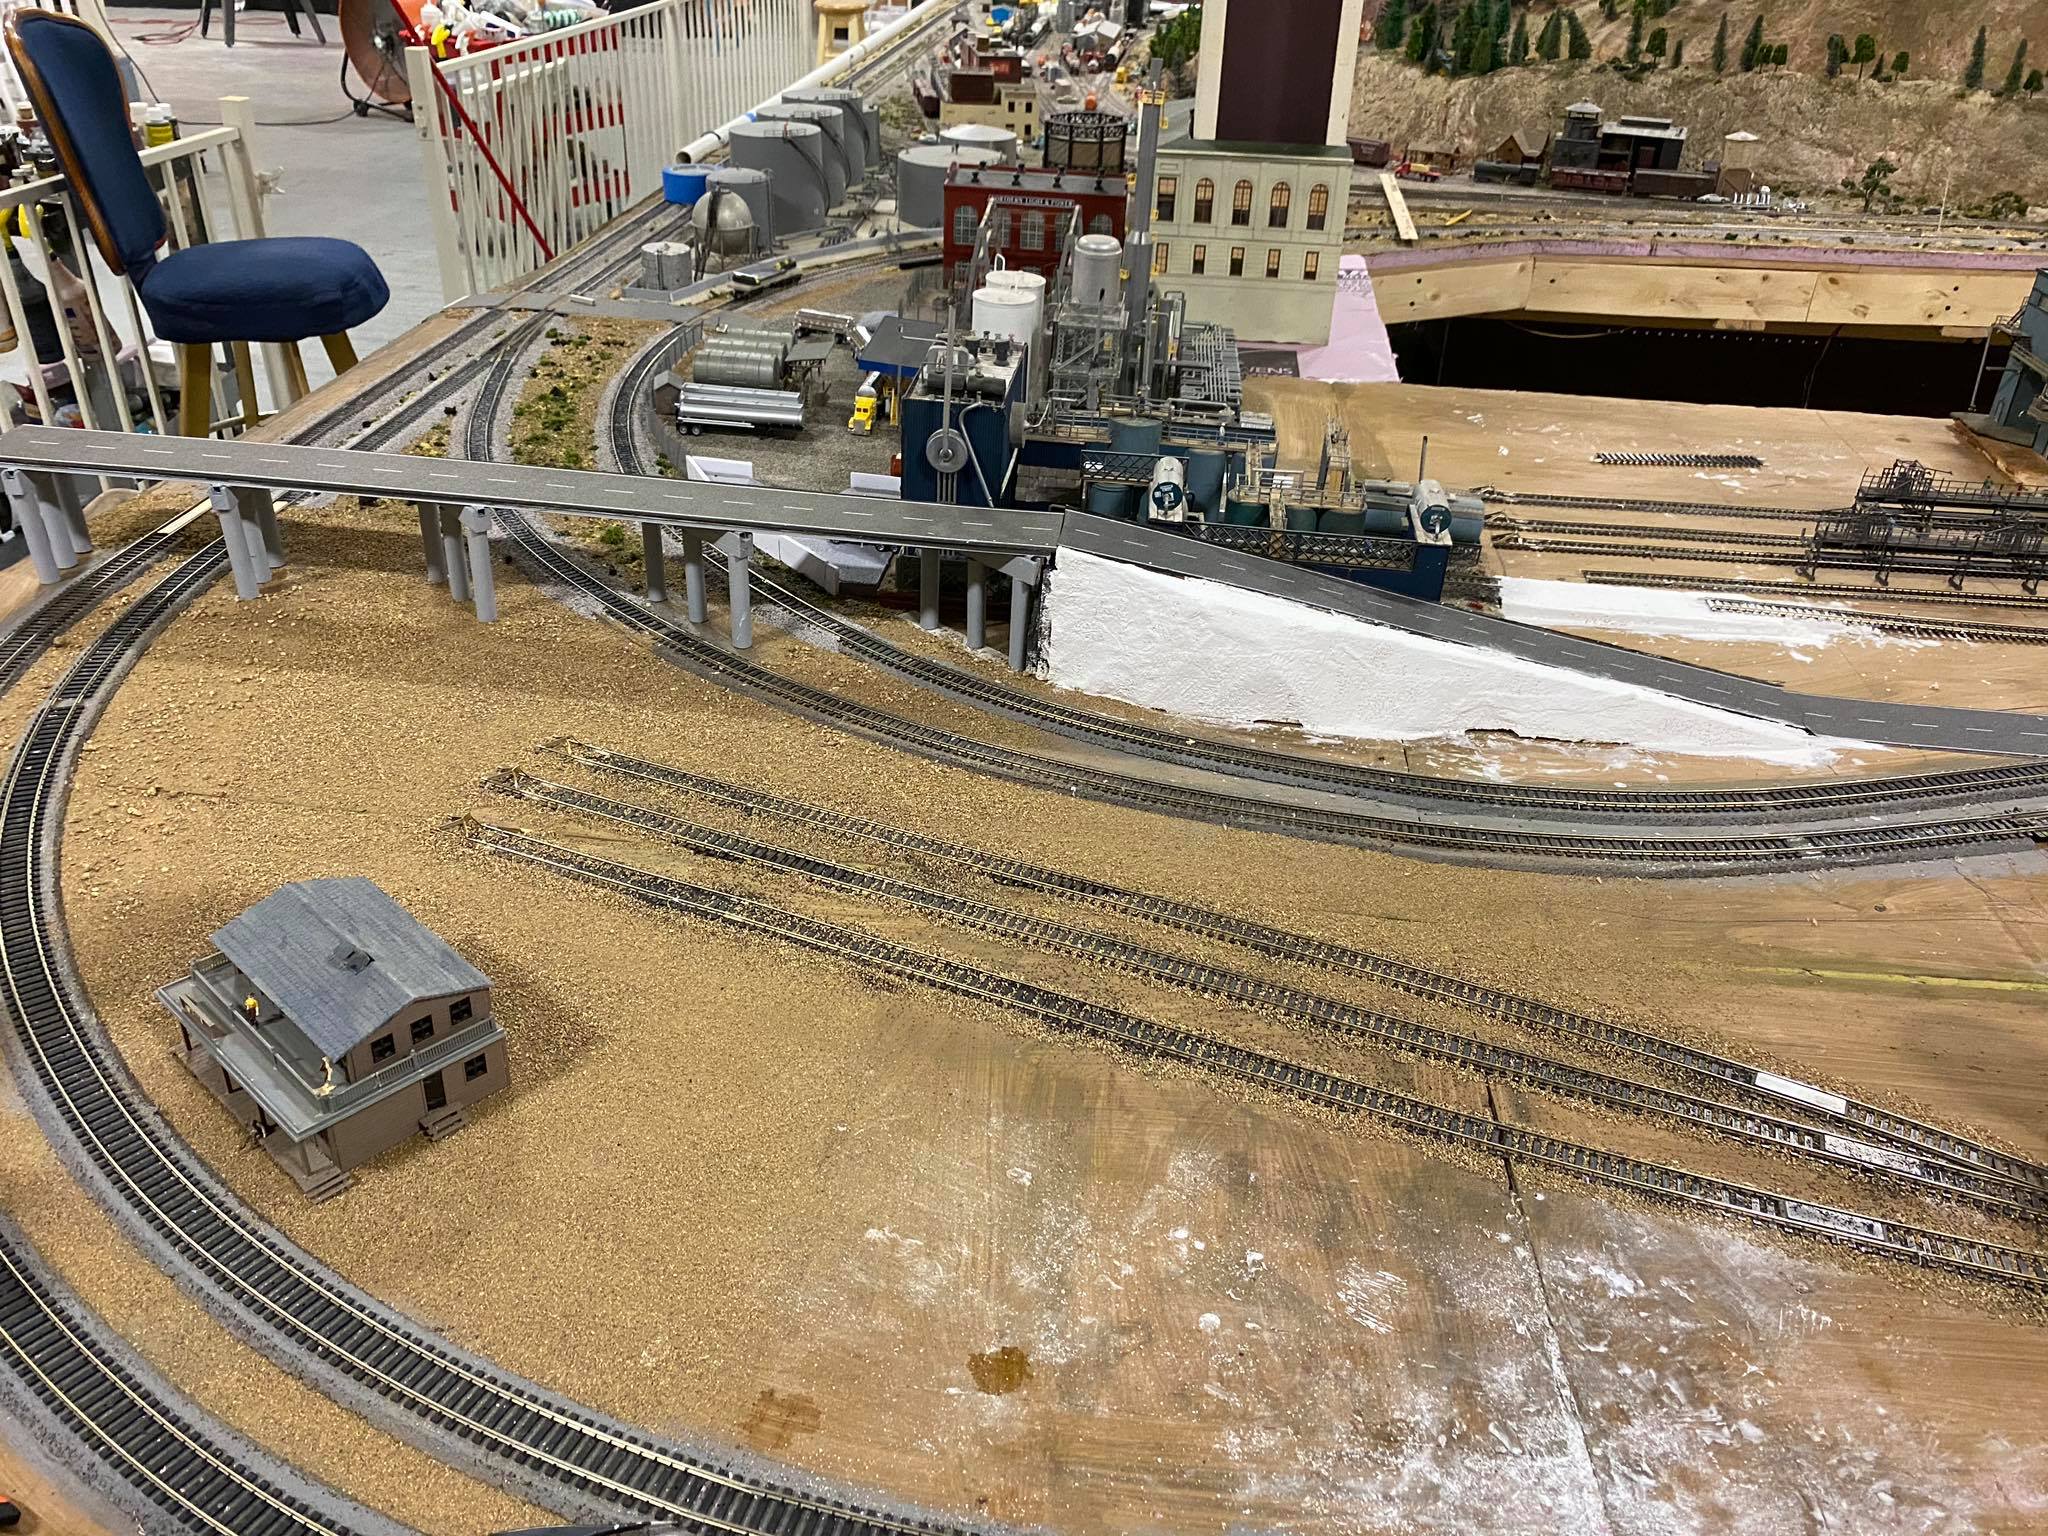
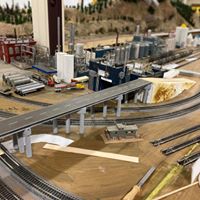 New highway bridge |
 View of bridge and road going into town |
 Material for chain link fence |
Fence installed |
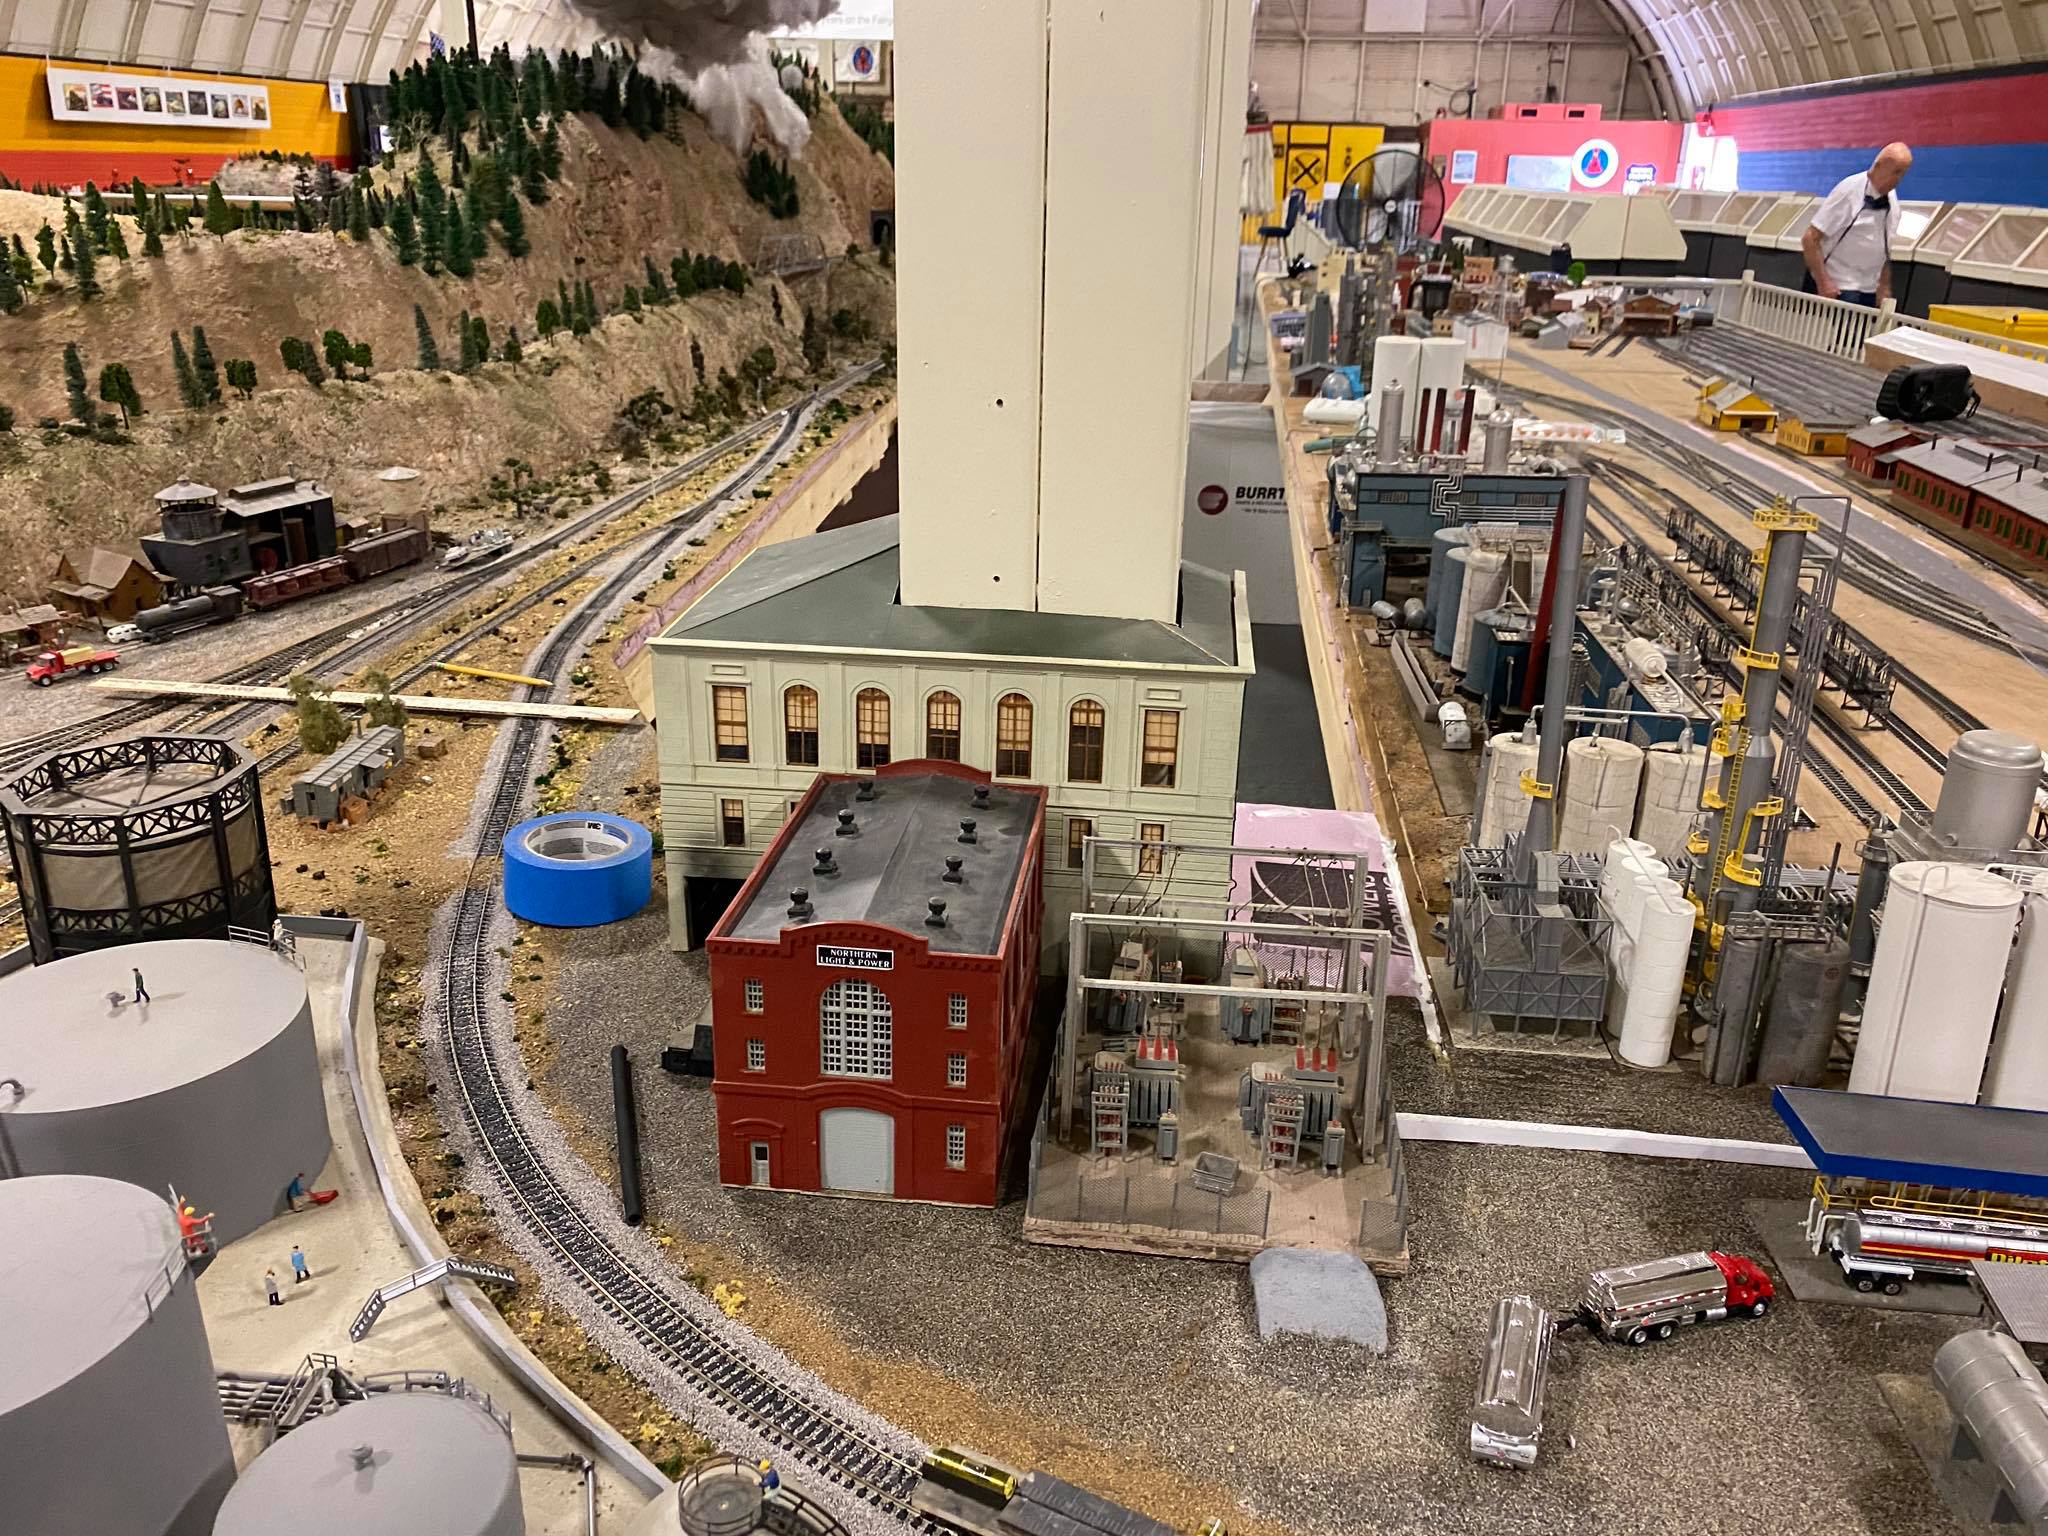
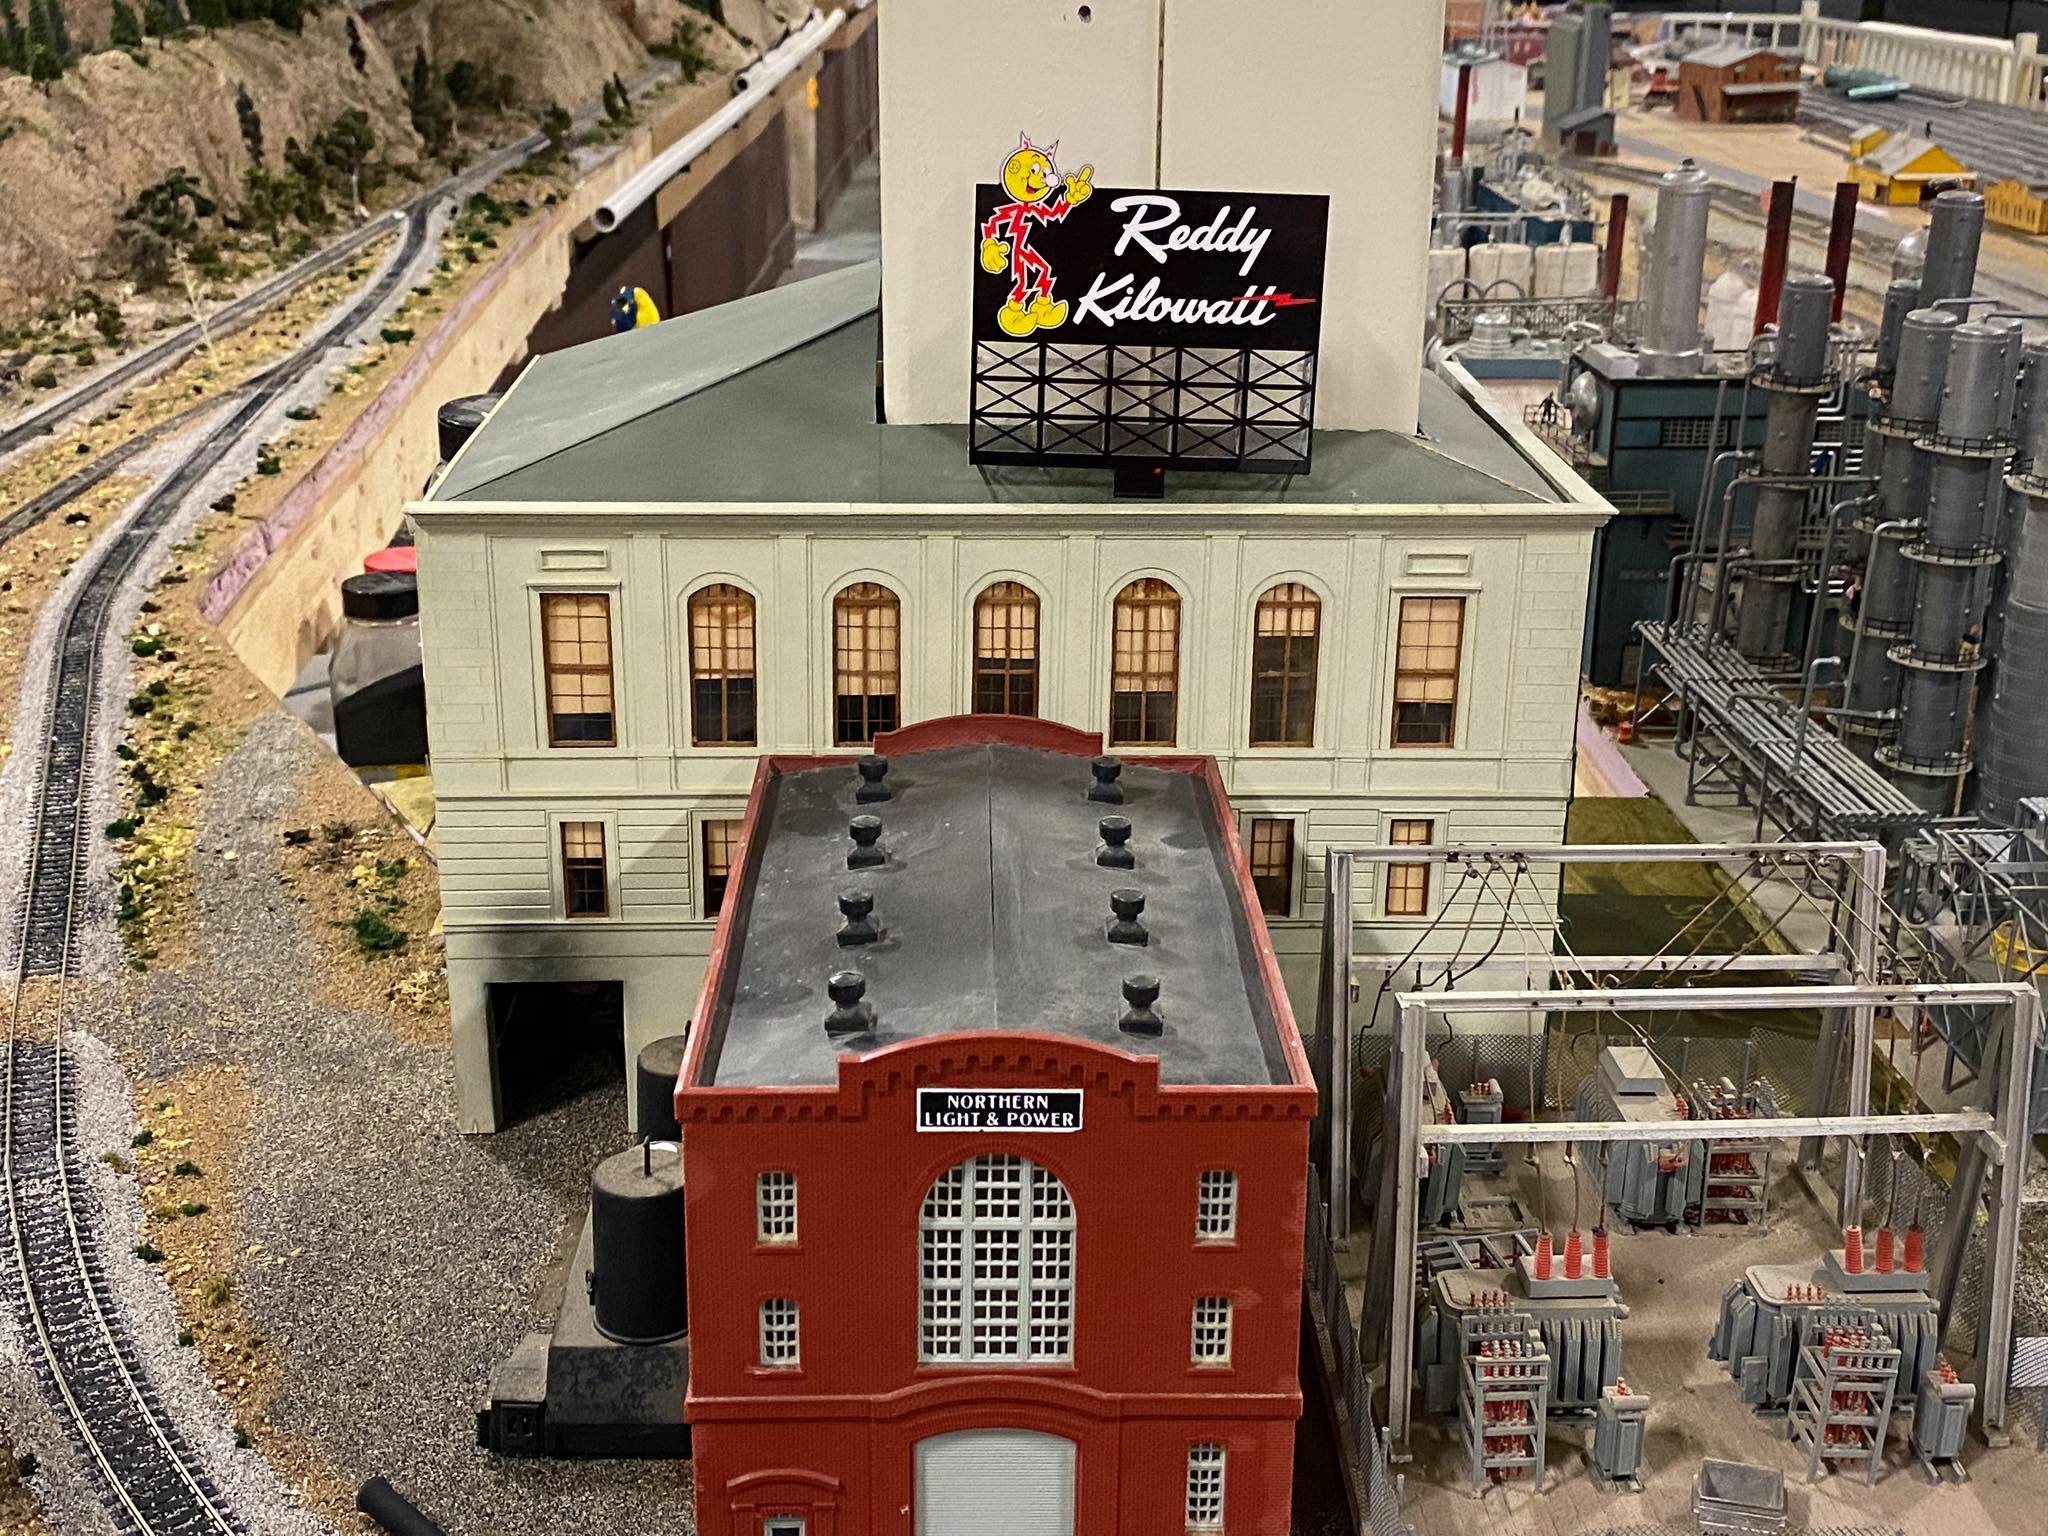
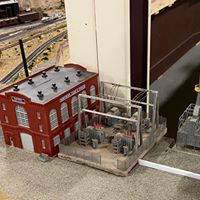 Location of new power generating station |
 Power company headquarters |
 Eddy, our boss relaxing |
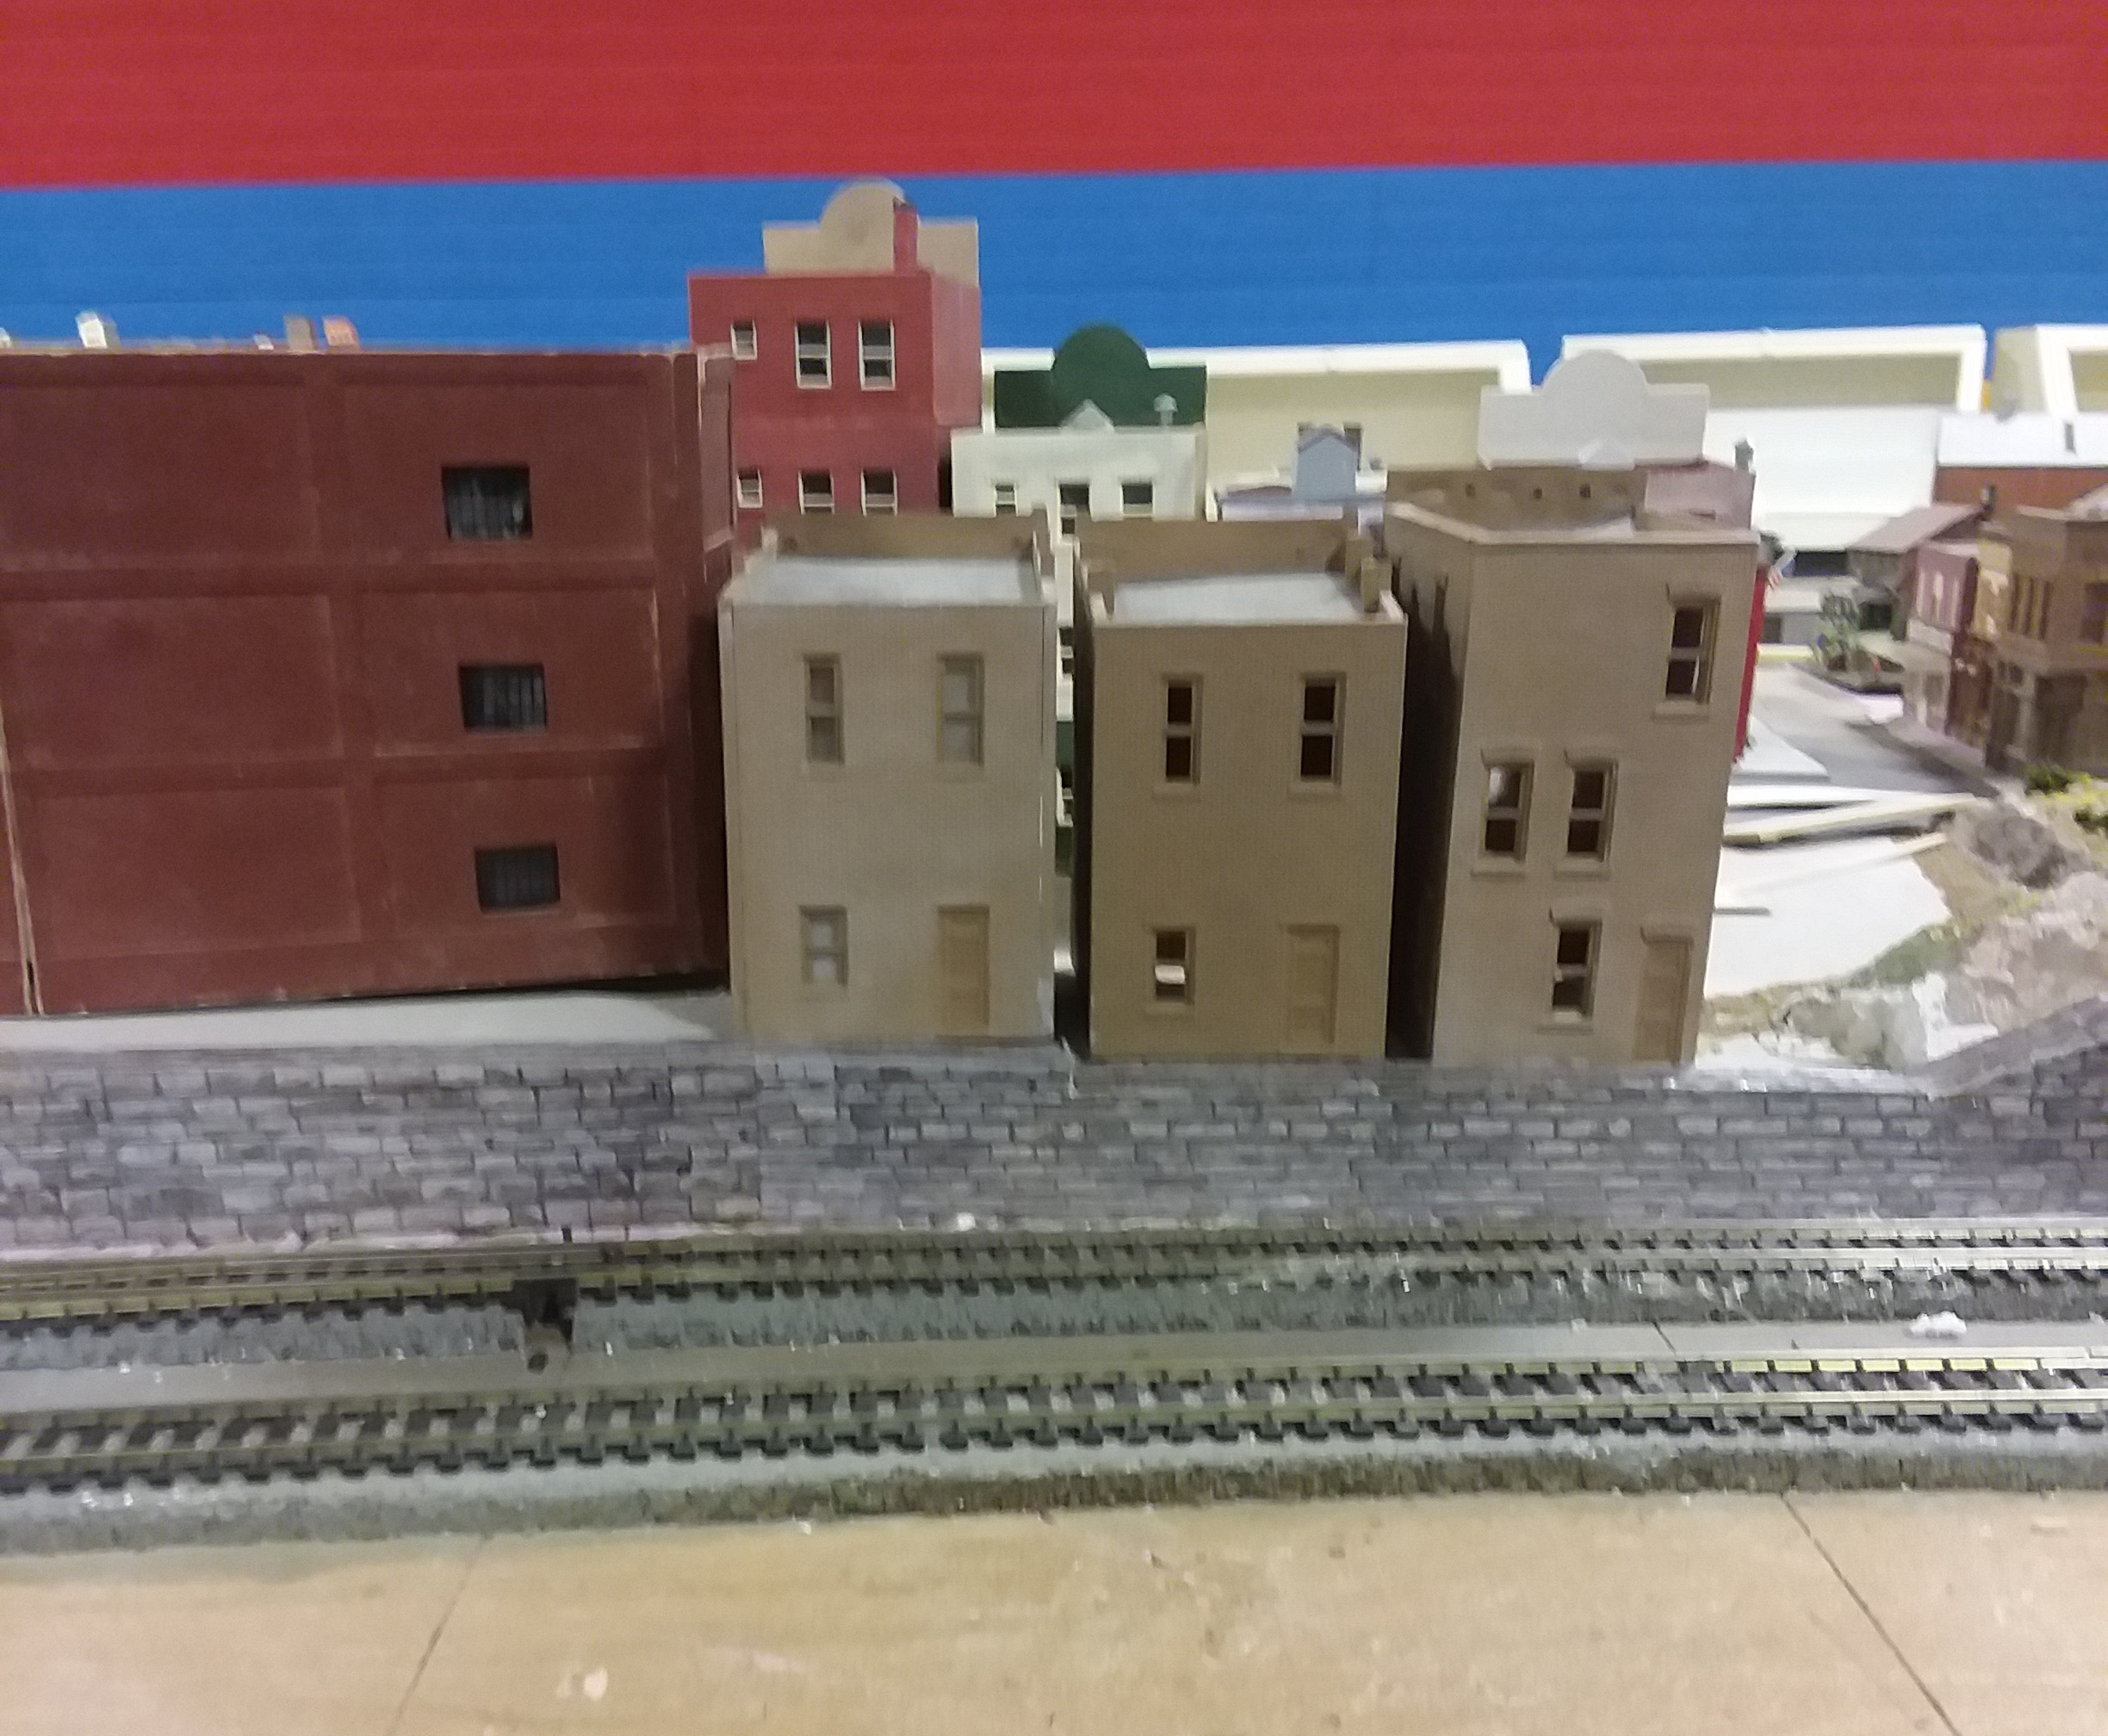
New wall at rear of buildings |
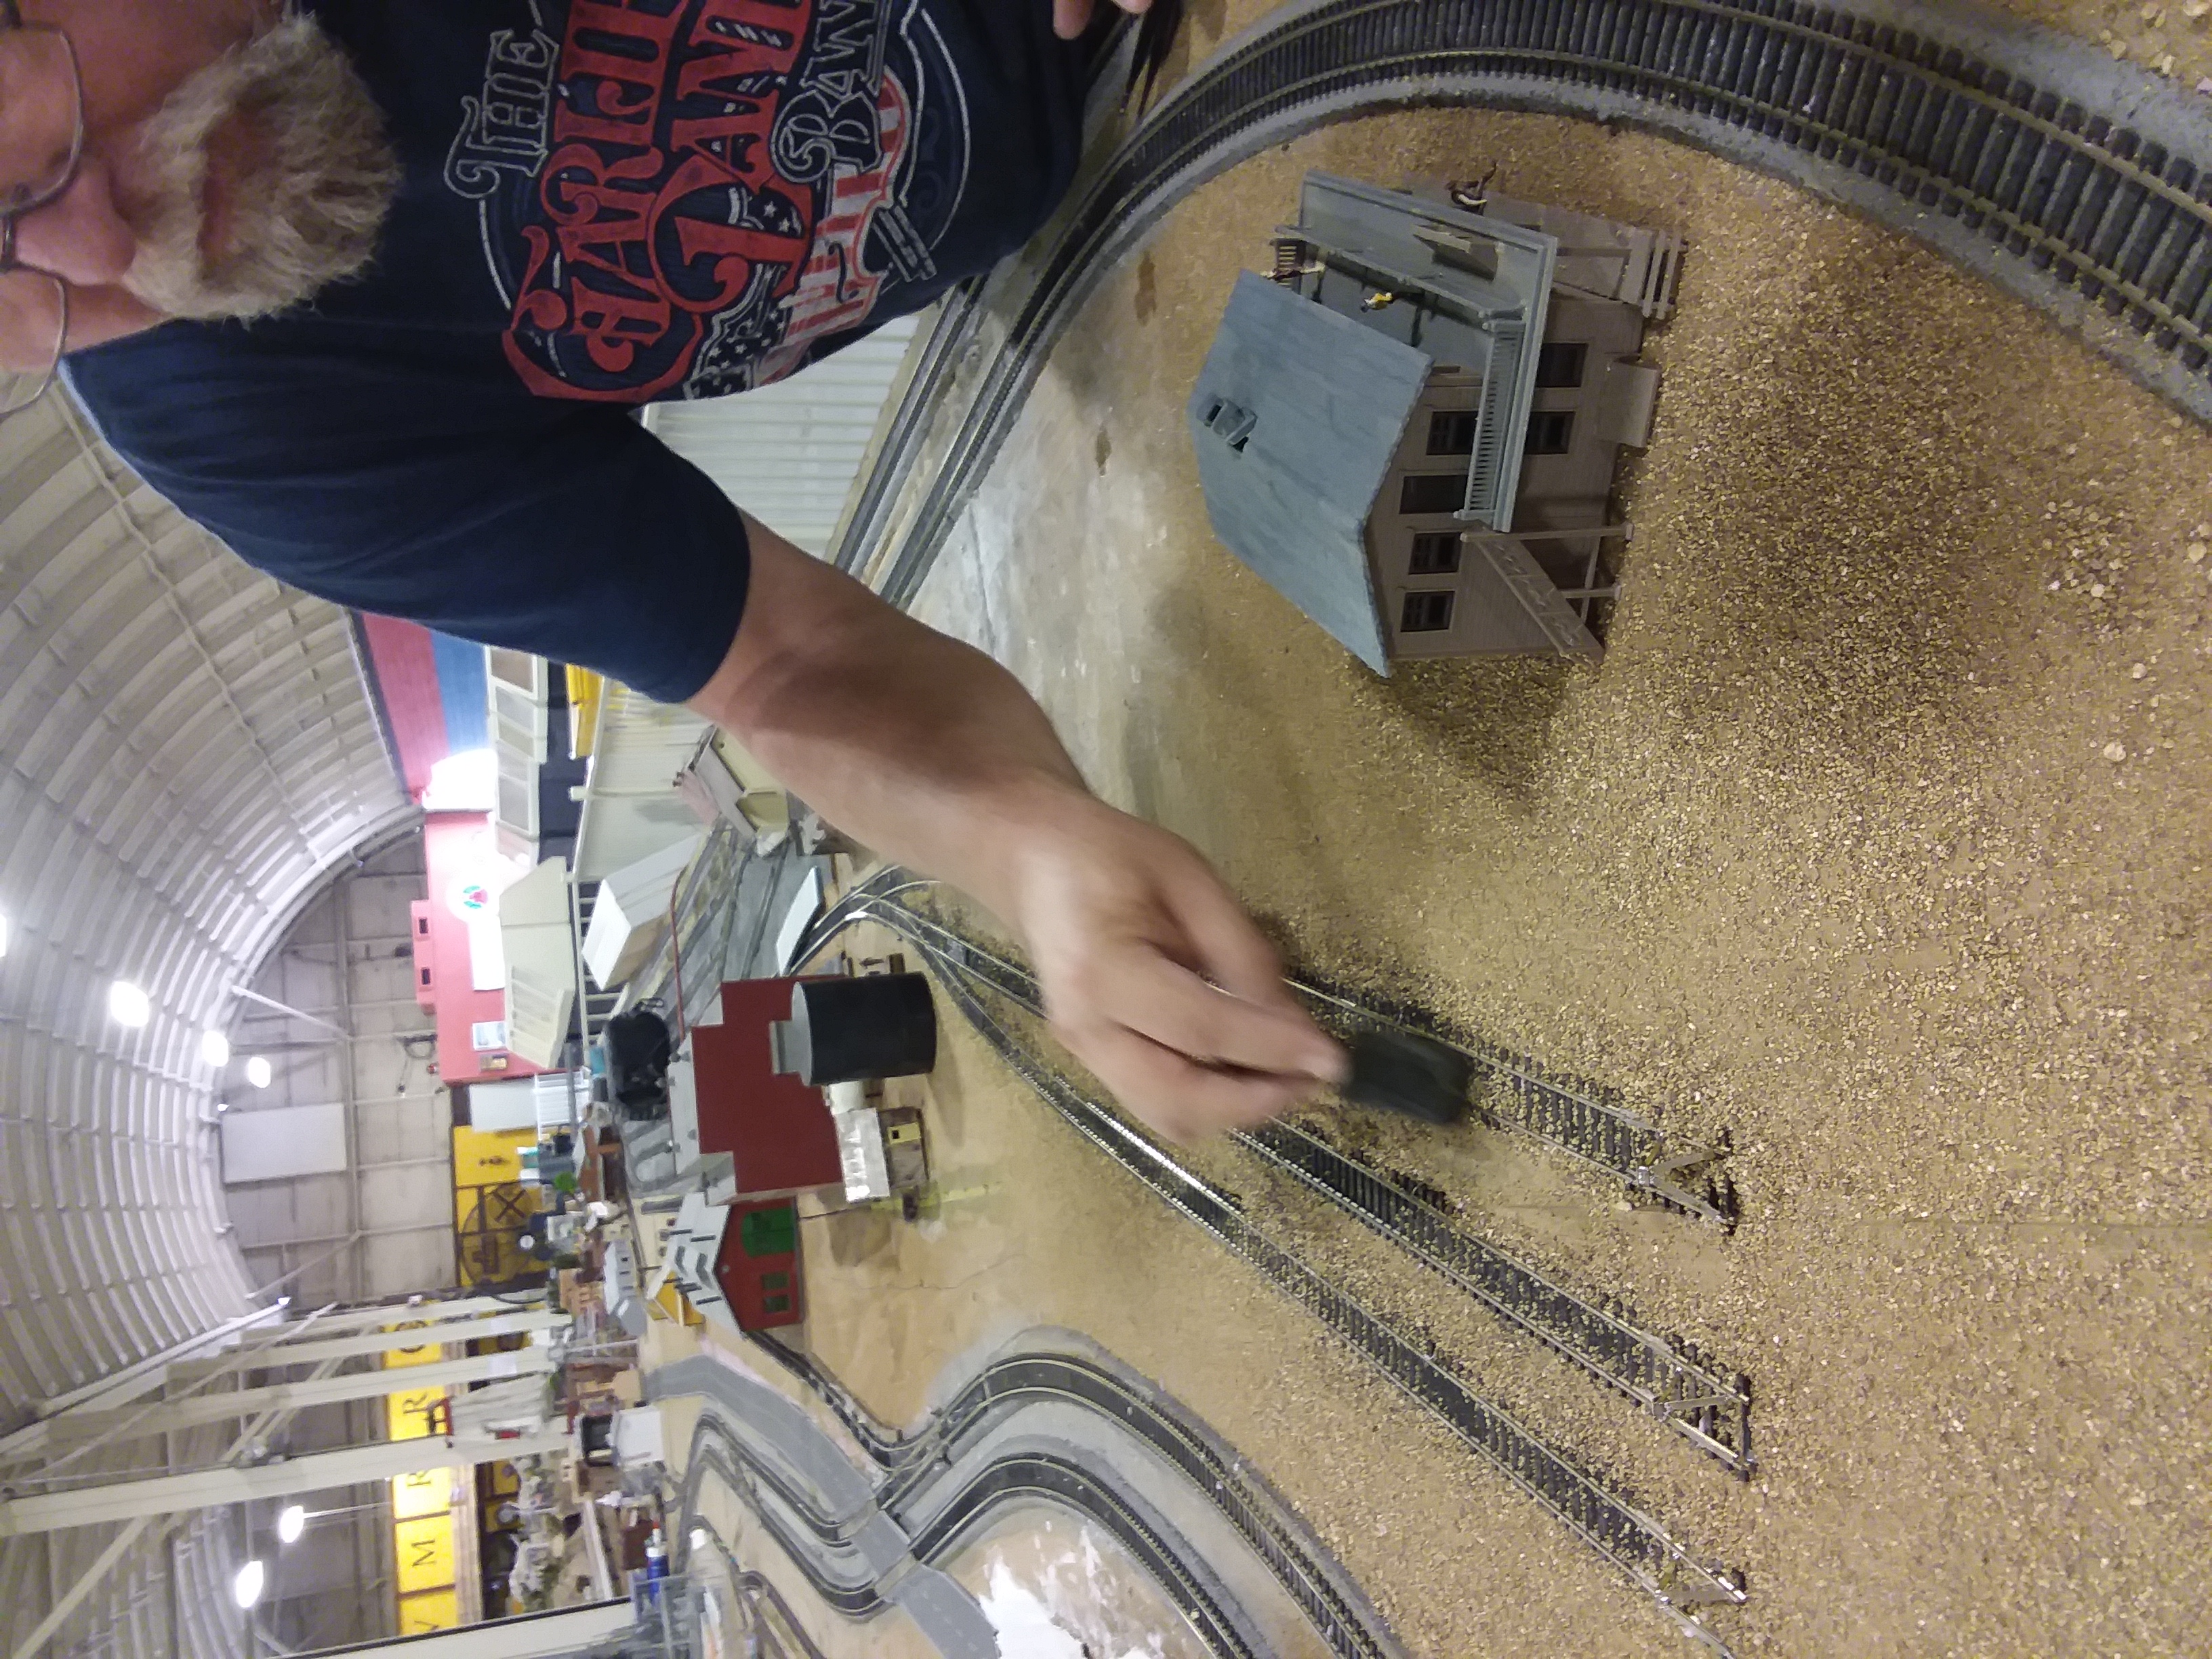
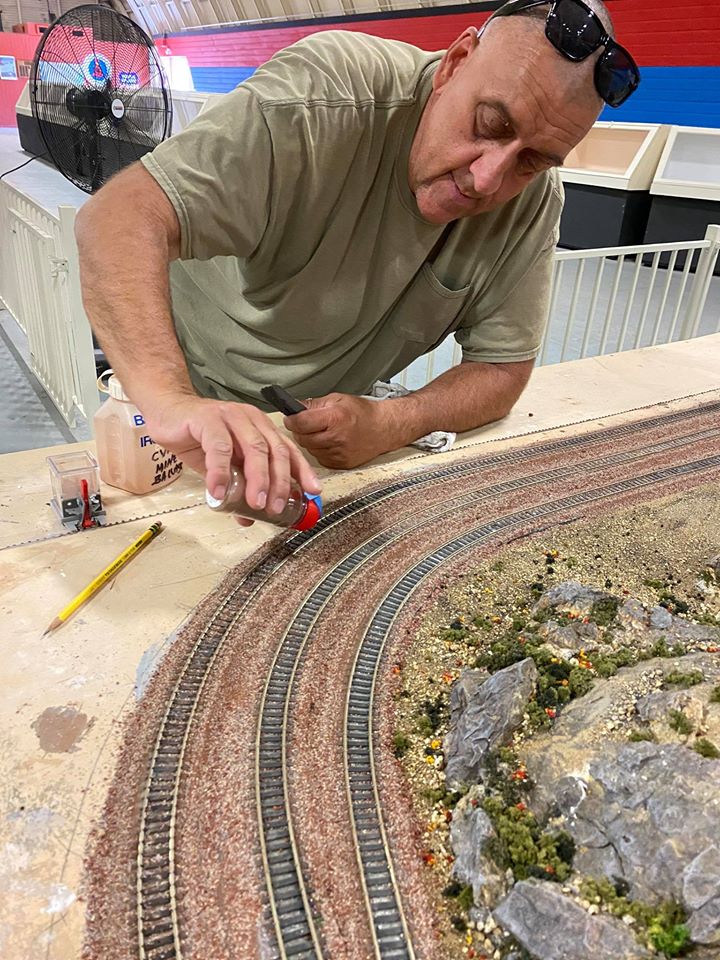
Applying ballast and ground cover |
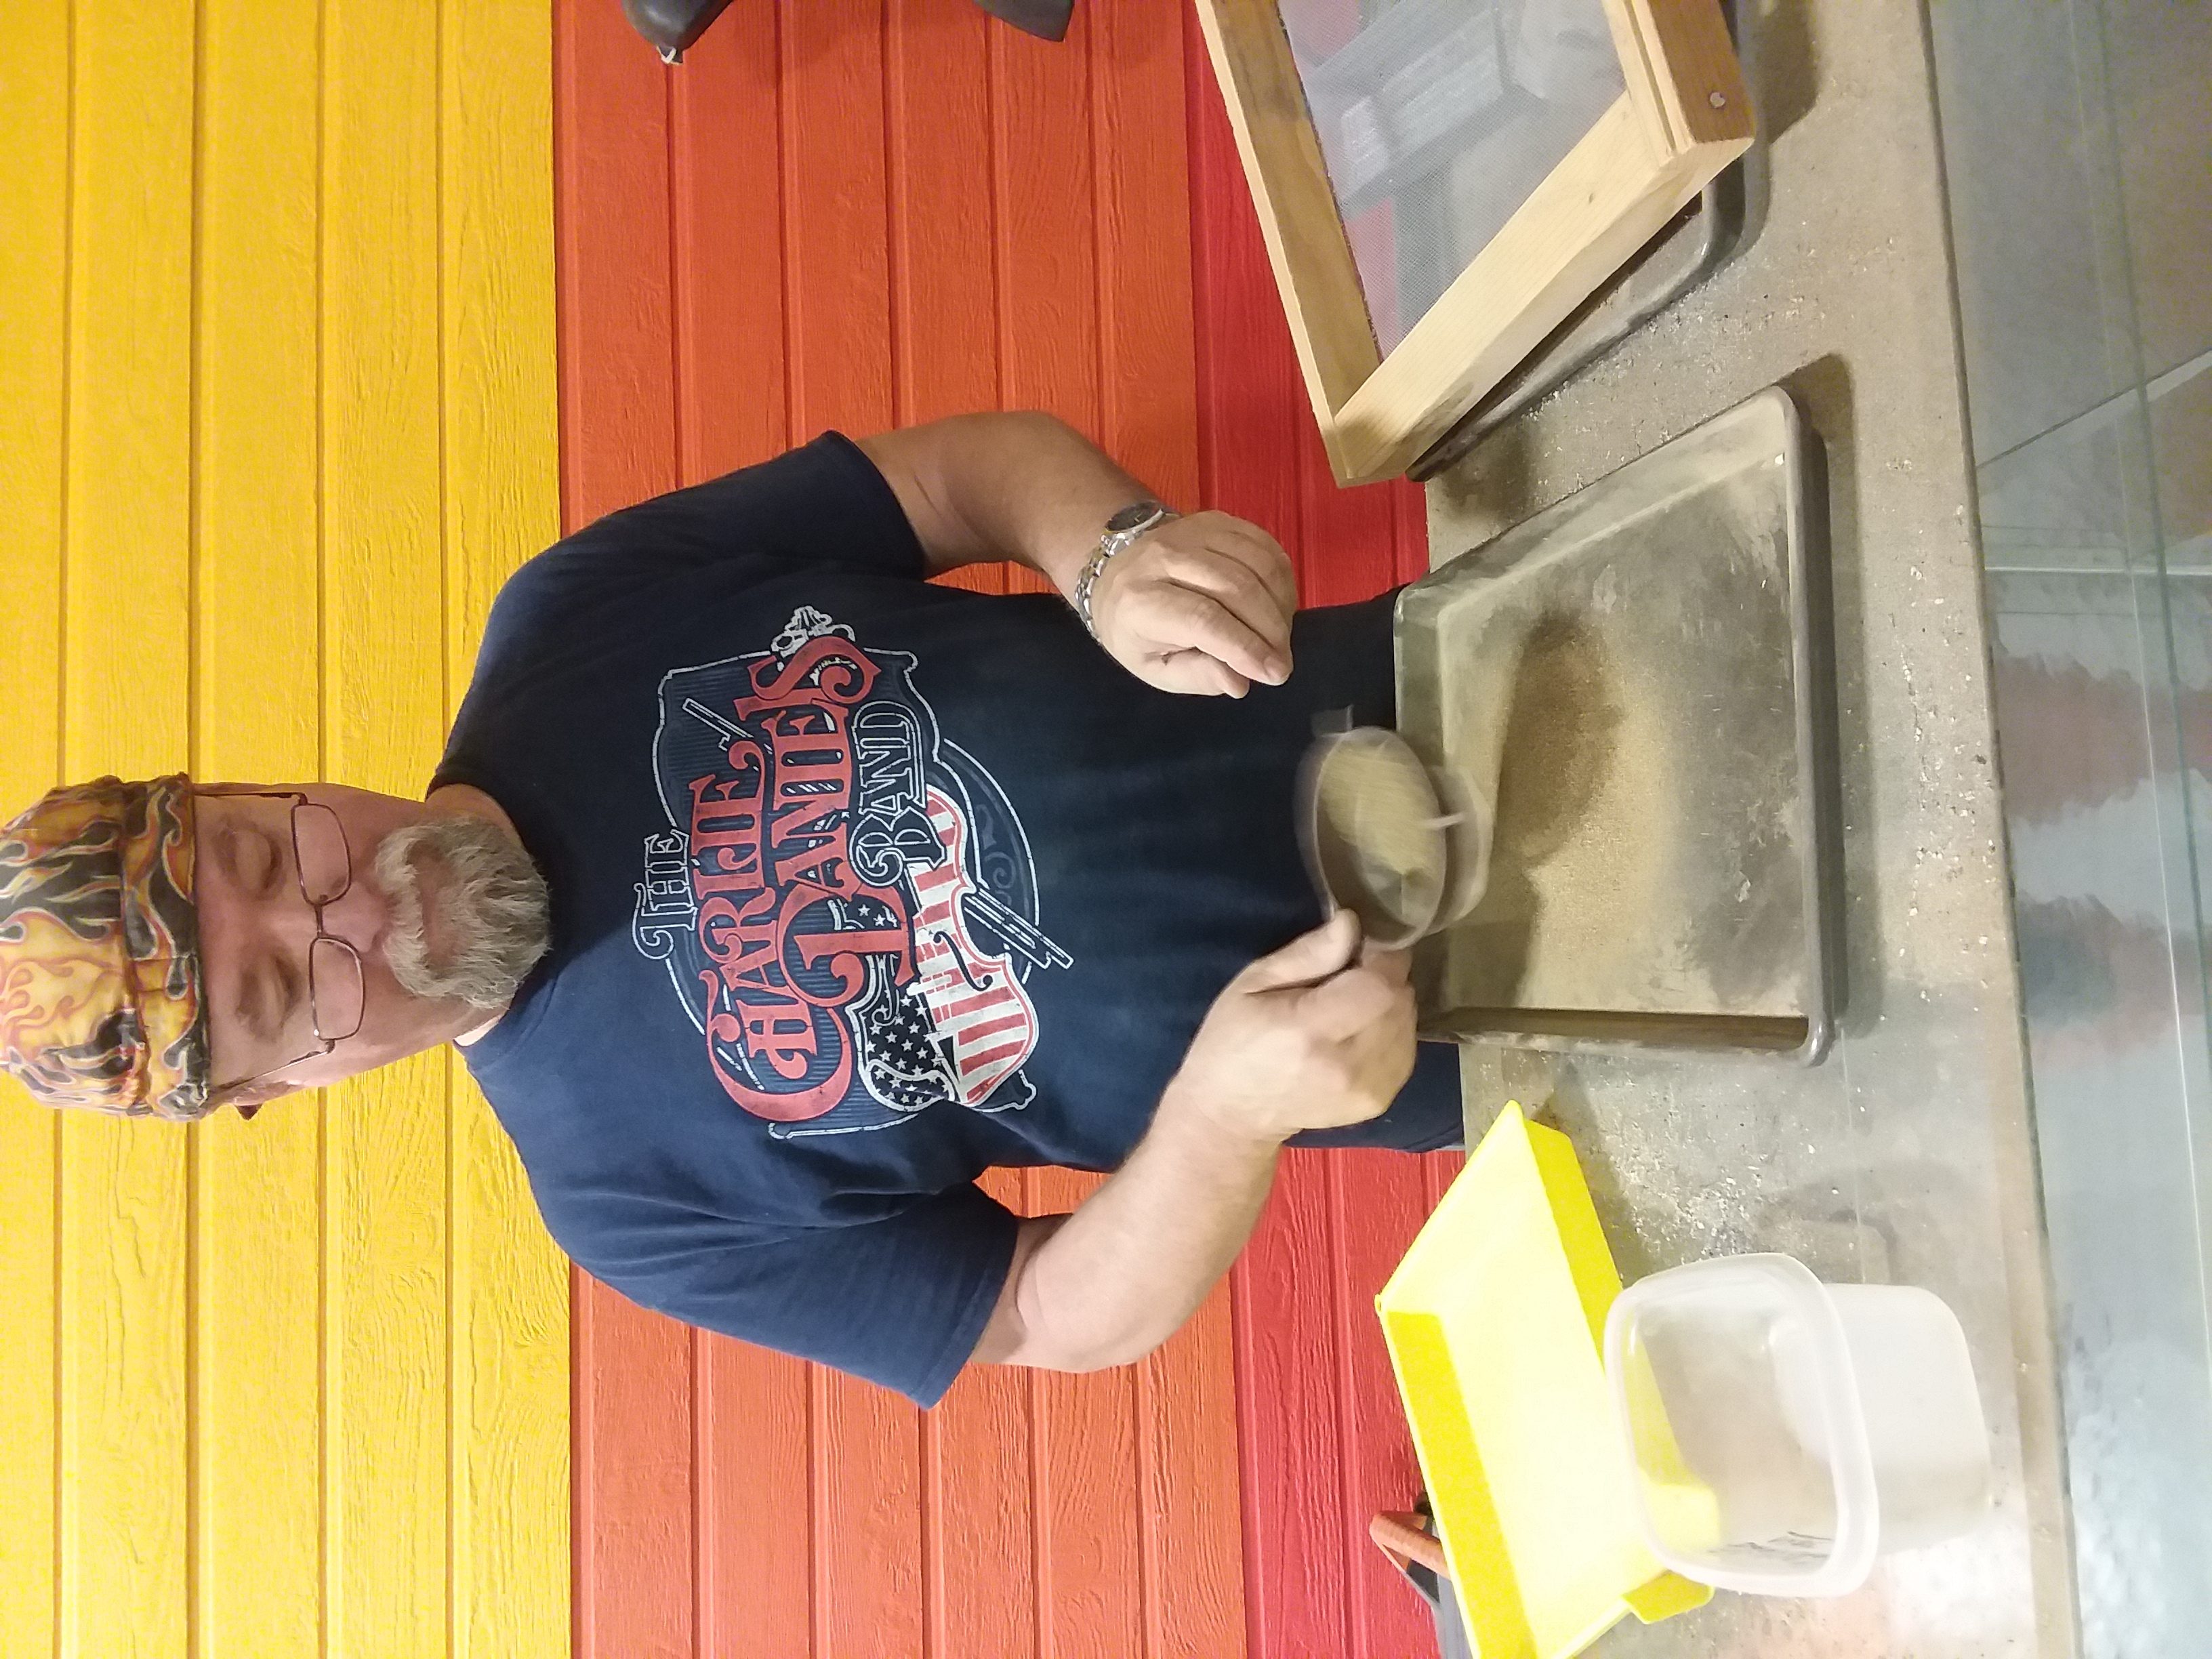 Alex sifting dirt for ground cover |
 |
 |
 |
 |
 |
 |
 |
 Alex applying groundcover |
 |
 |
 Sign For The Power Plant Headquarters |
 |
 |
 |
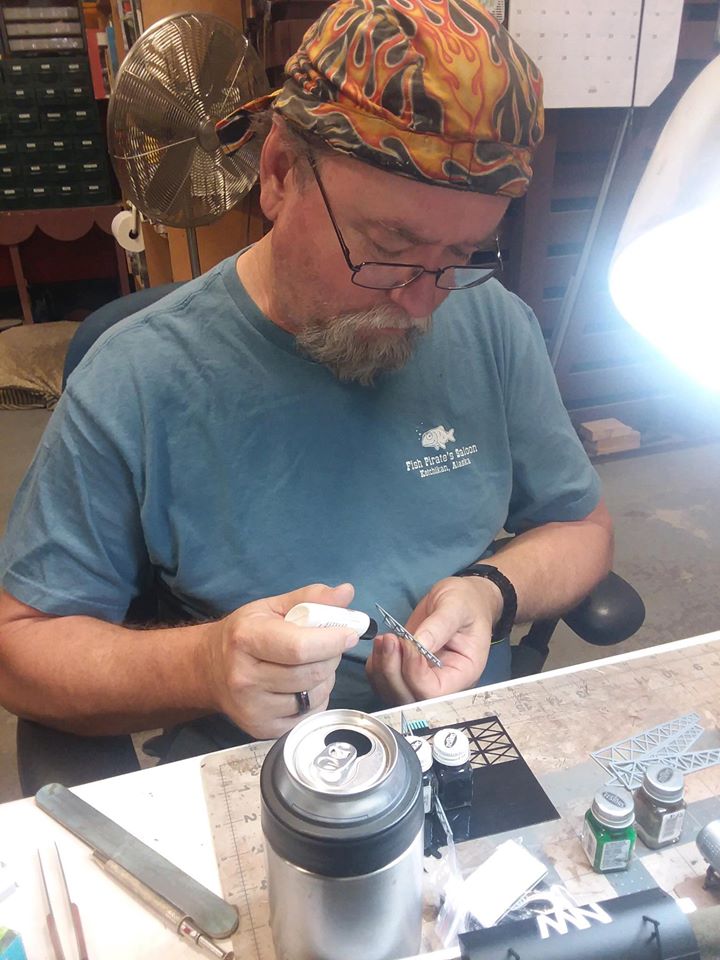
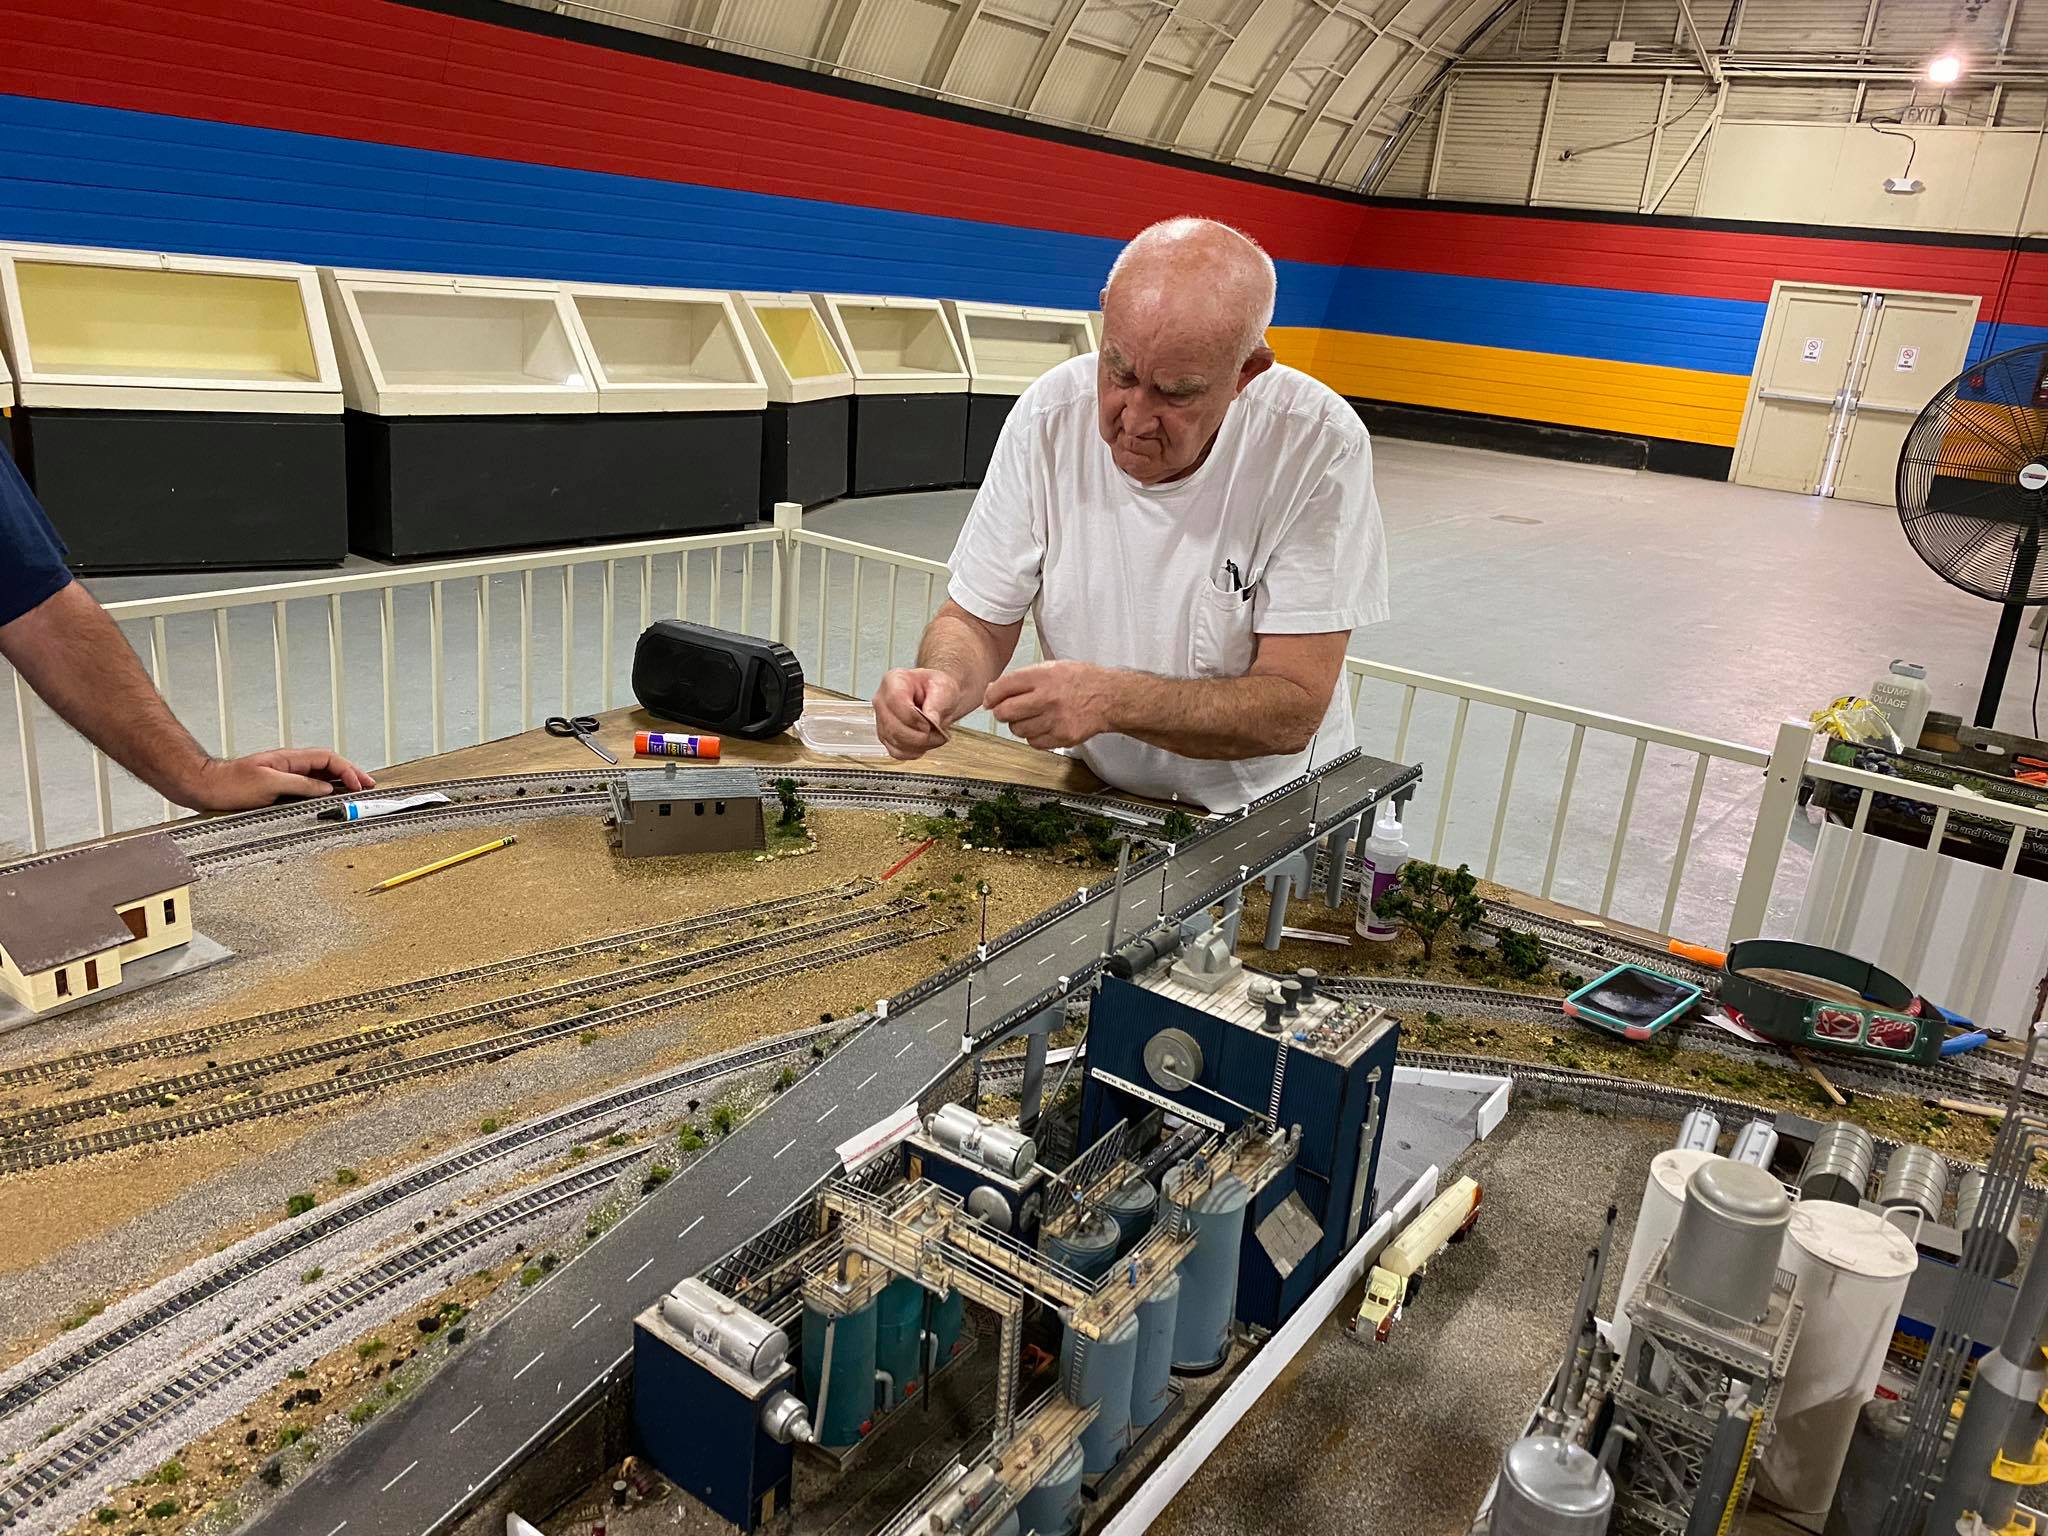
 Robert doing painting detail |
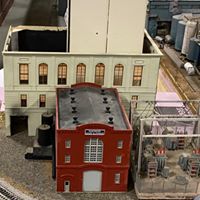
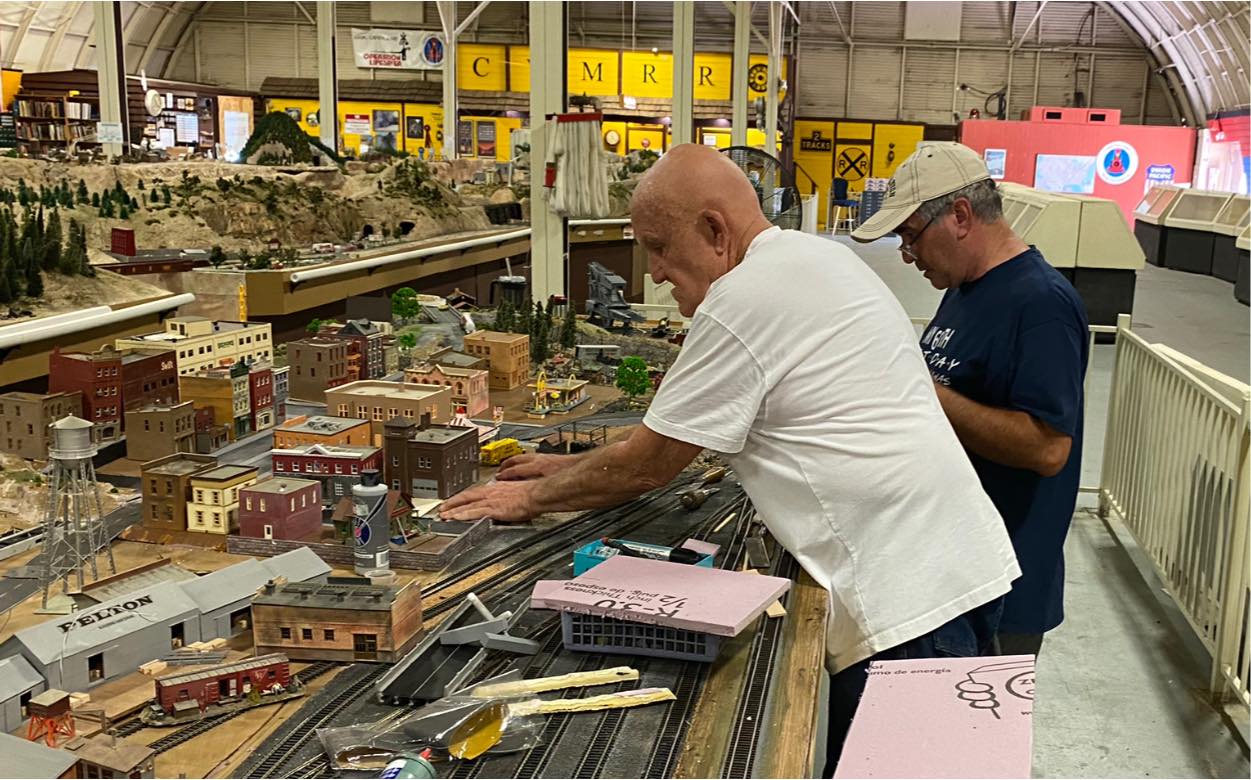 Jim & Robert working on the town |
 Alex assembling the sign for the power plant |
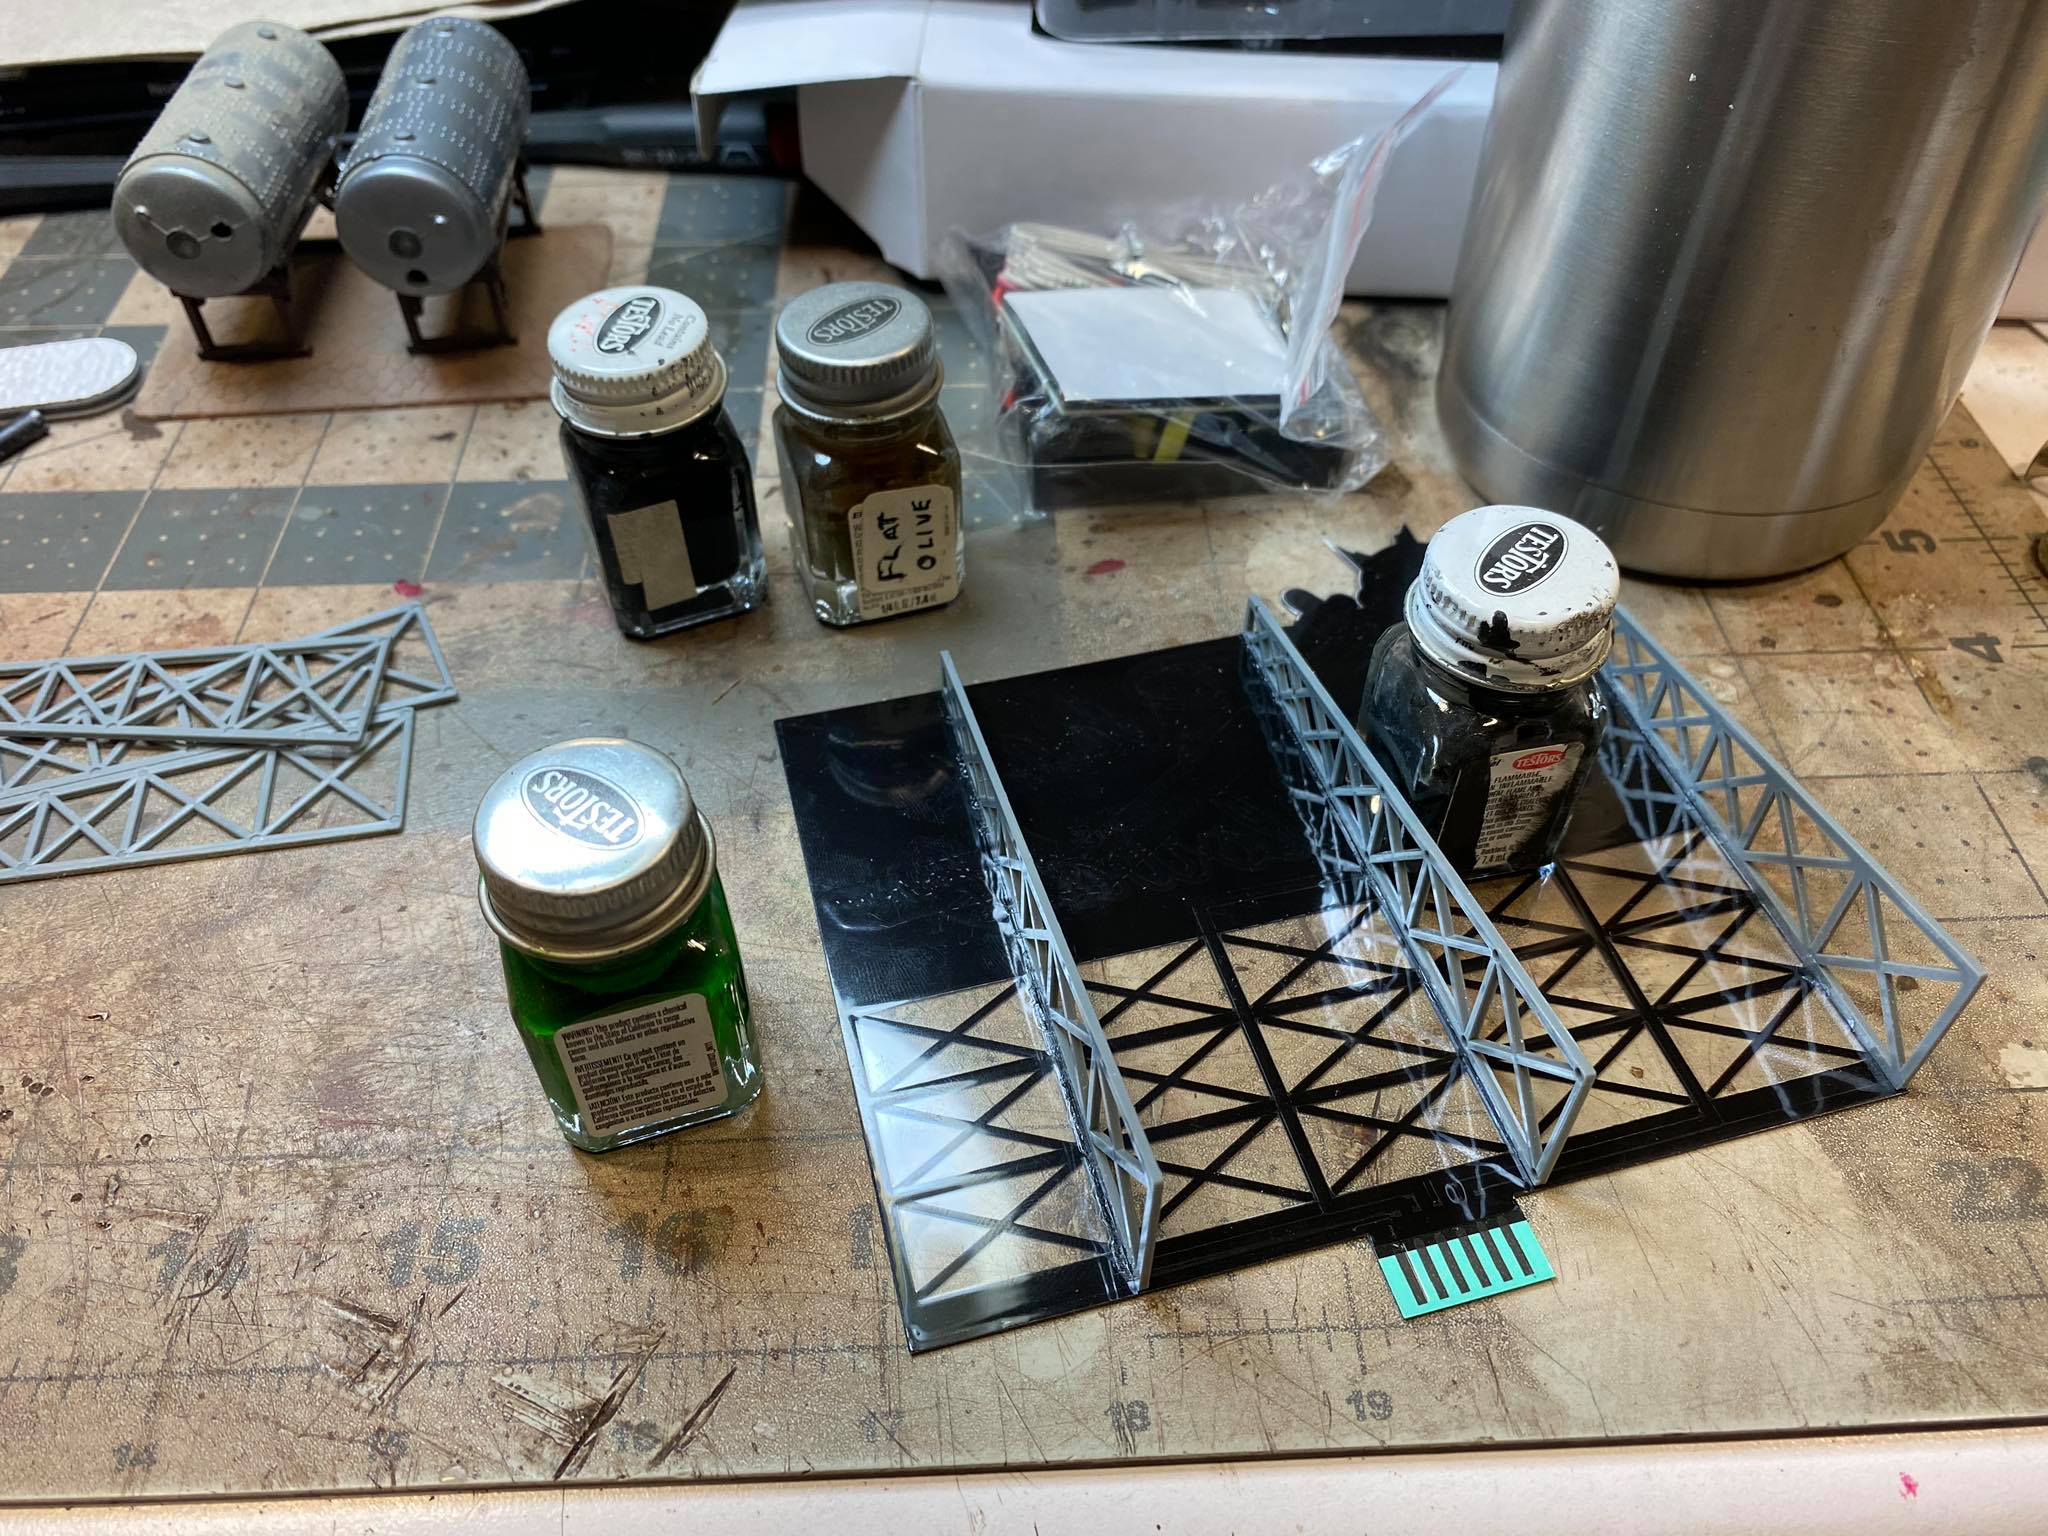 Sign being assembled |
 Sign setting where it will be installed |
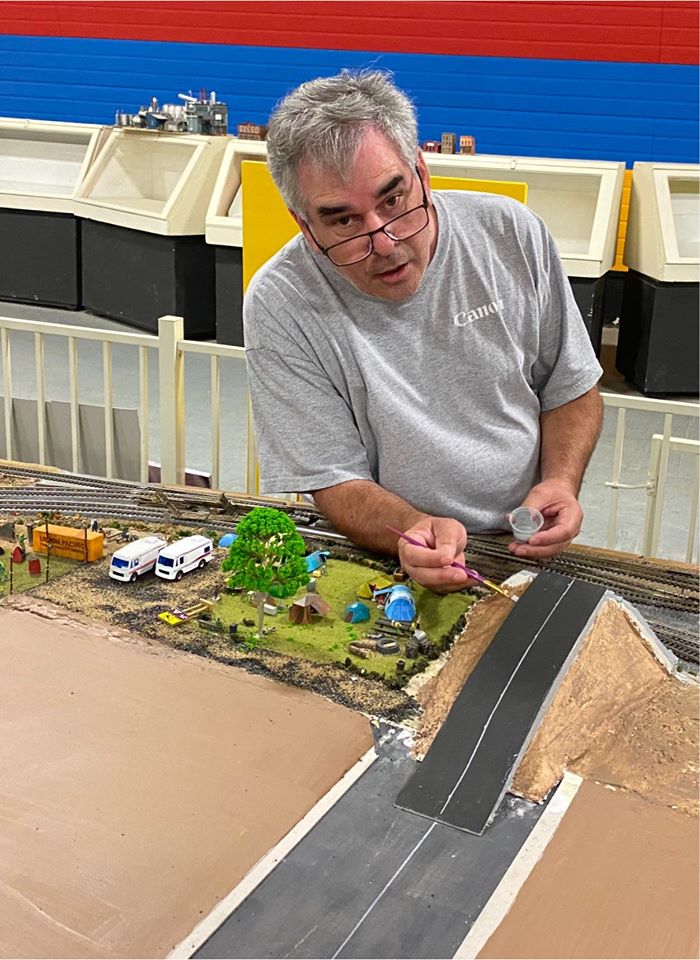
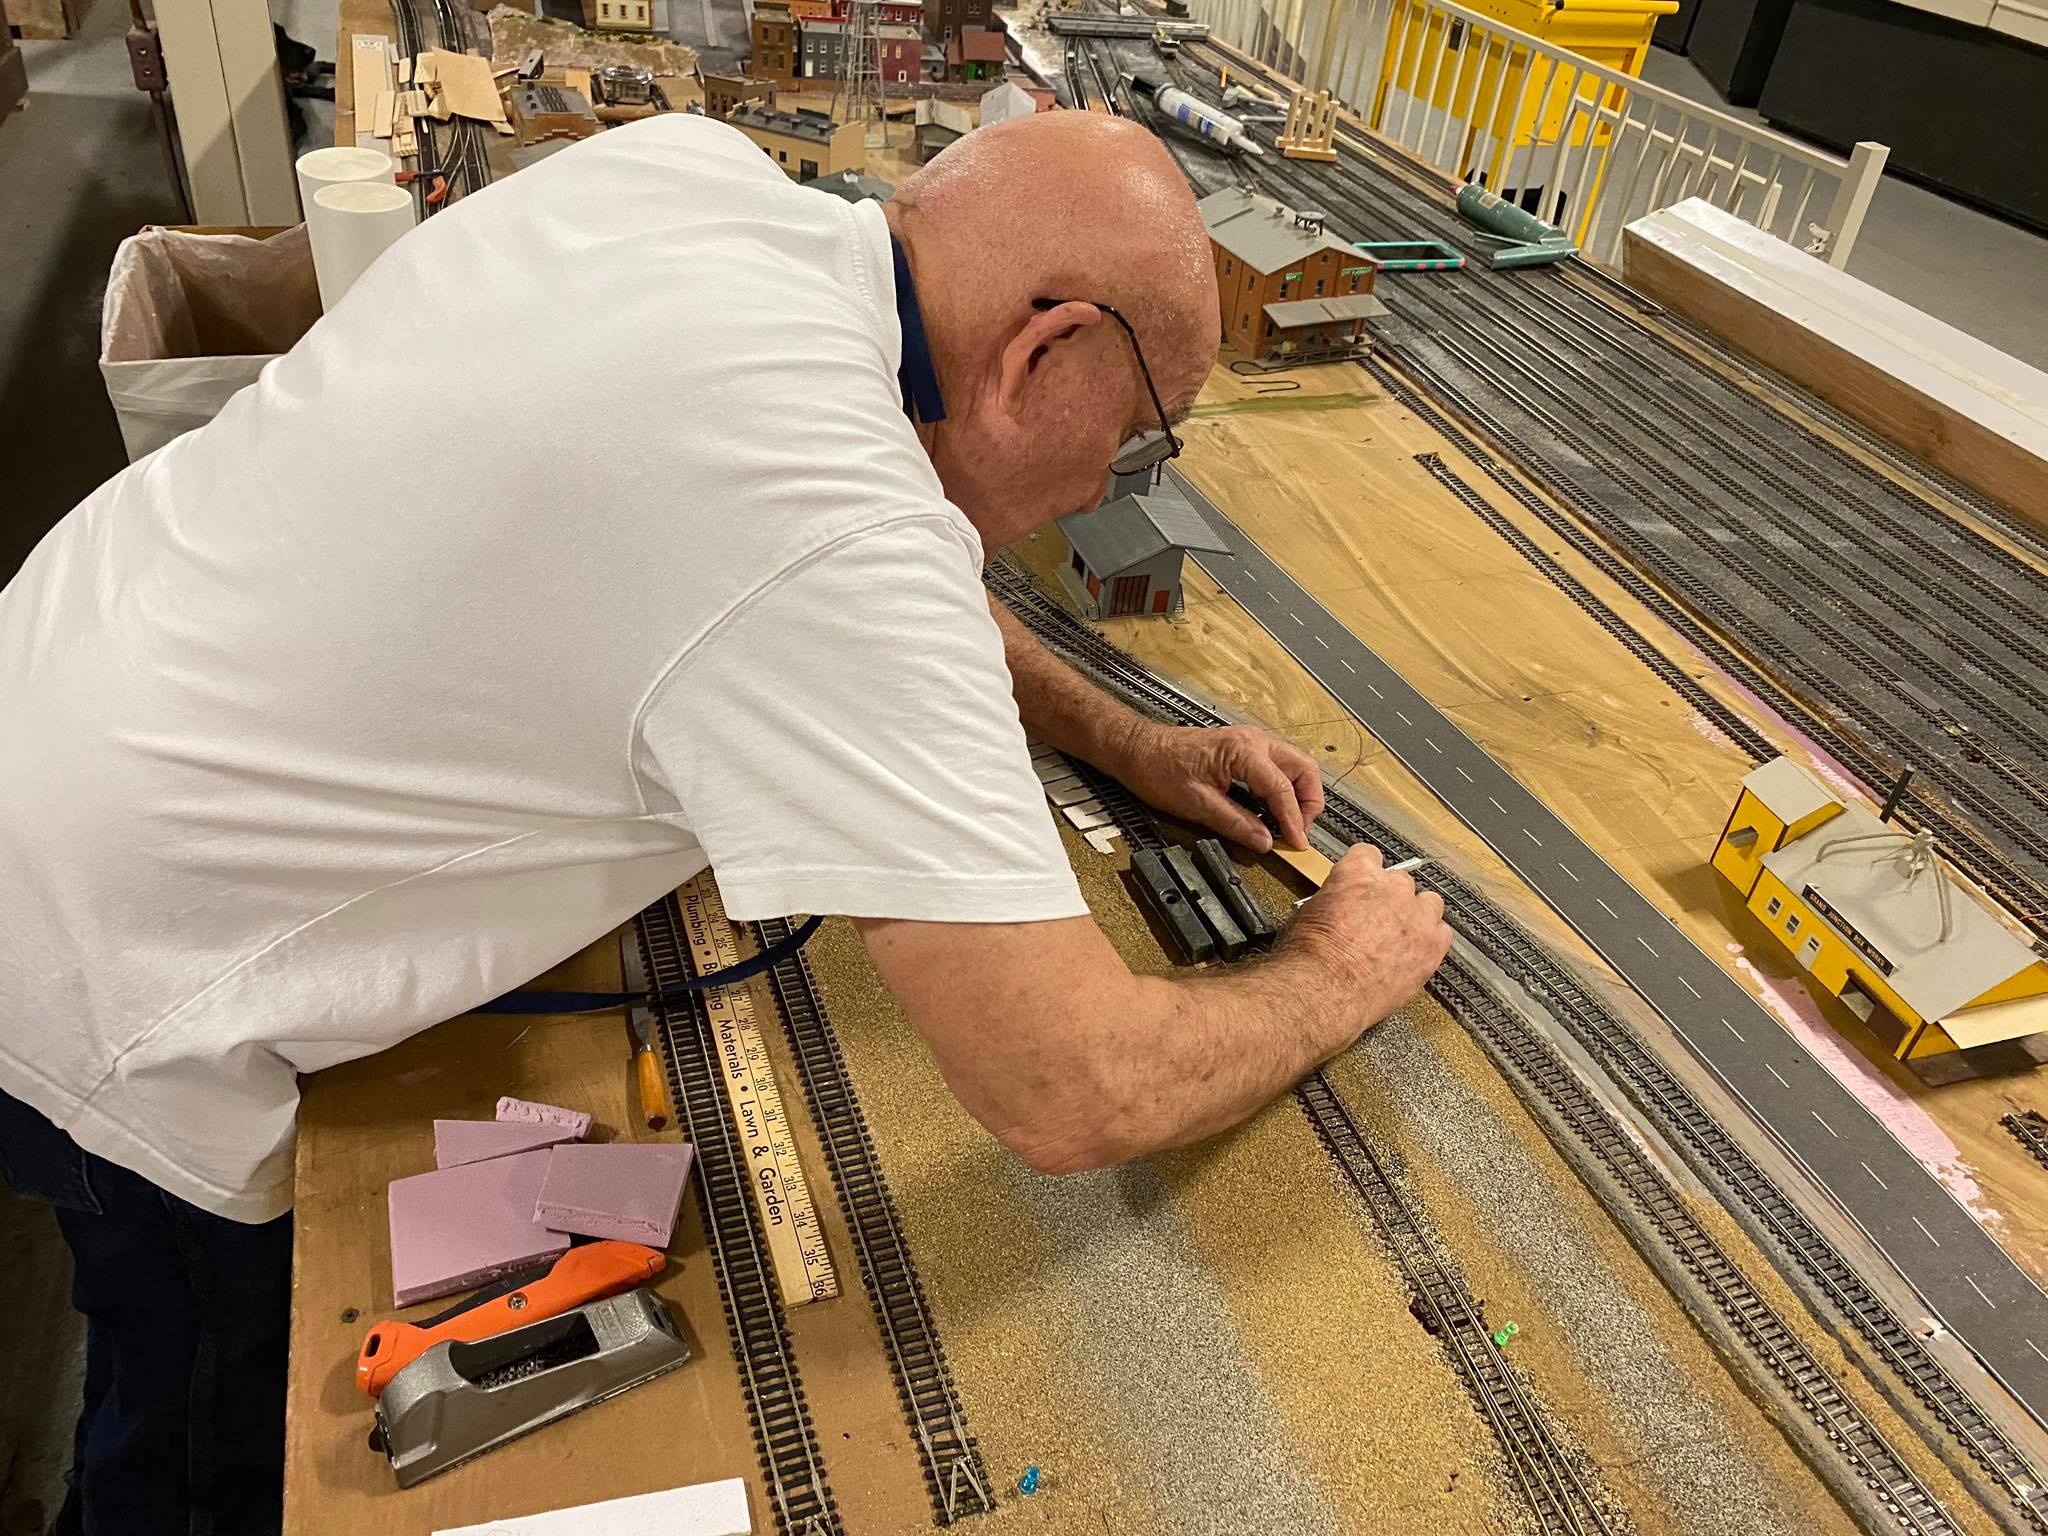 Jim installing road/grade crossing |
 Placement of road/grade crossing |
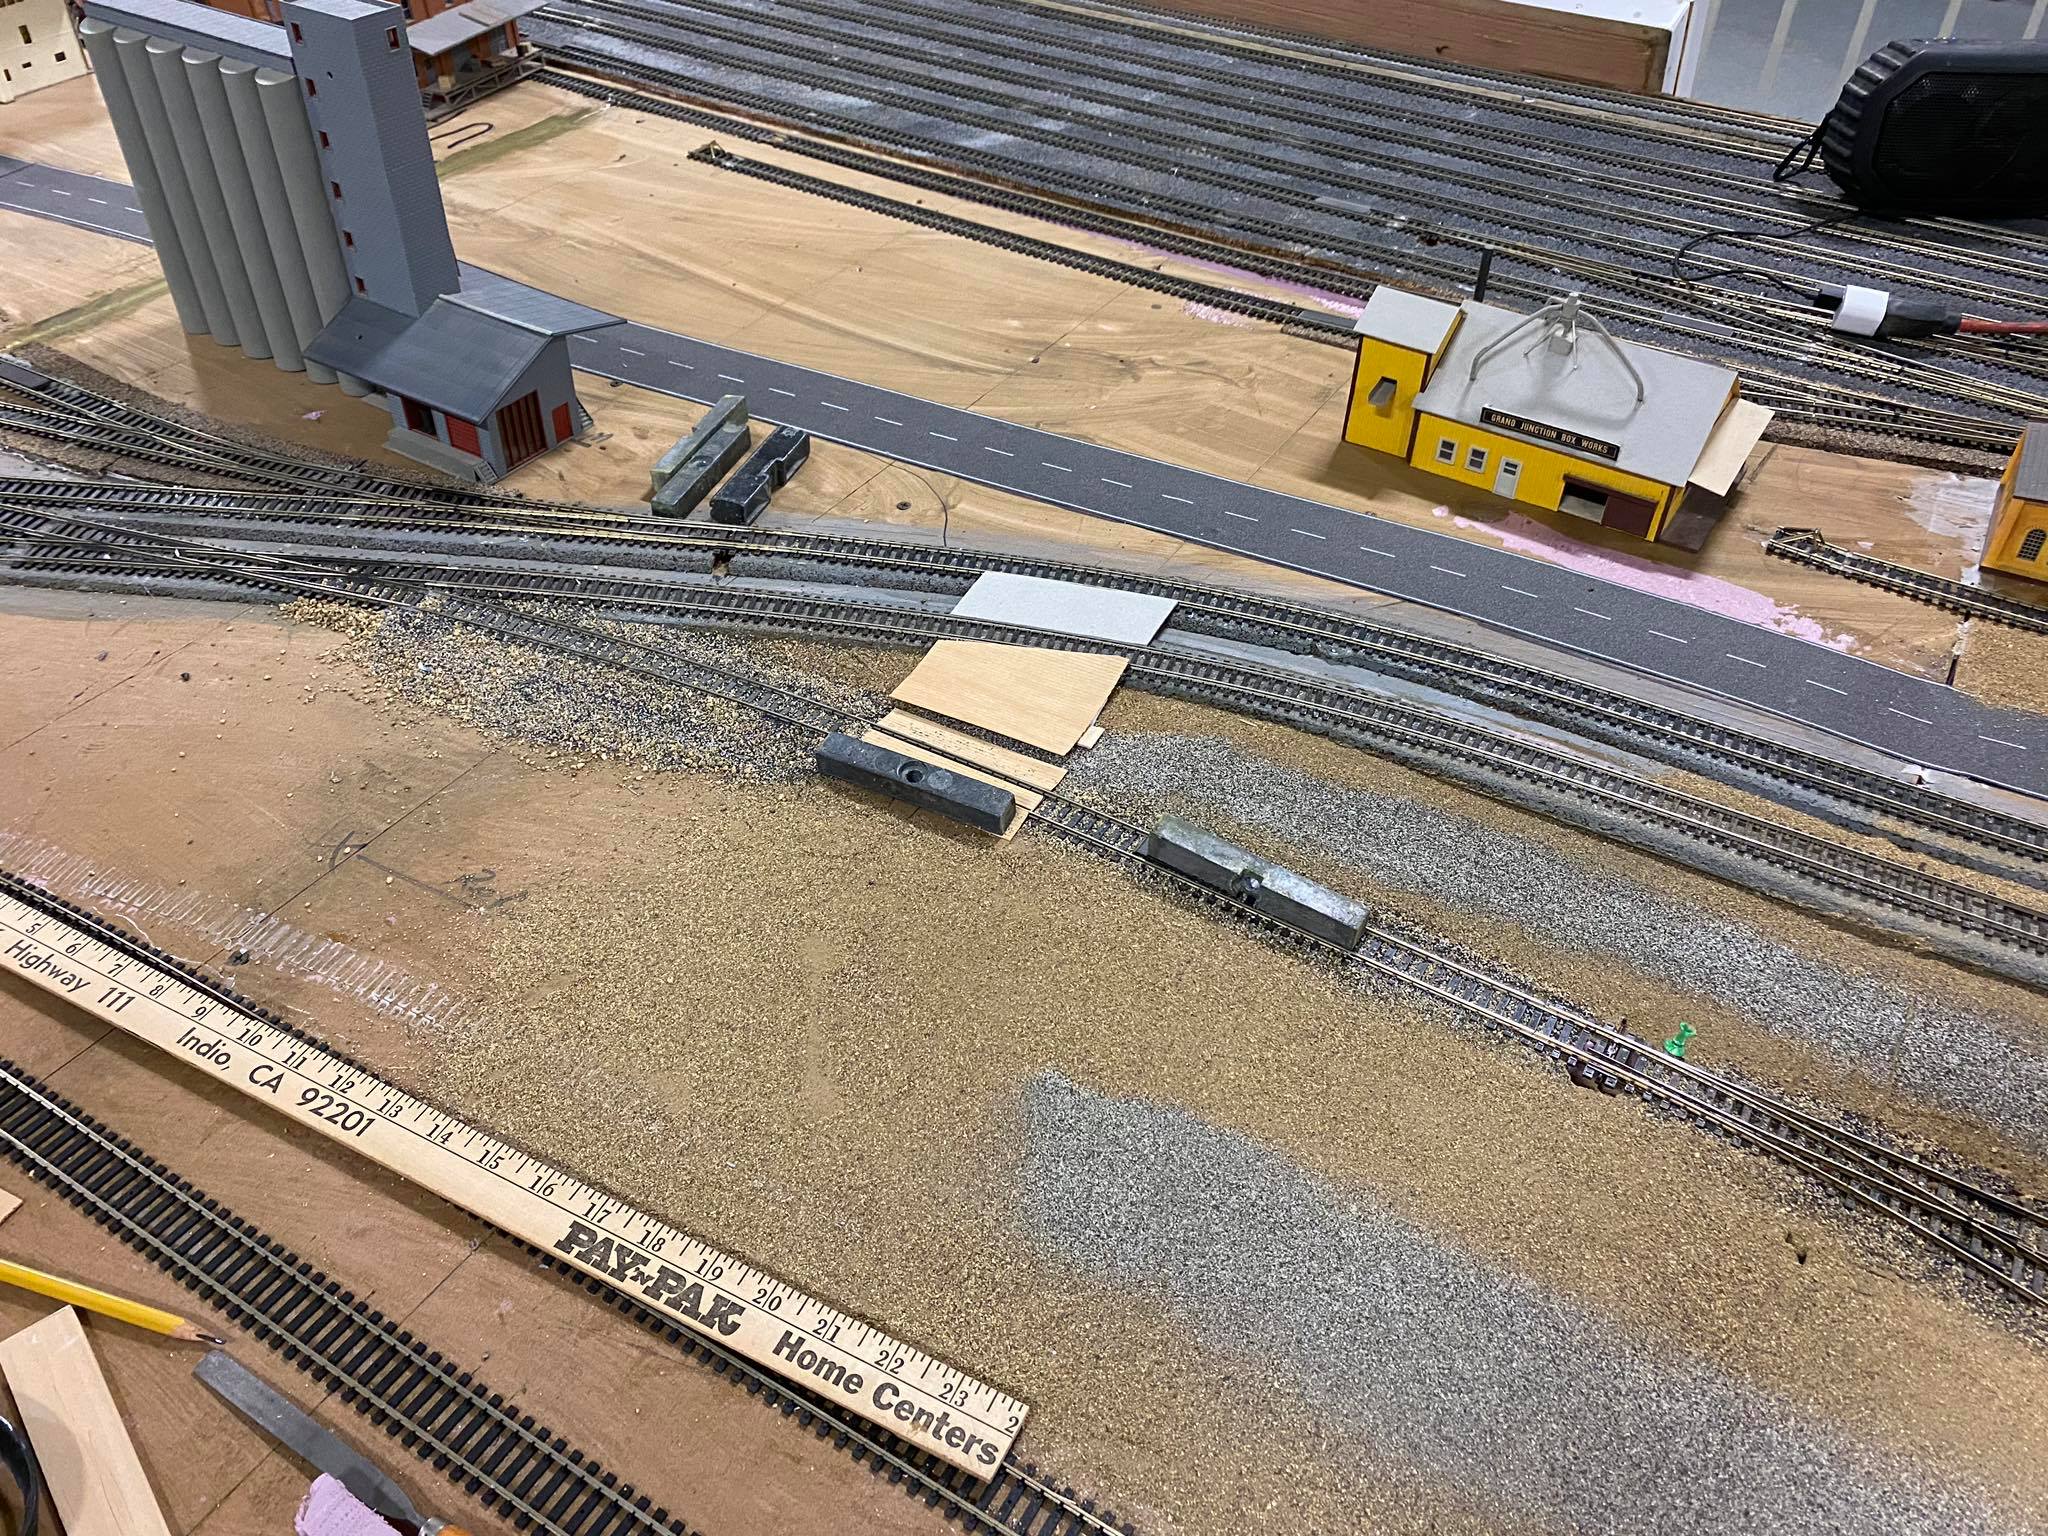
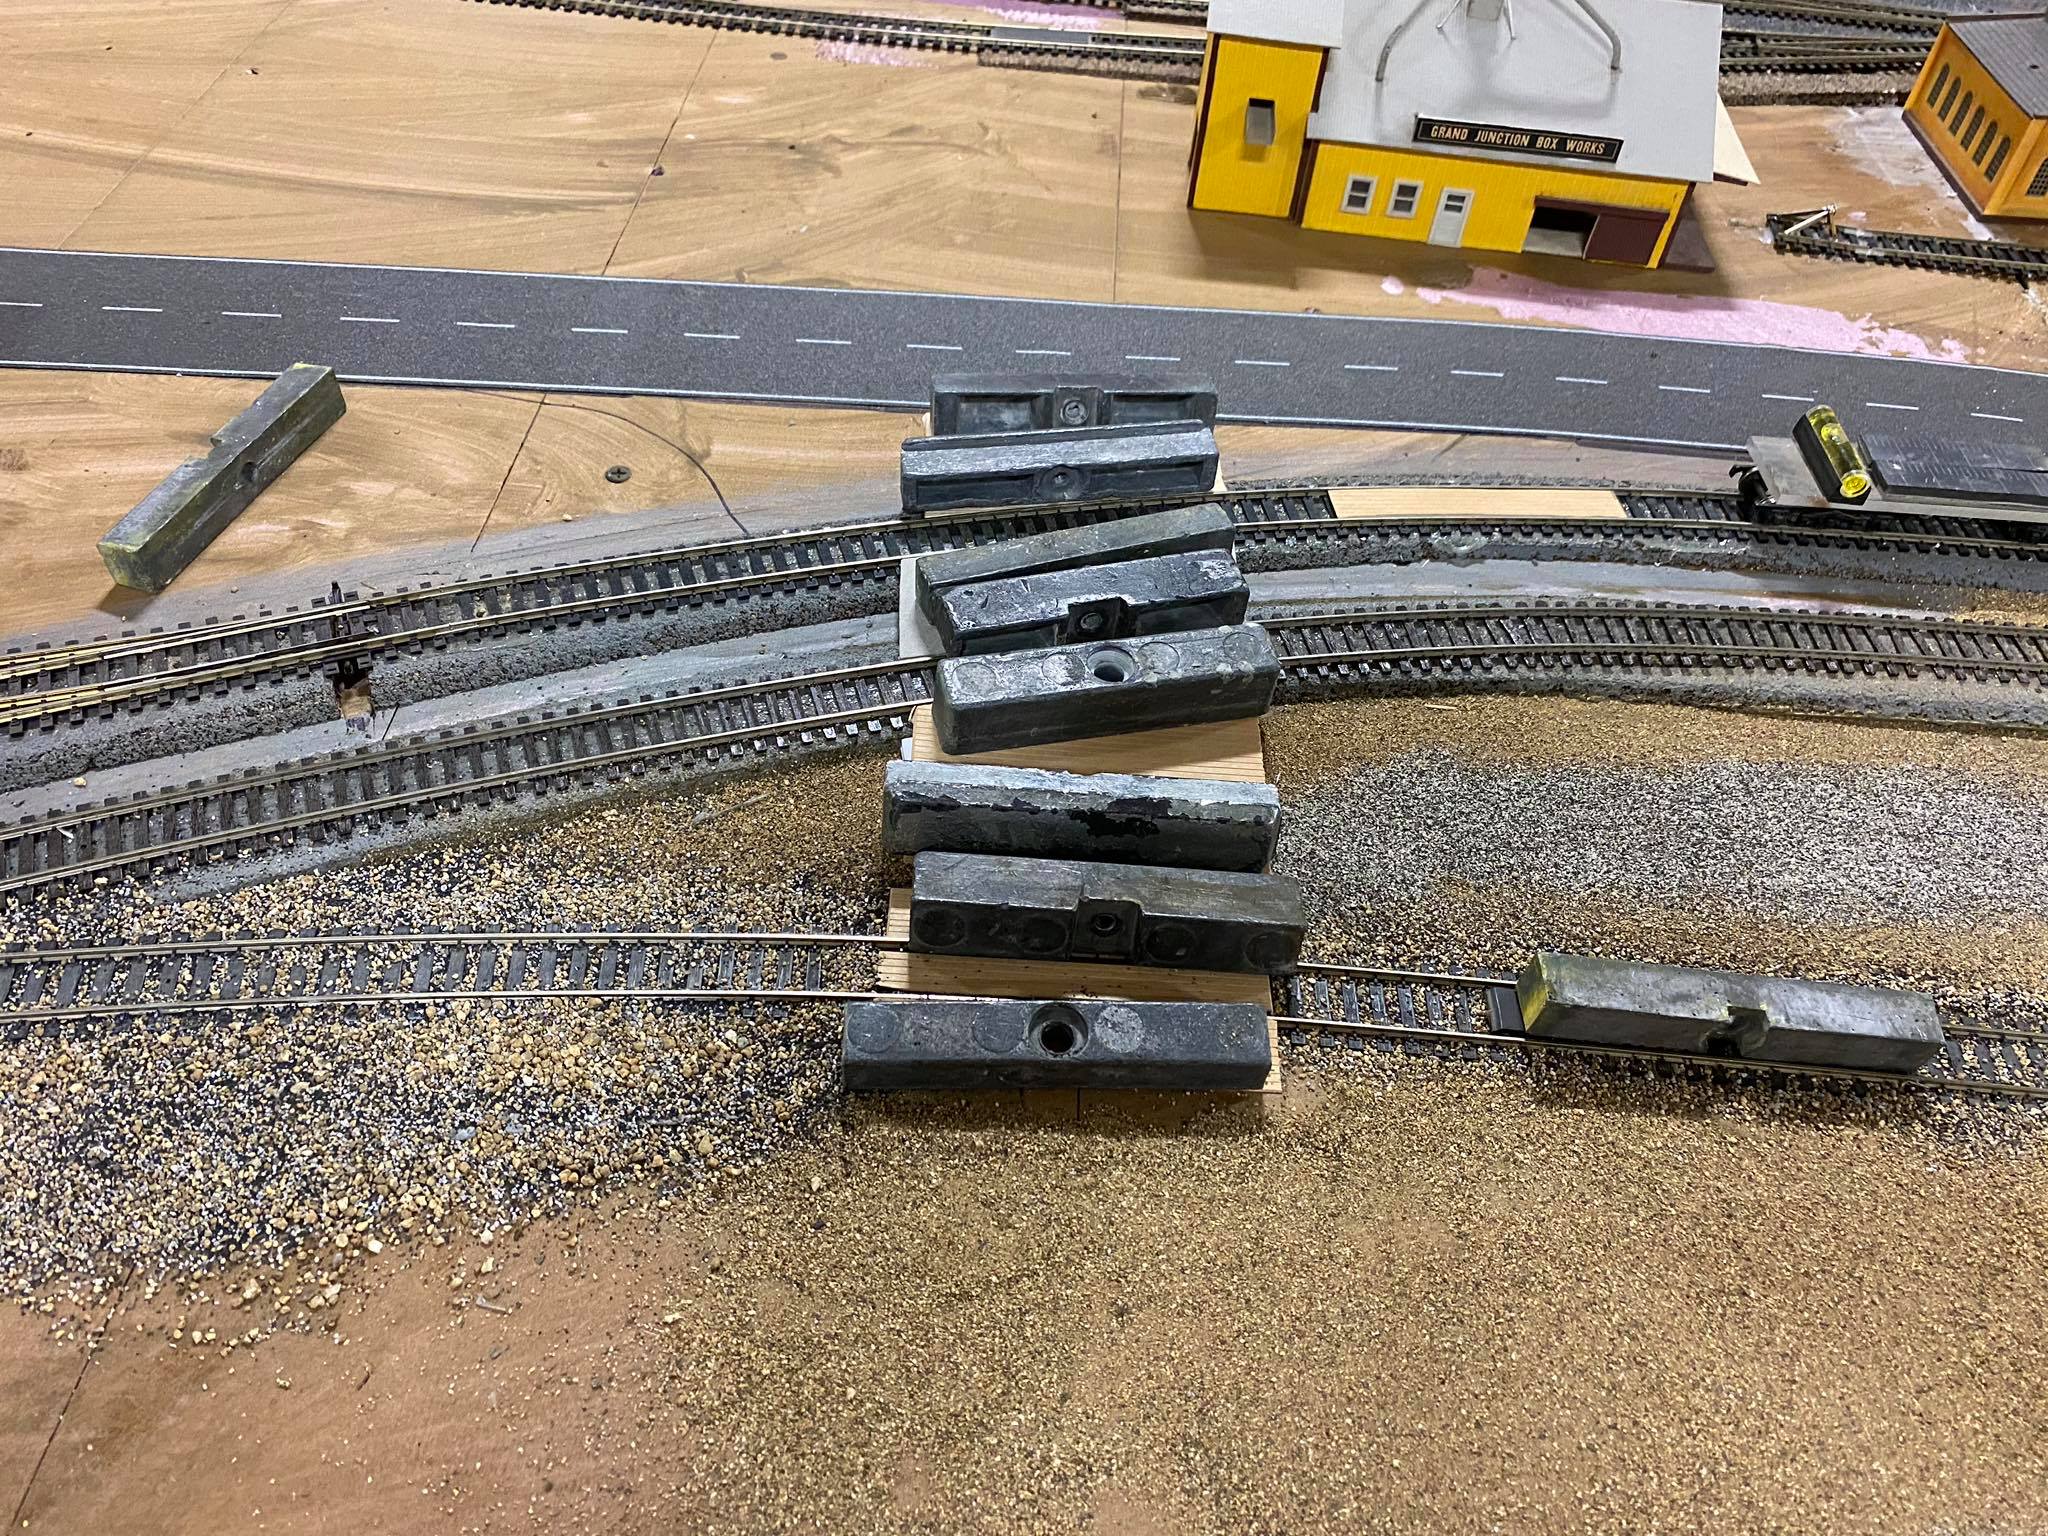 Weights placed until glue dries |
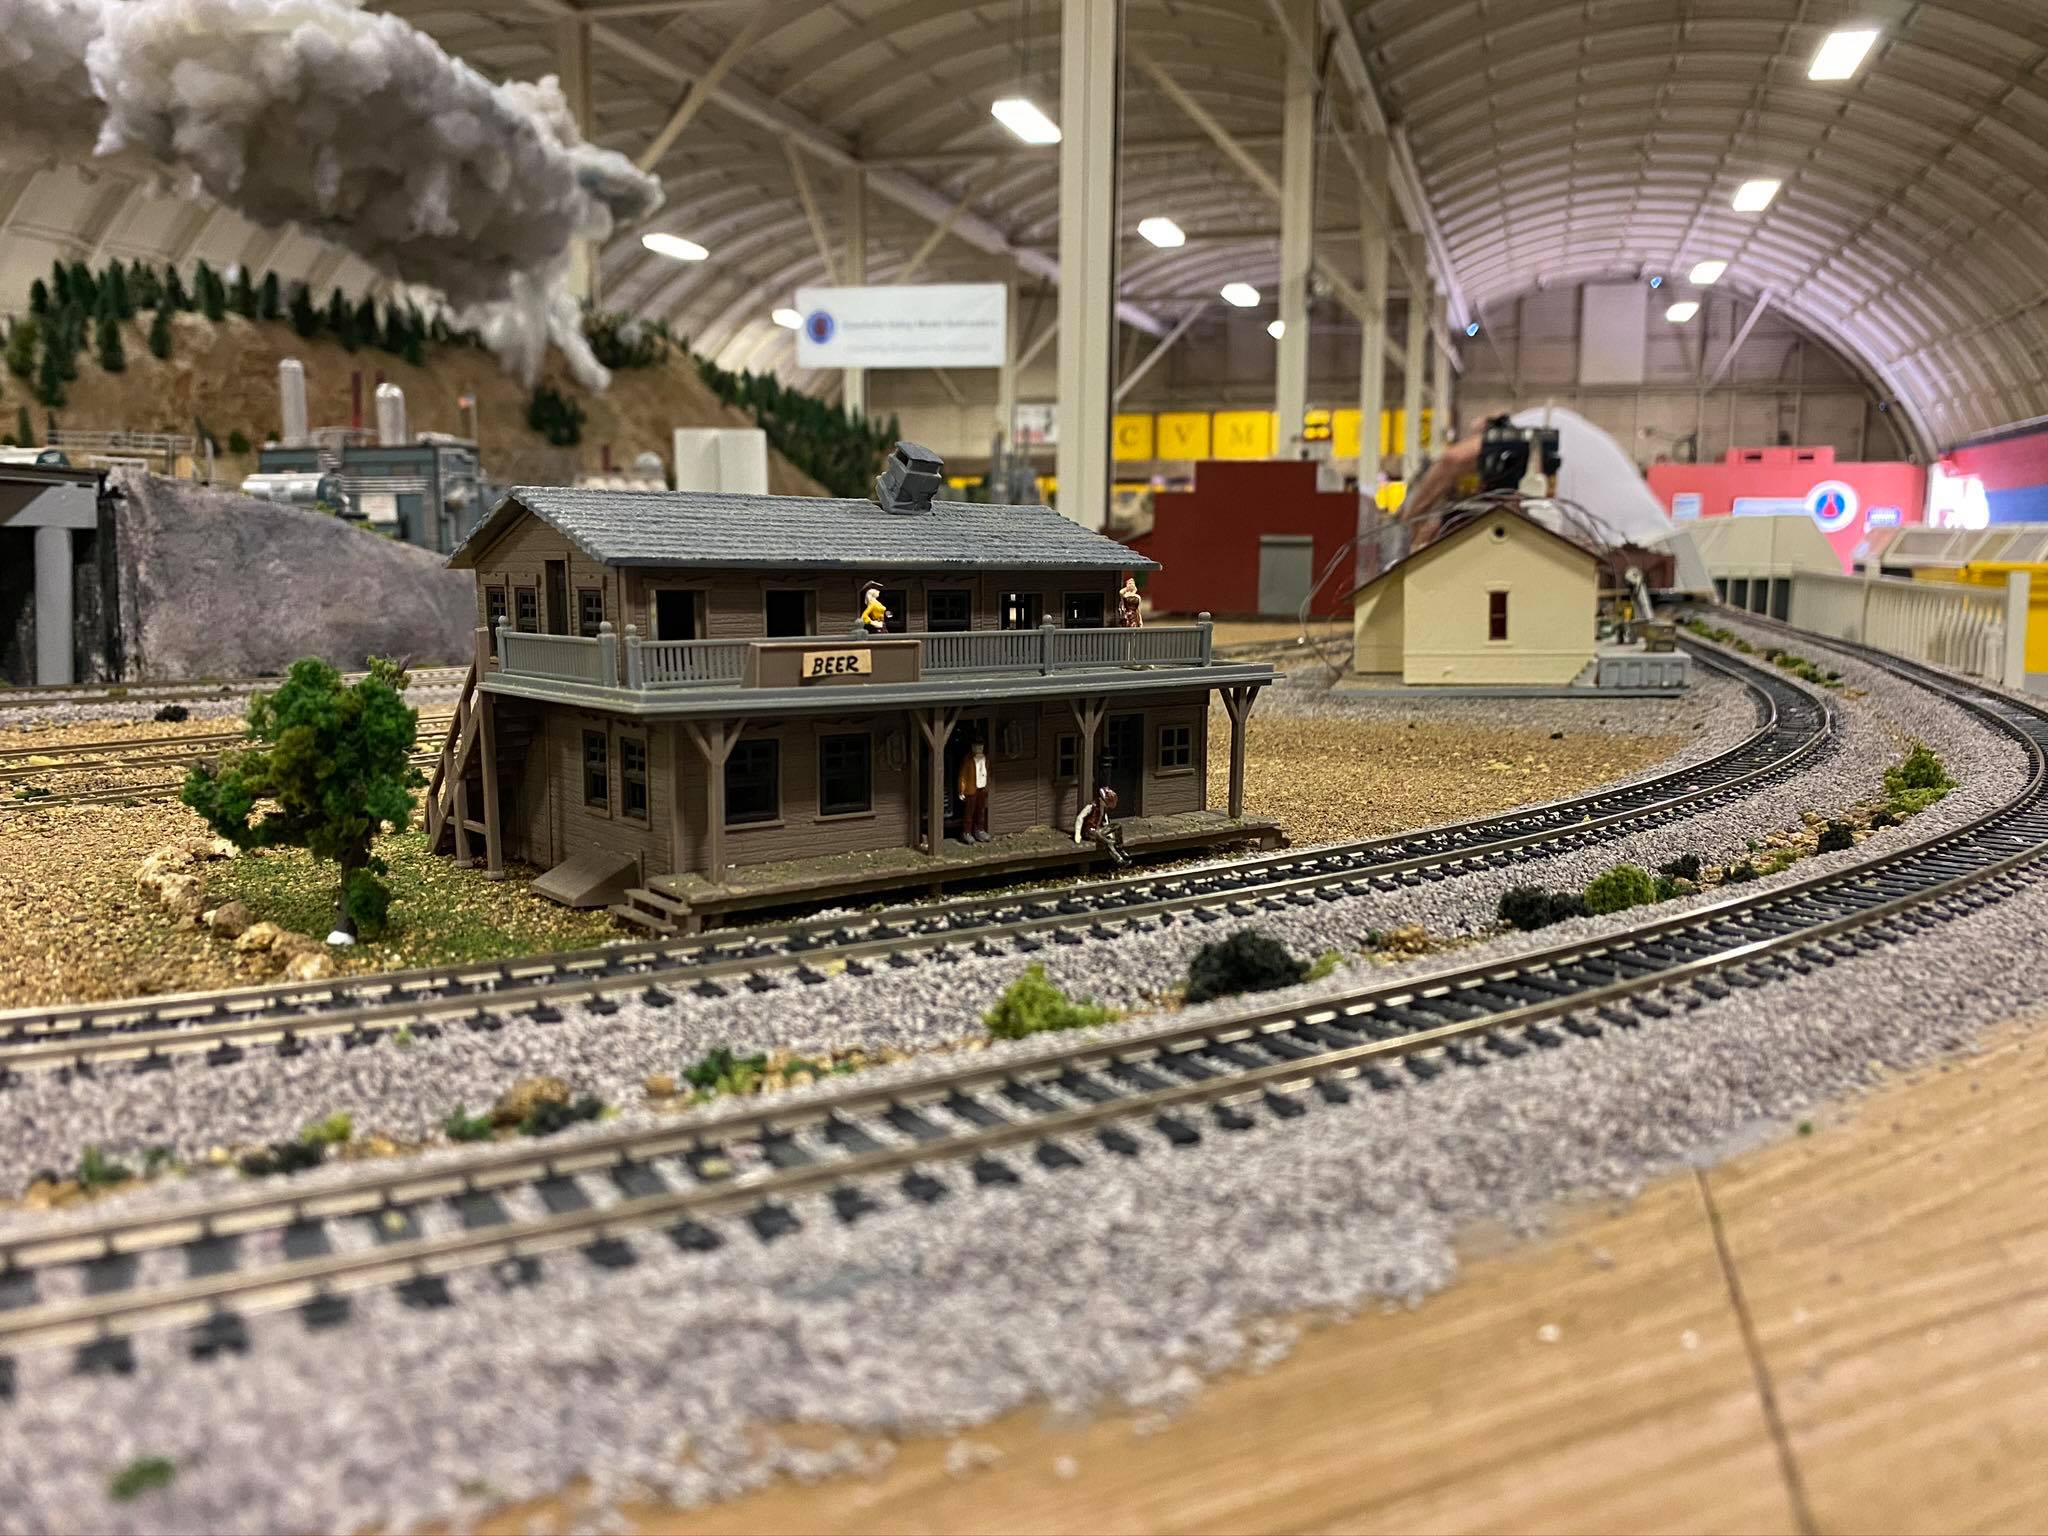
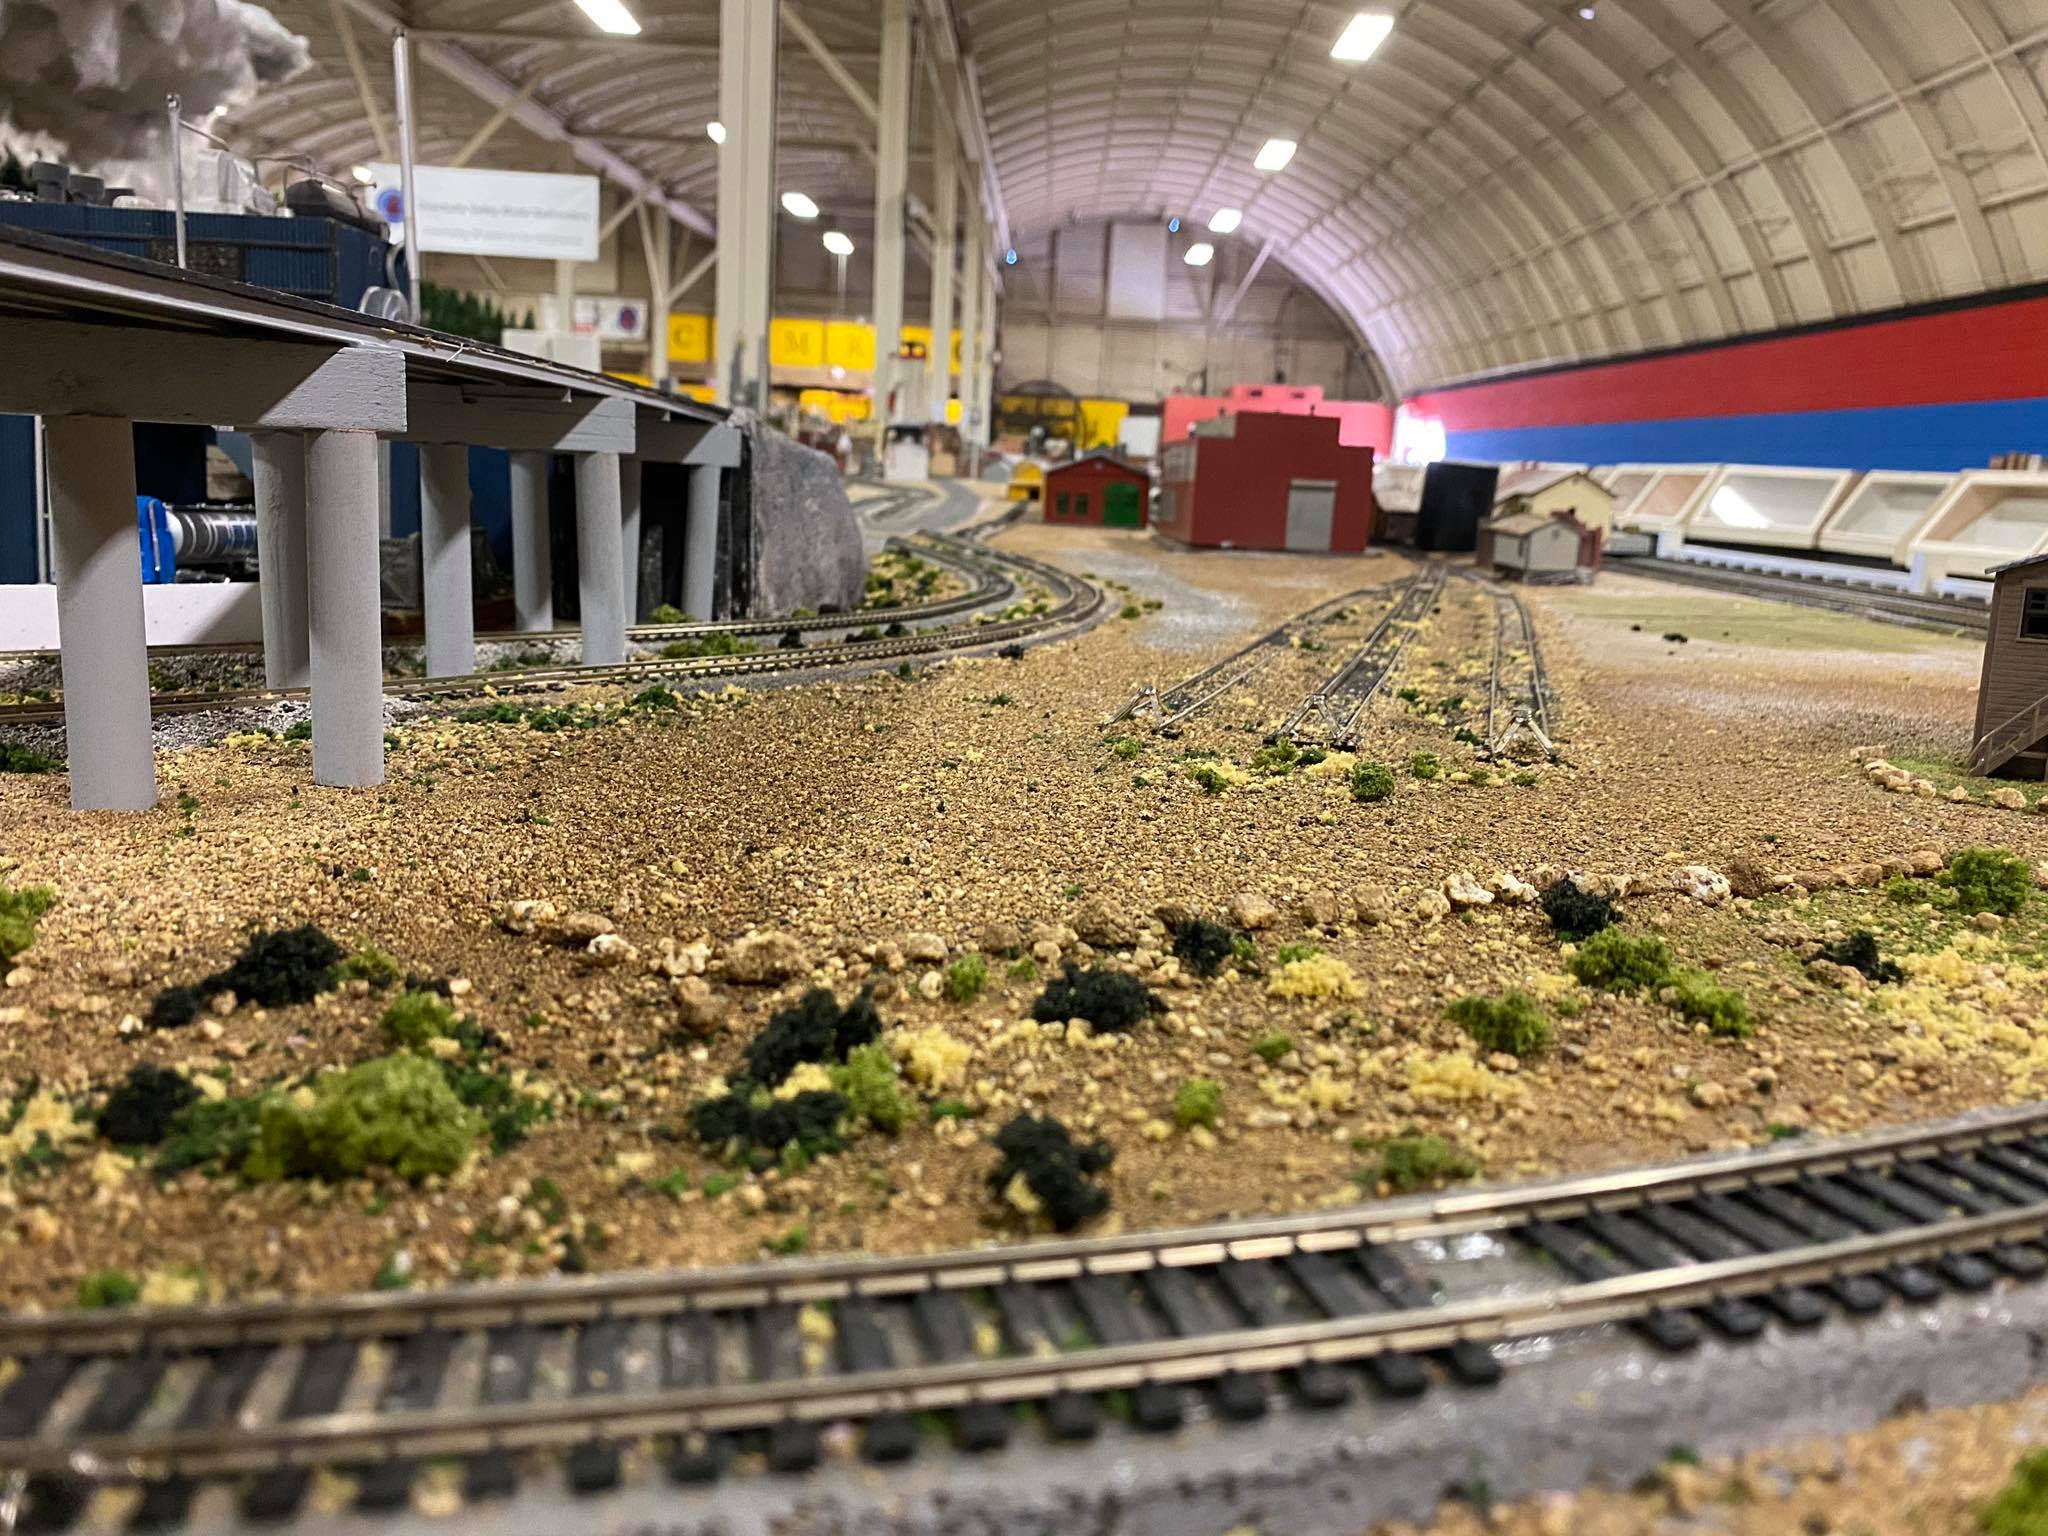
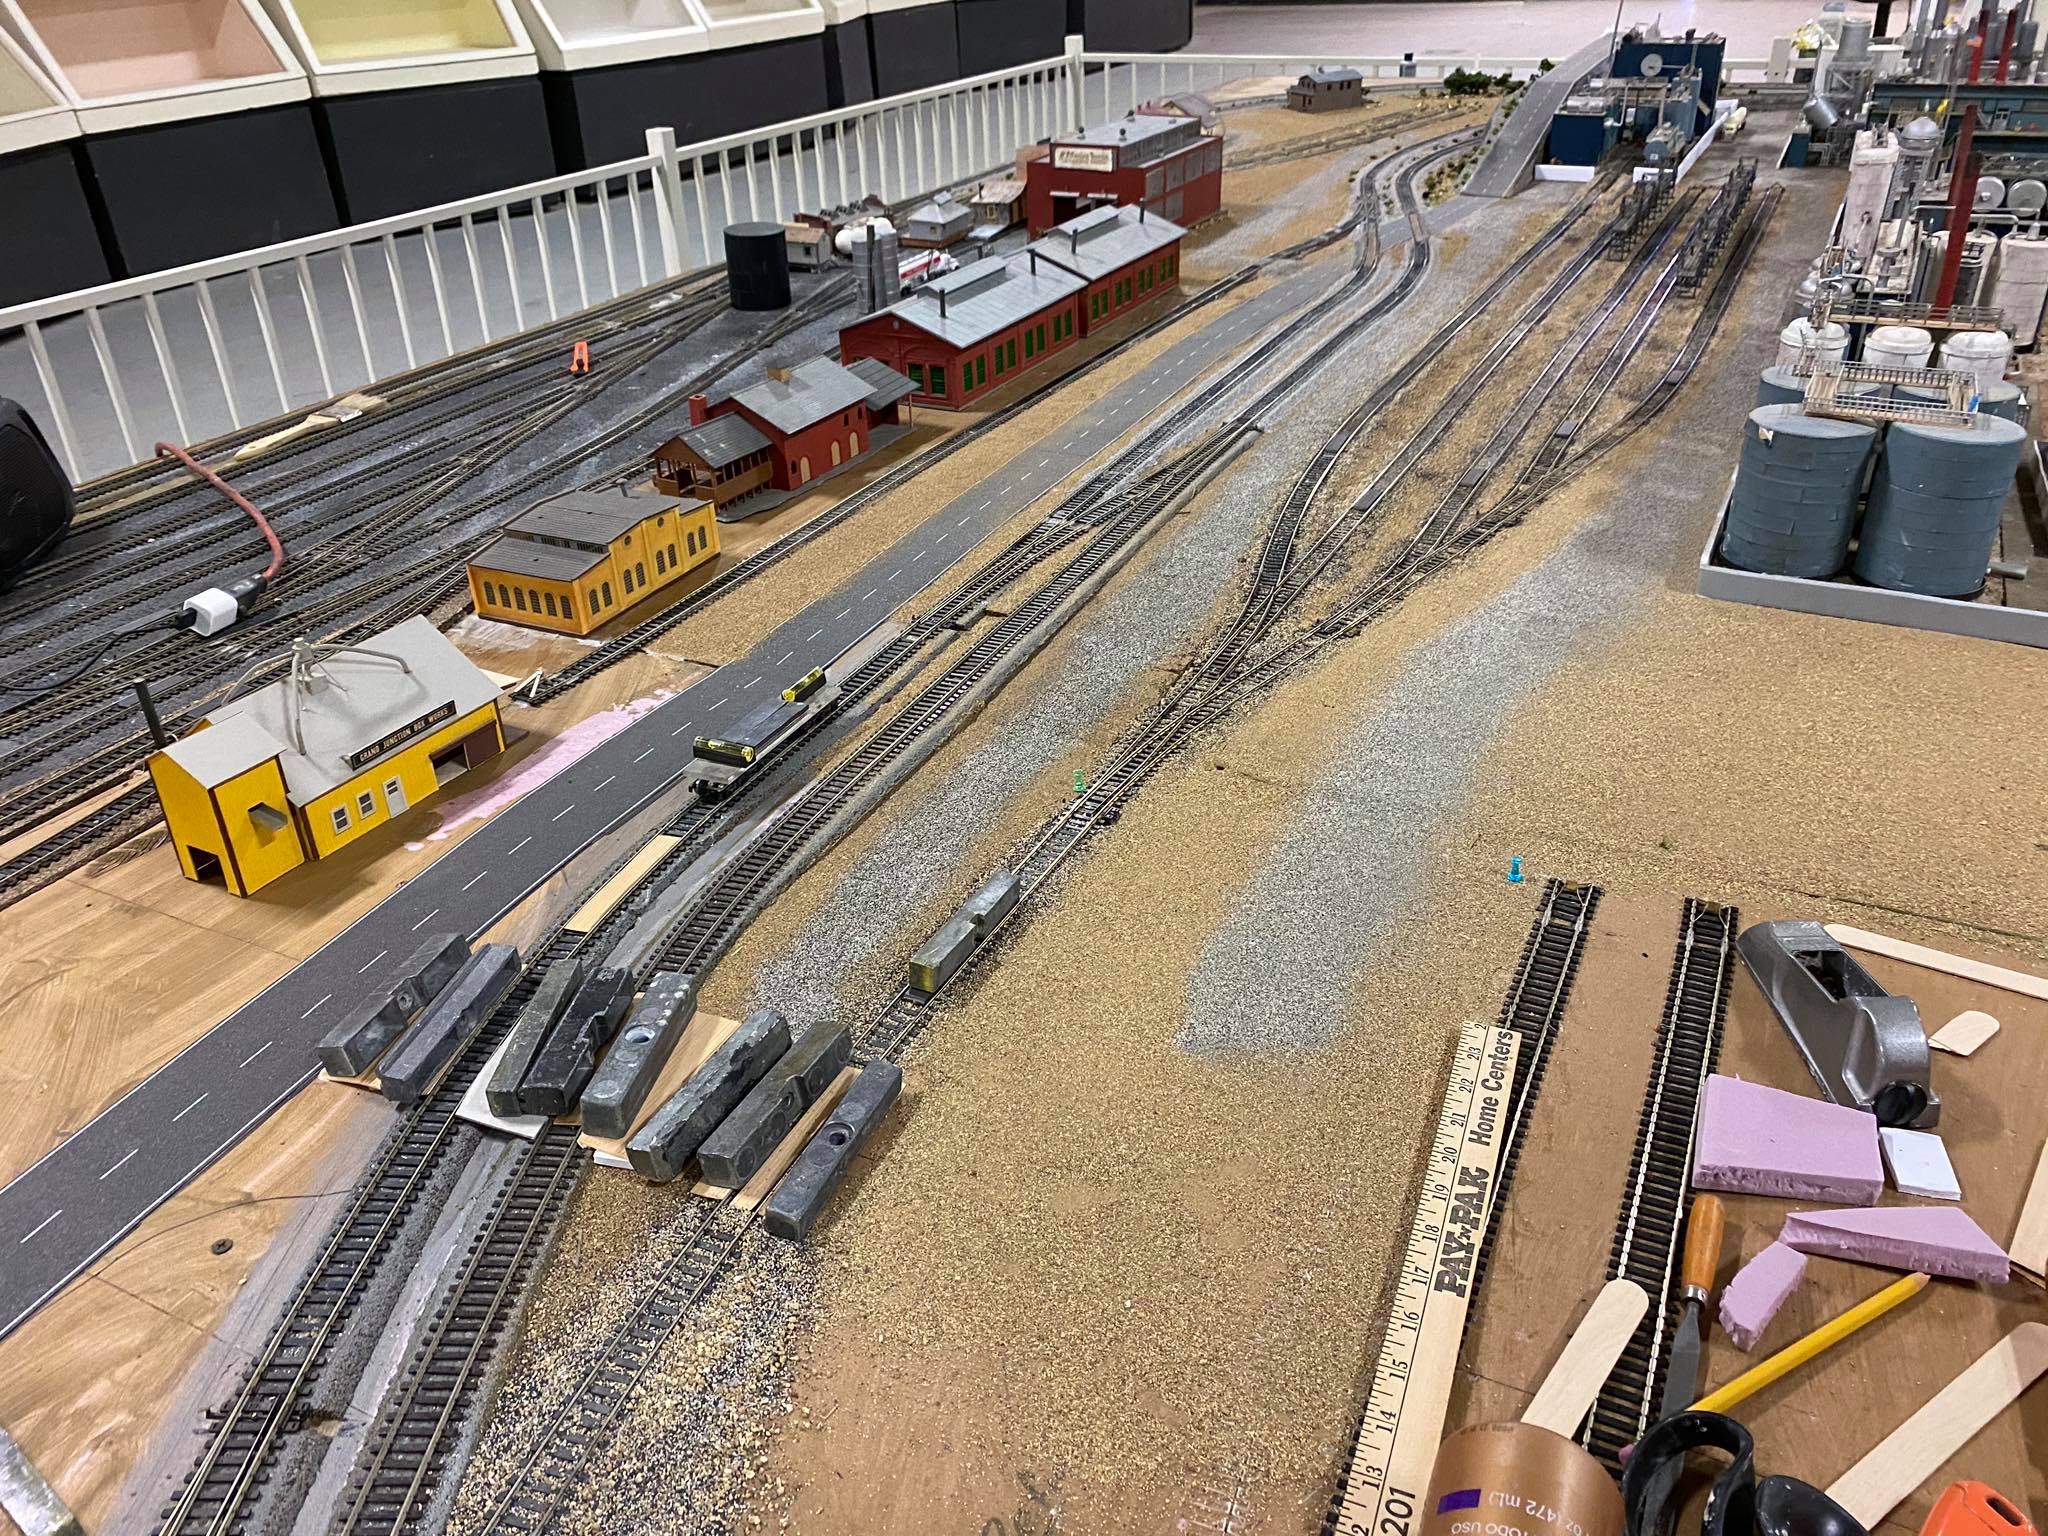 Scenery coming right along |
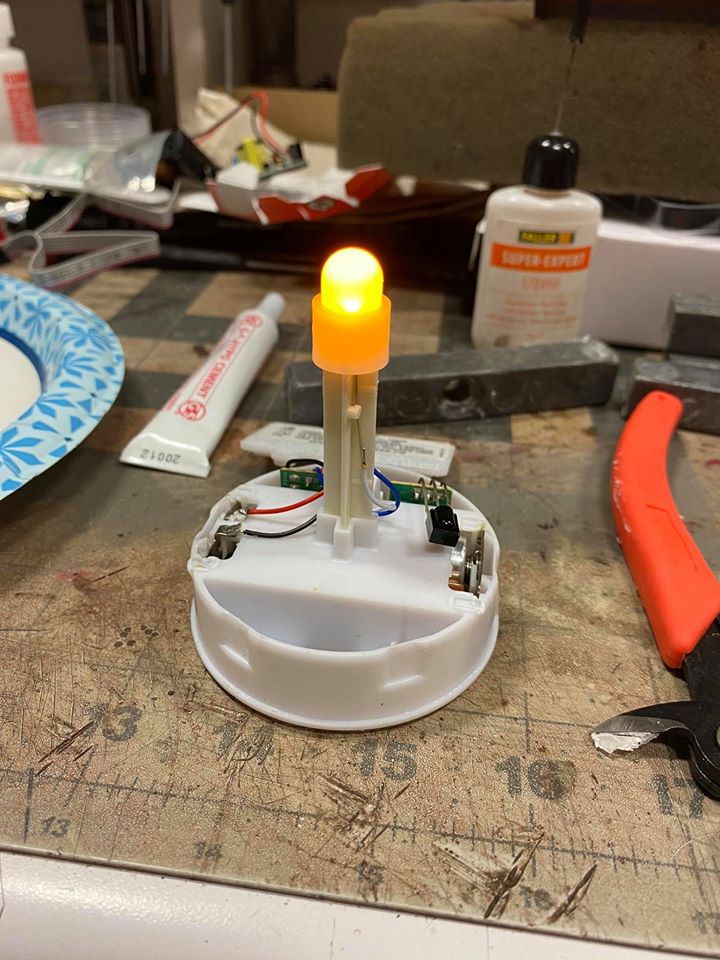 This is a flicker light unit out of one of those flameless candles. We see potential for using it on the layout. |
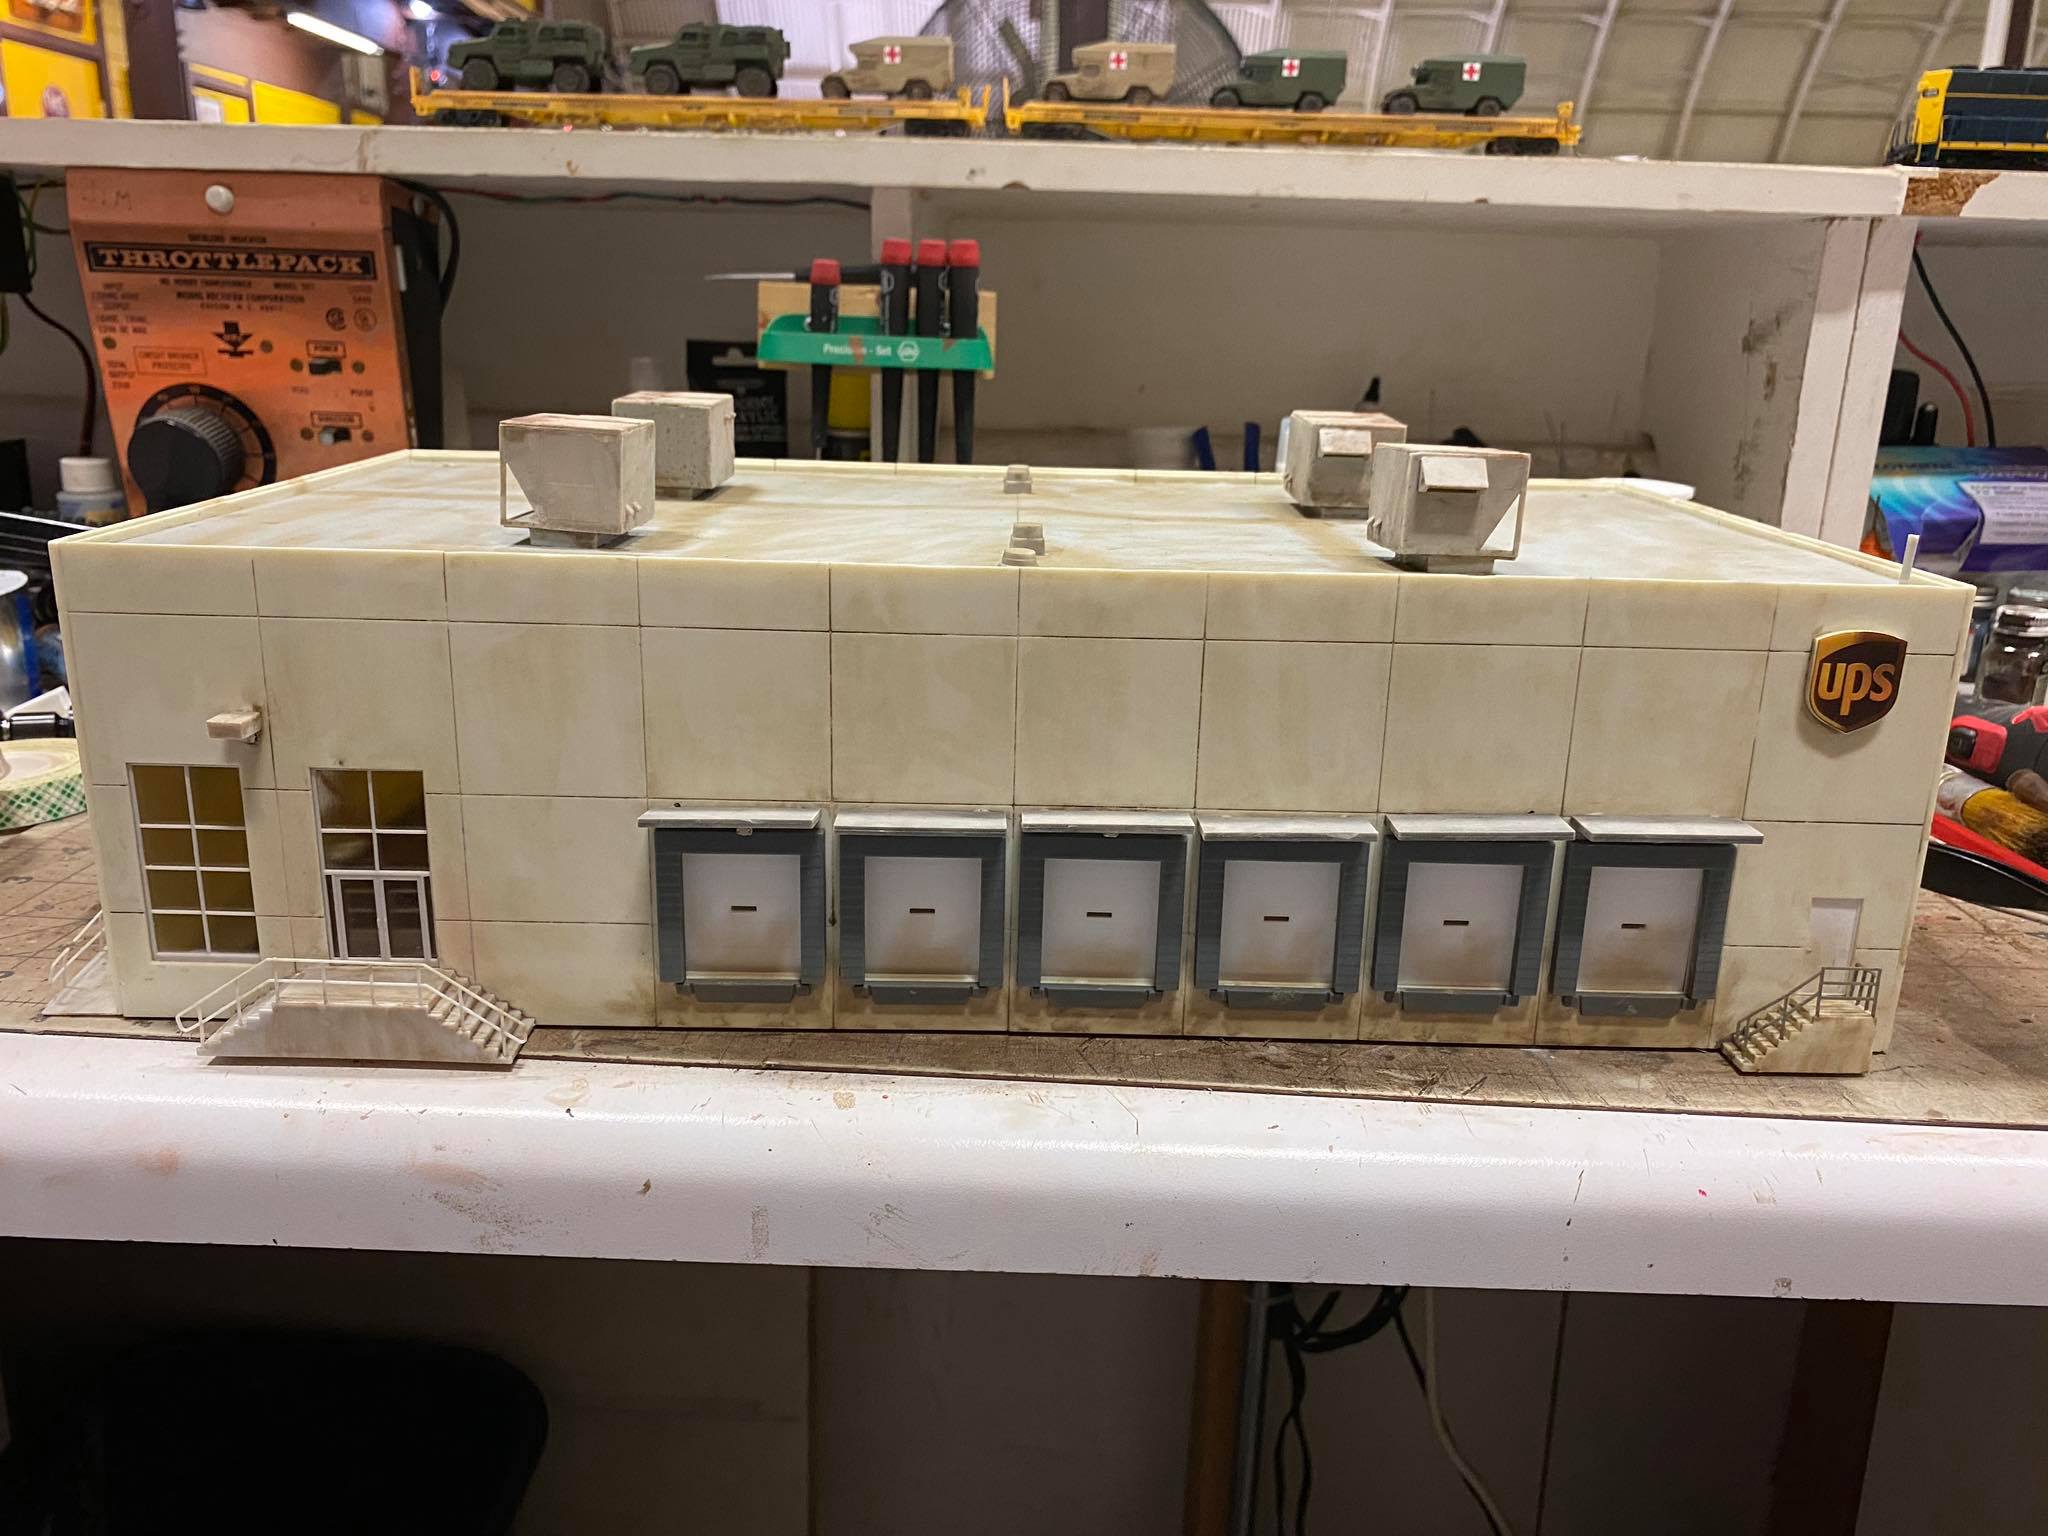
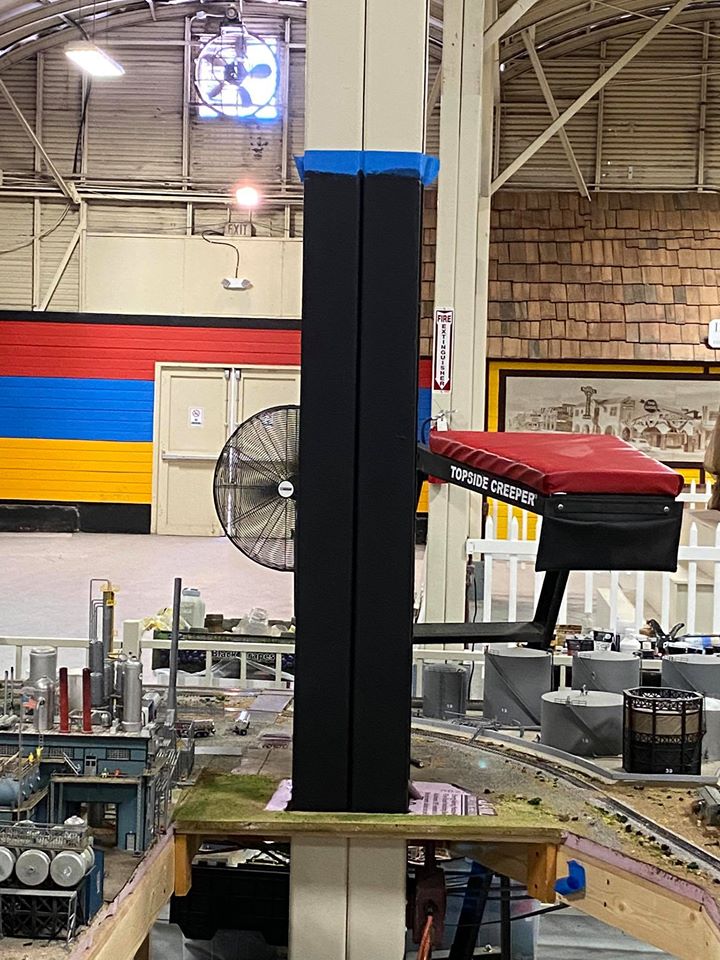 Painted pole black to help camouflage white pole This is where the Ready Kilowatt building will go |
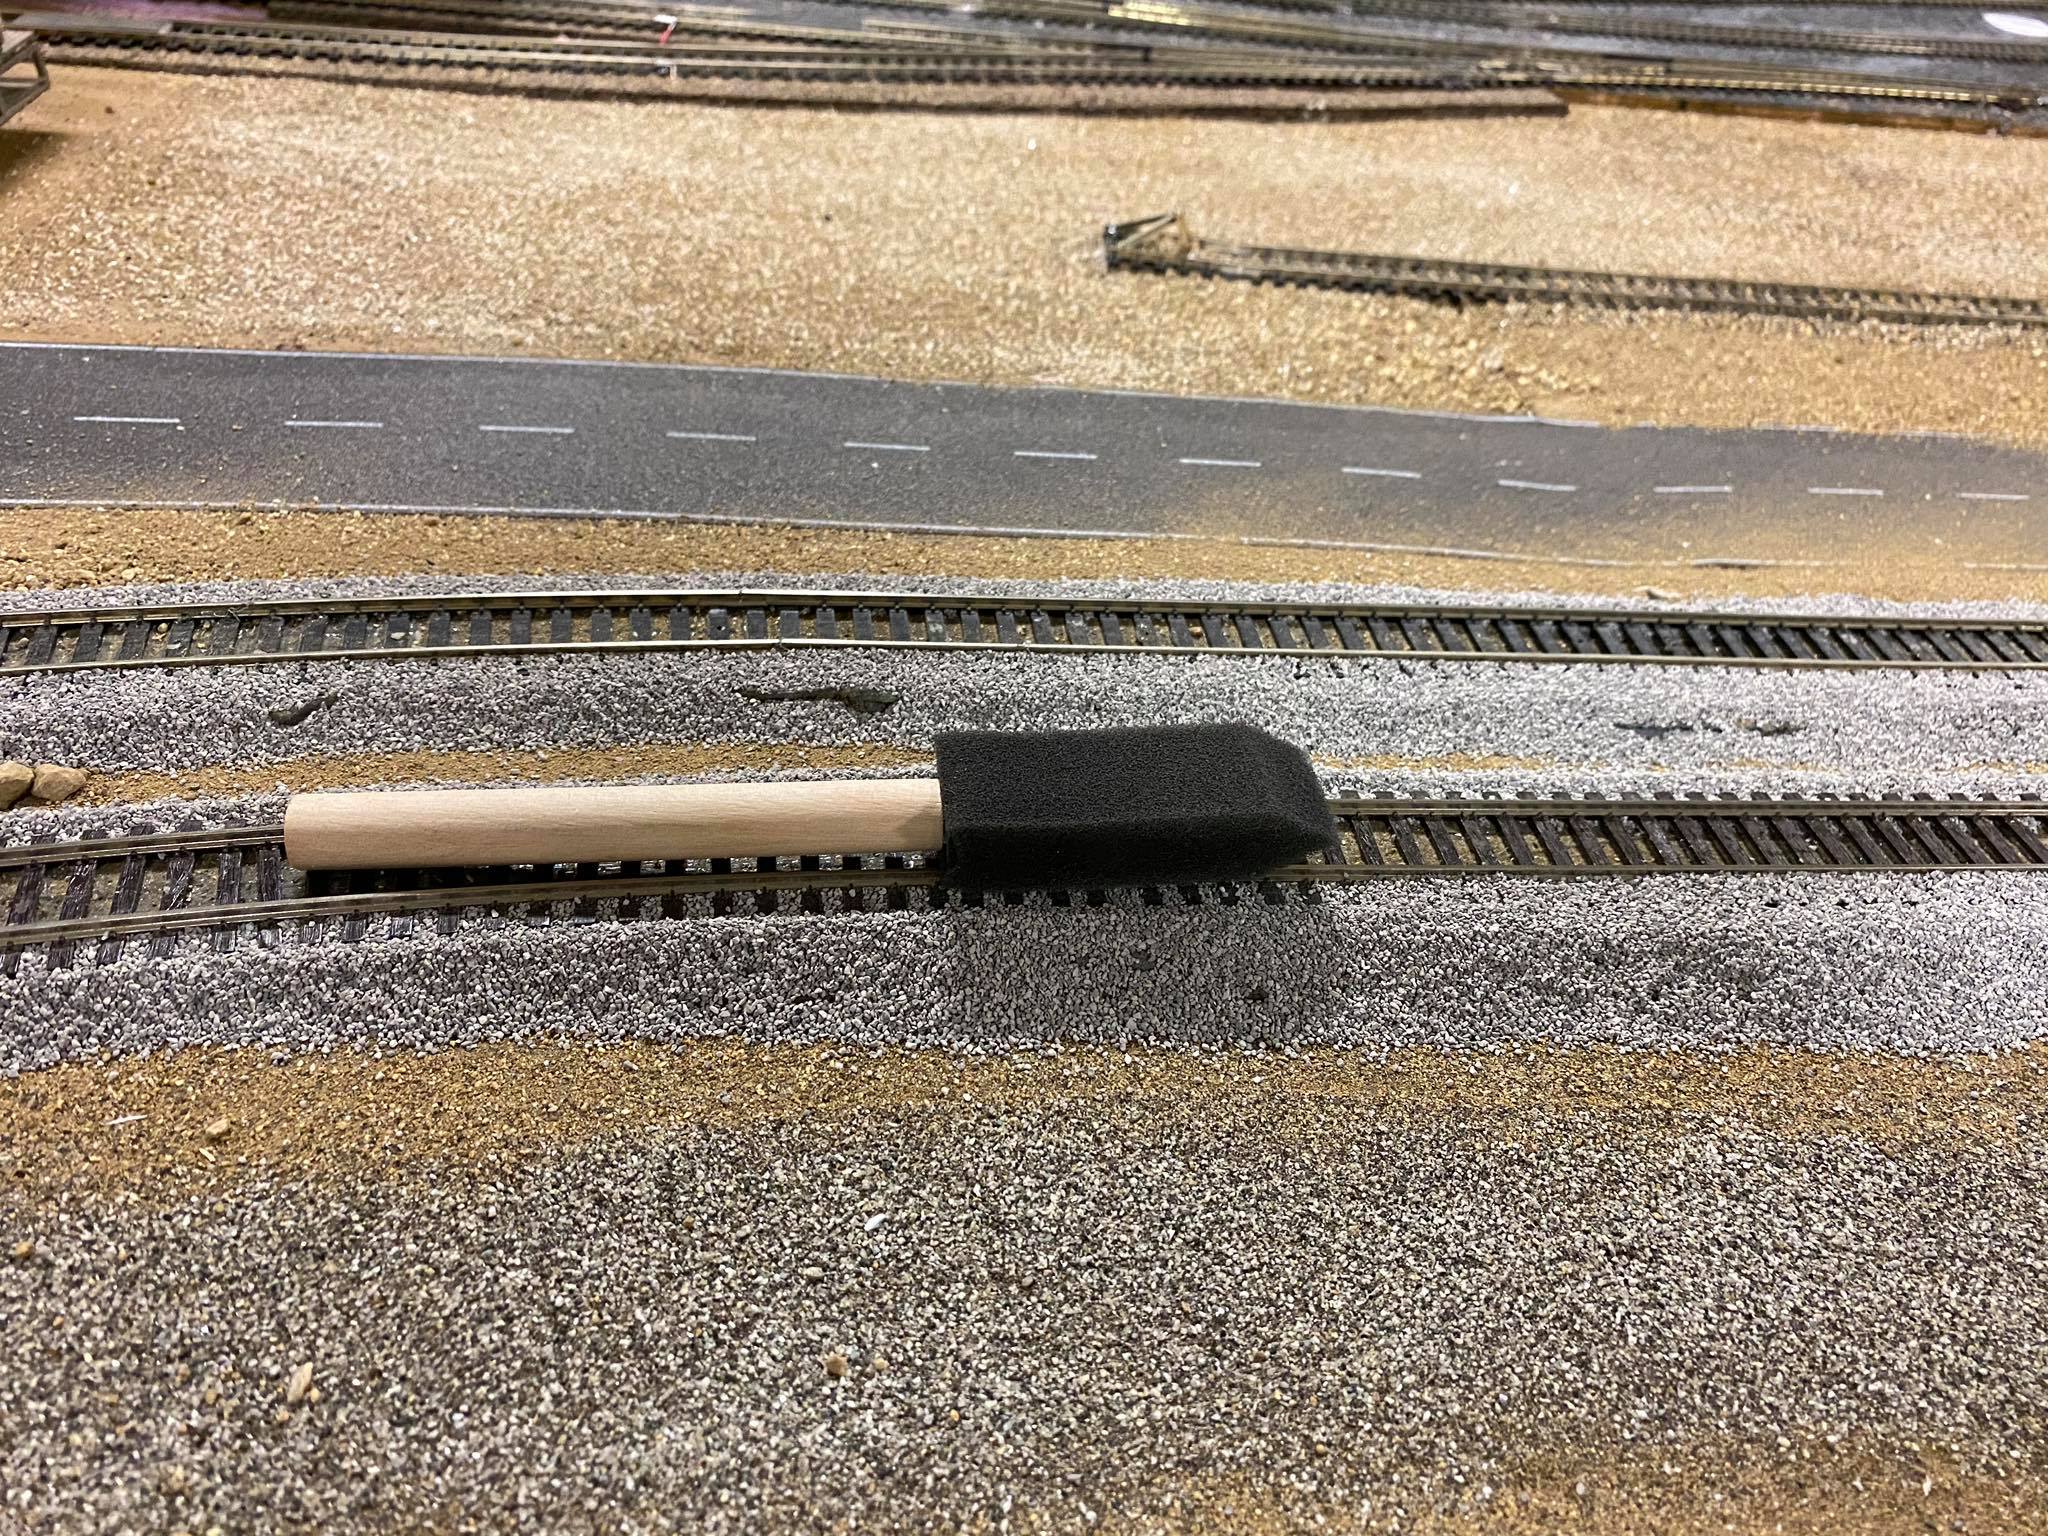 After we use the Proses ballast spreader we like to use a 1” foam pad brush to help distribute the ballast evenly along the tracks. As you can see in the picture just a light slide along the rail moves the excess ballast off the ties over to the slope. This distributes the ballast nice and even onto the slope. The rails just above the sponge brush still need to be done. |
 Adding ground scenery, more to be added |
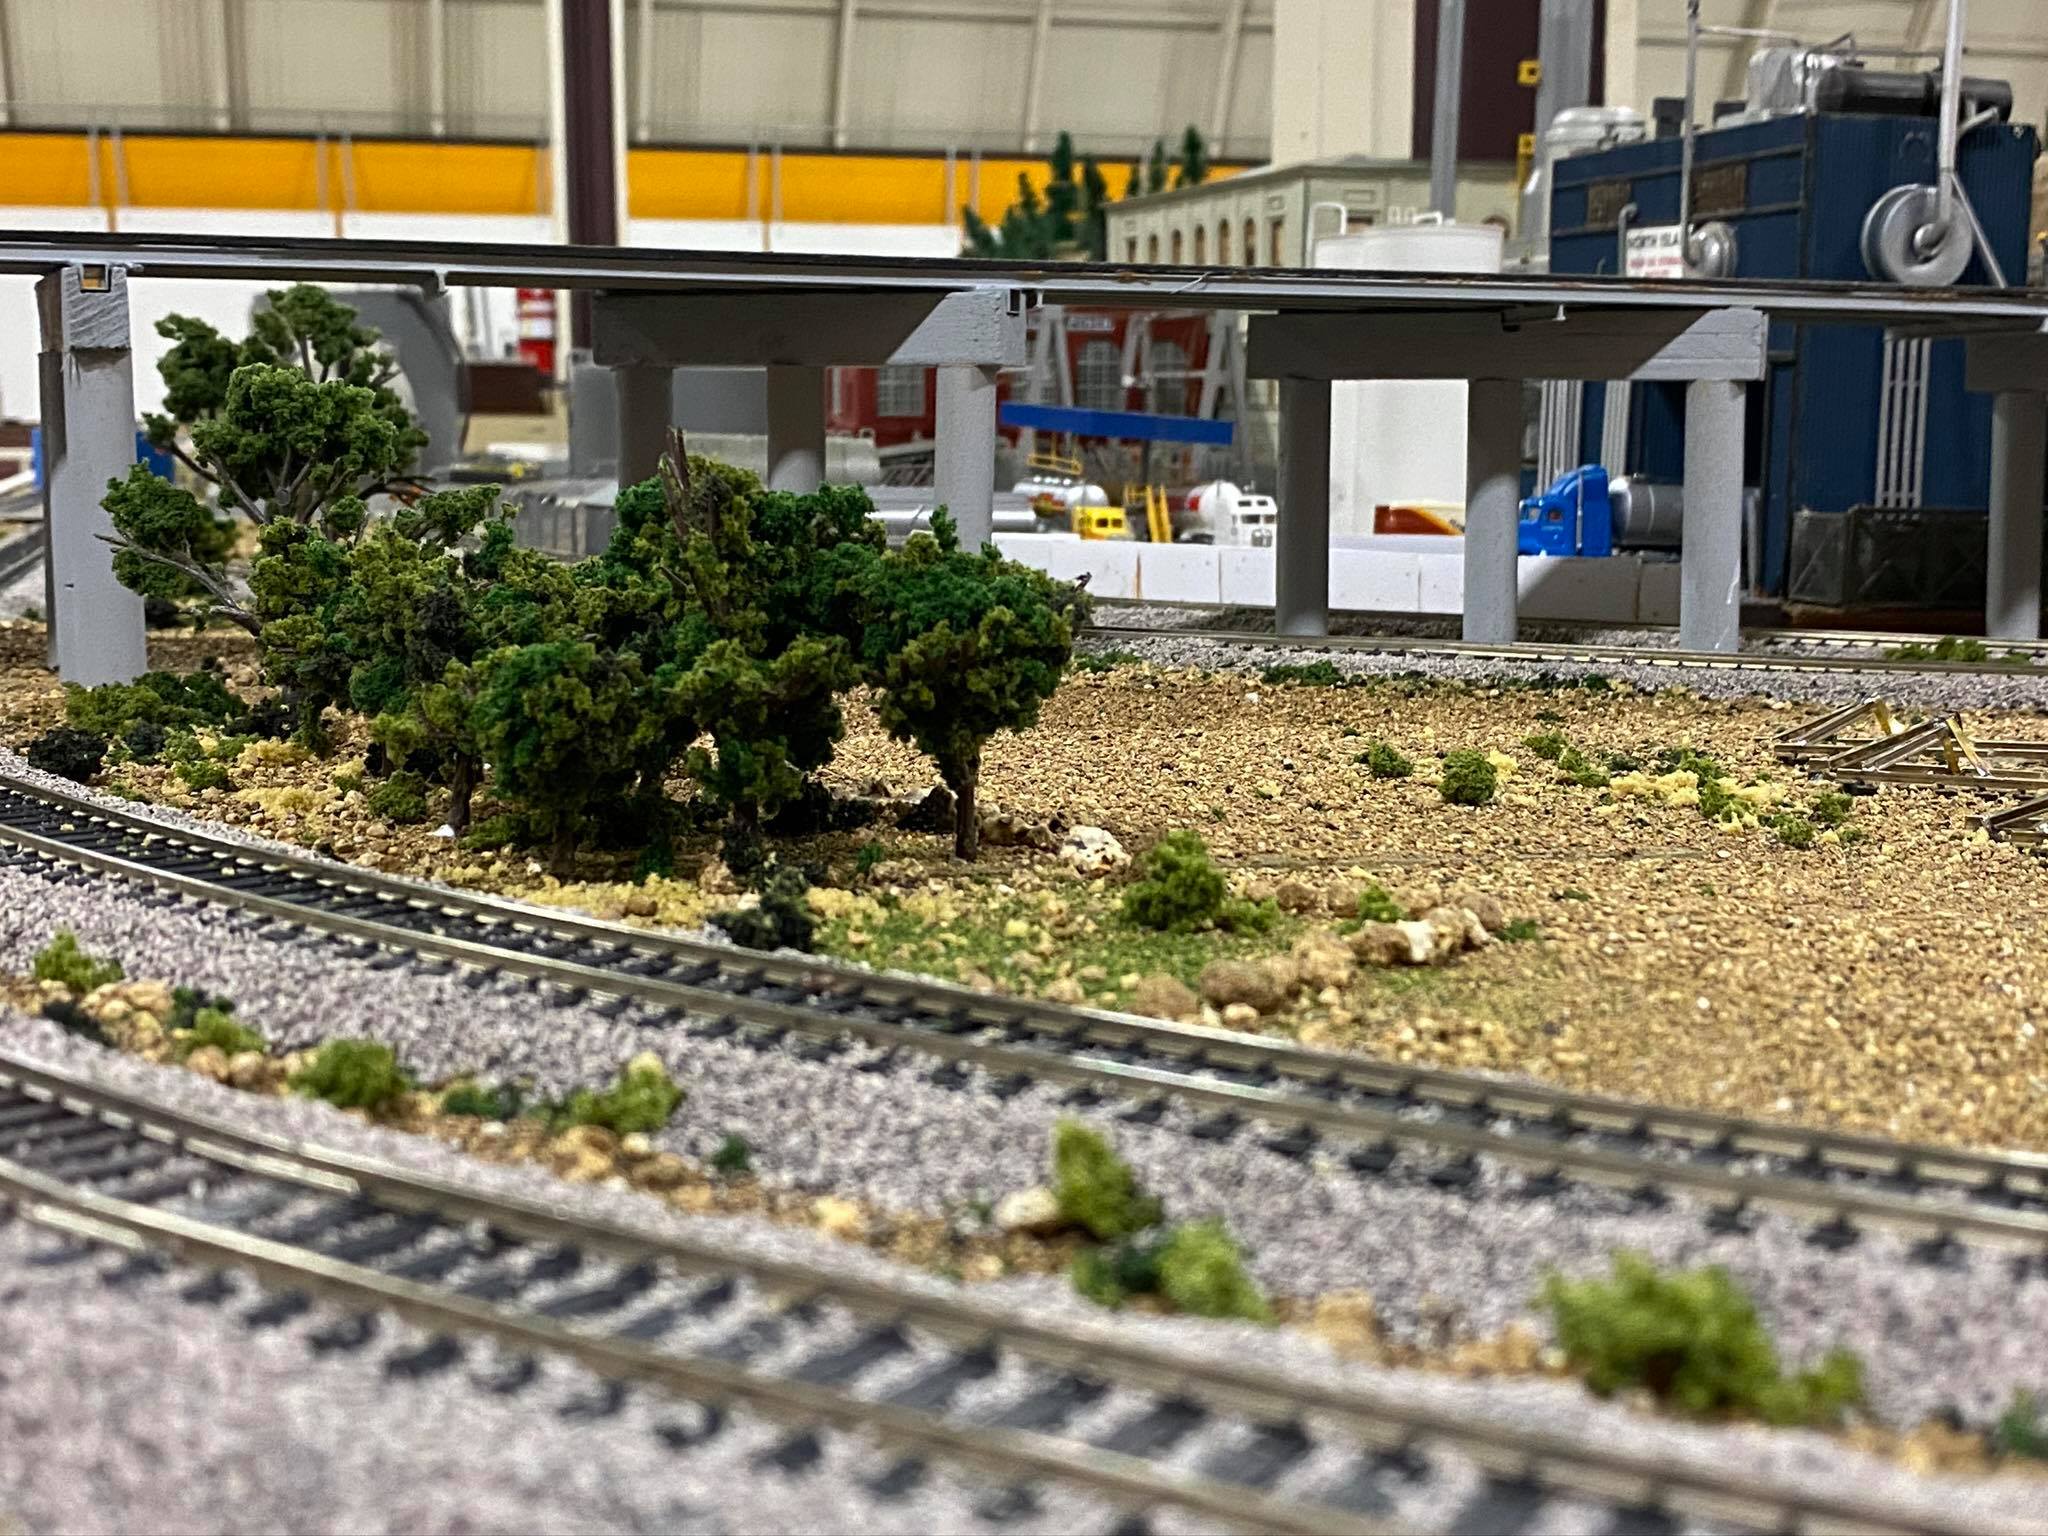
 Looking South on new extension |
 |
 Going to be the Greasy Spoon Cafe |
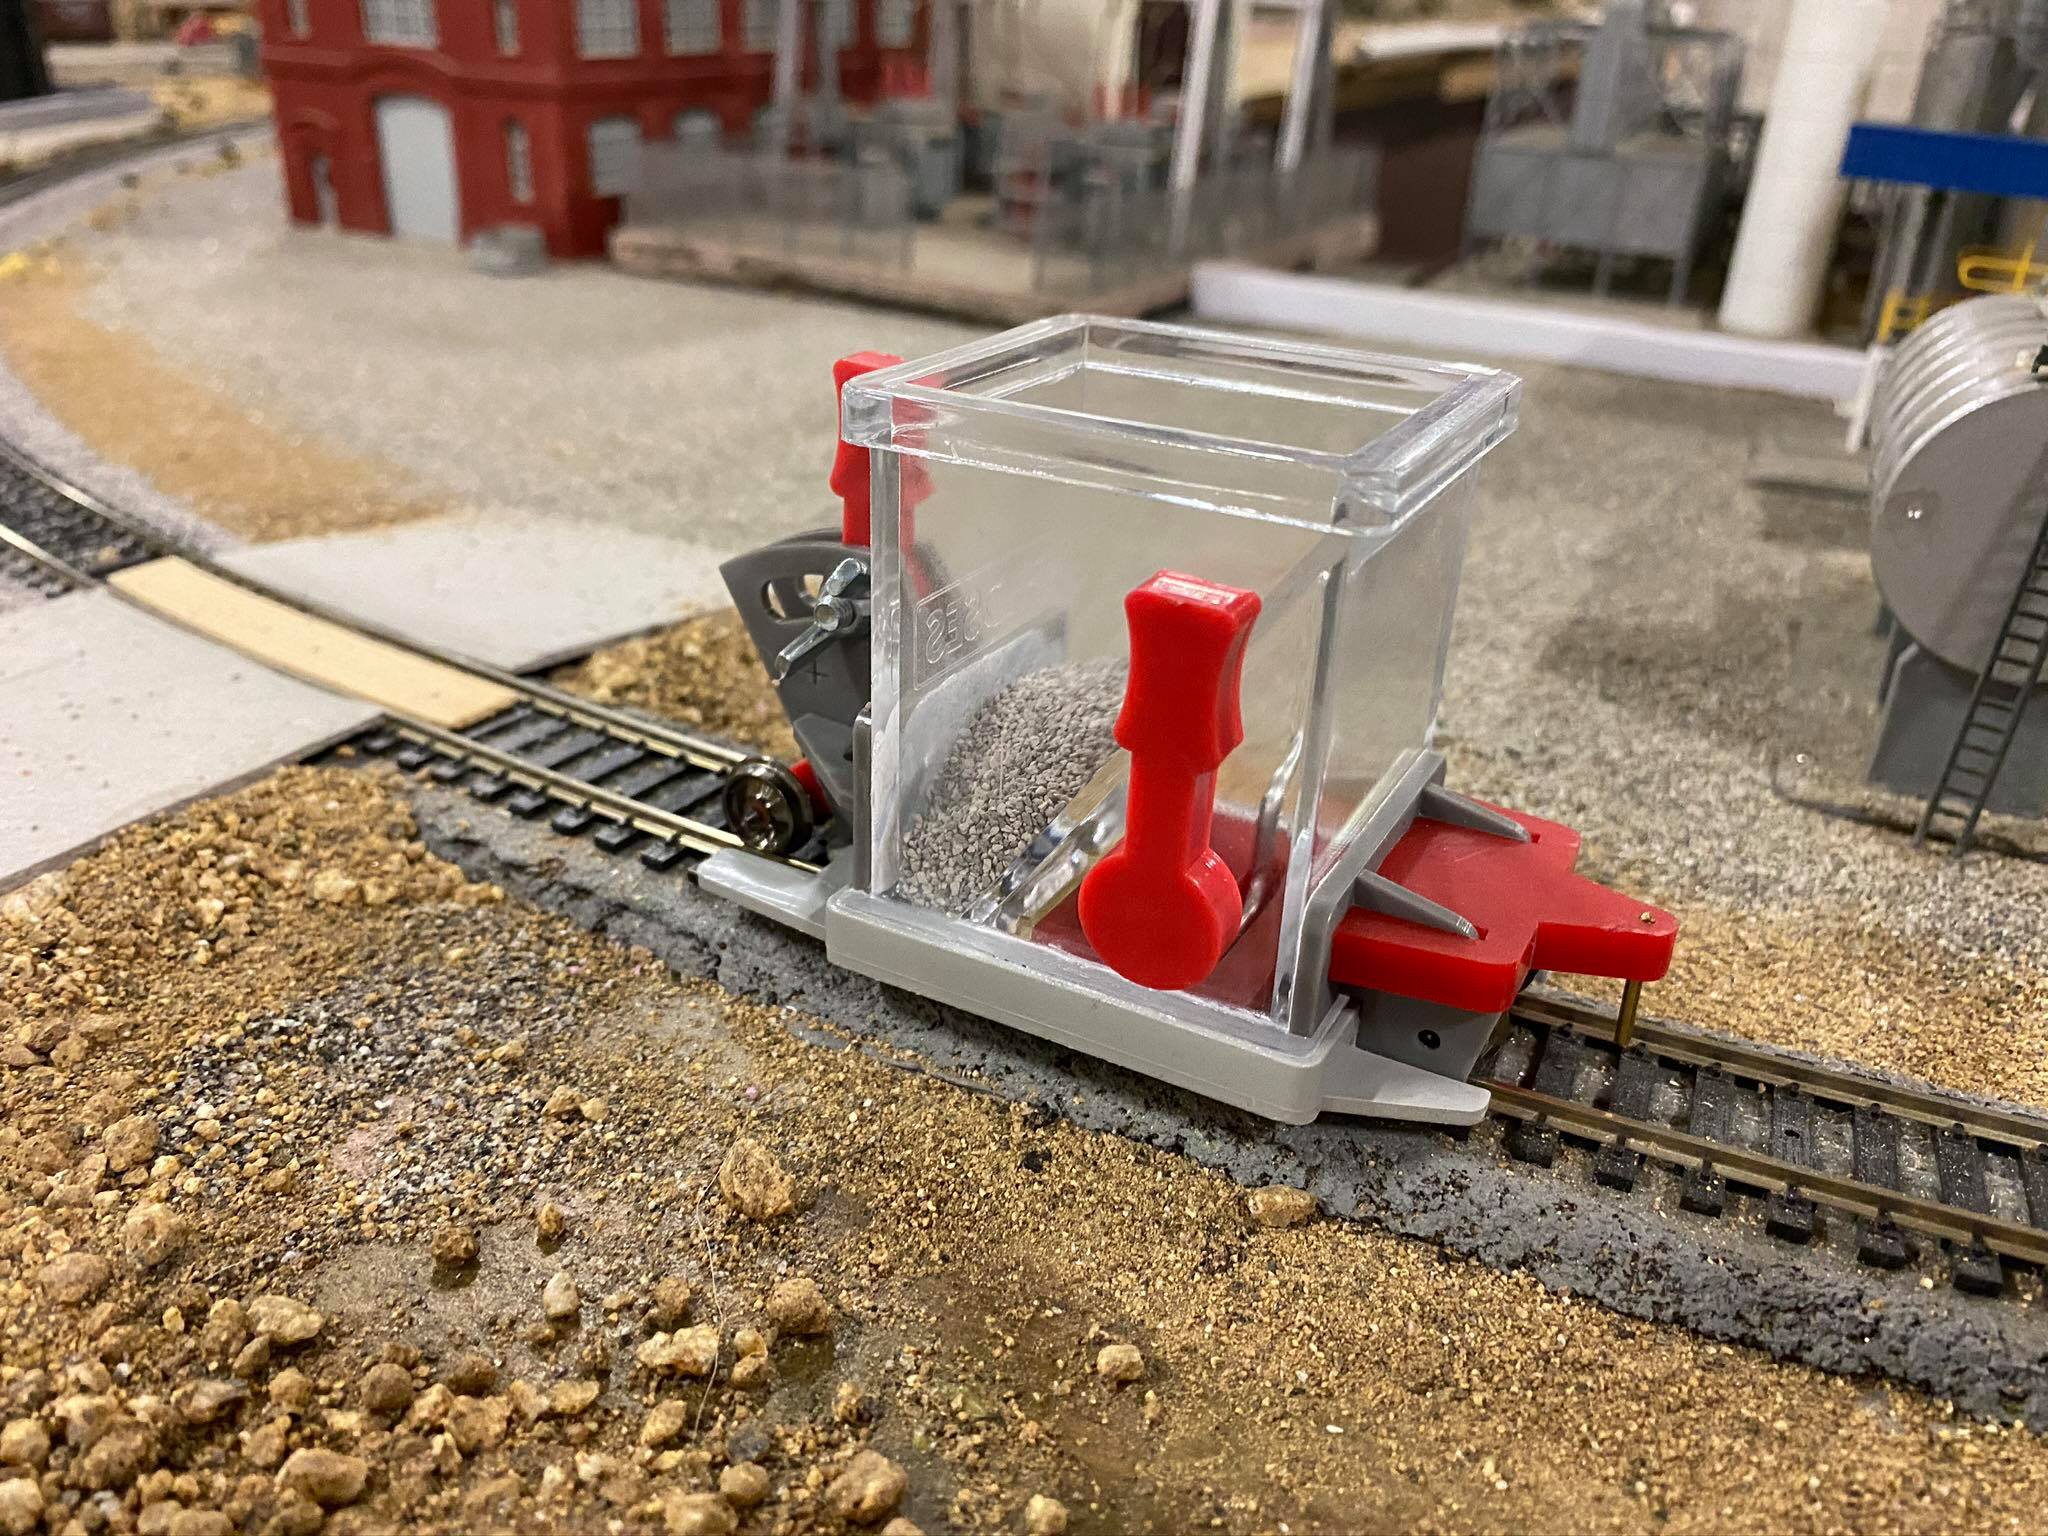 For the long sections of track we use the Proses ballast spreader |
 |
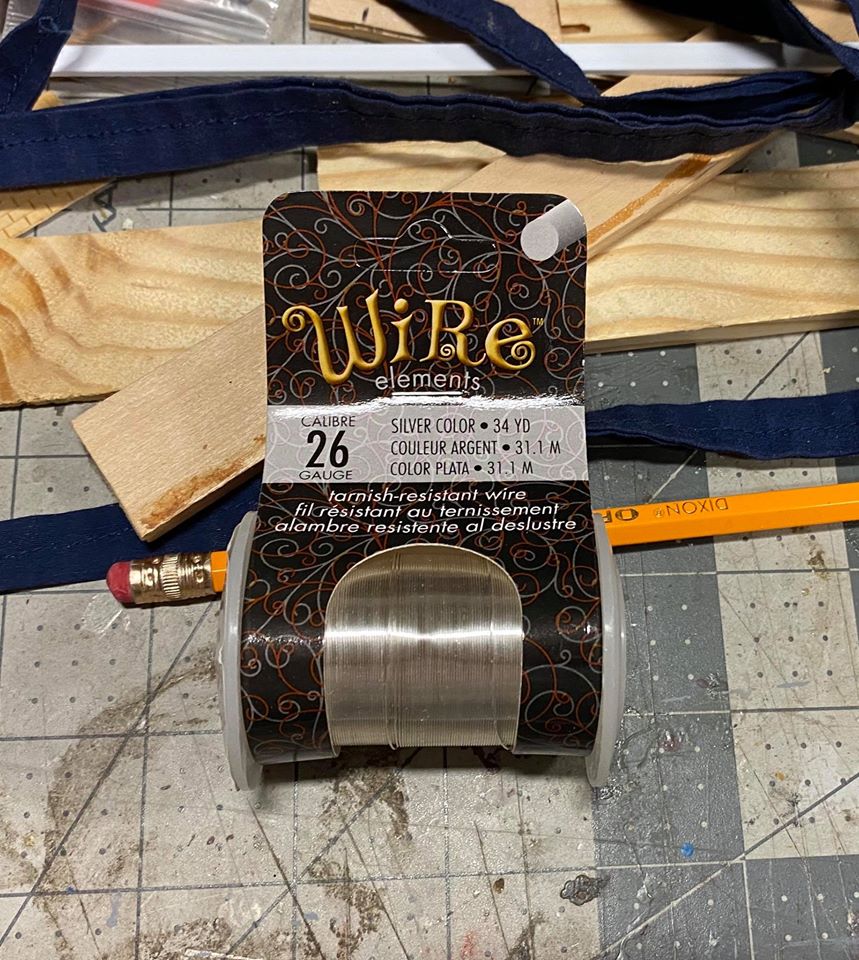 Razor wire making time! We start with this 26 gauge jeweler wire. |
 We unspool about 12 feet of the wire then double it over looping the bight end into an eye bolt set in a drill chuck. We start spinning the drill to twist the two ends together. Once we have a coarse twist on the full length we then go to the drill end and pinch the wire with two fingers to get a tight twist in the wire and work our way to the end |
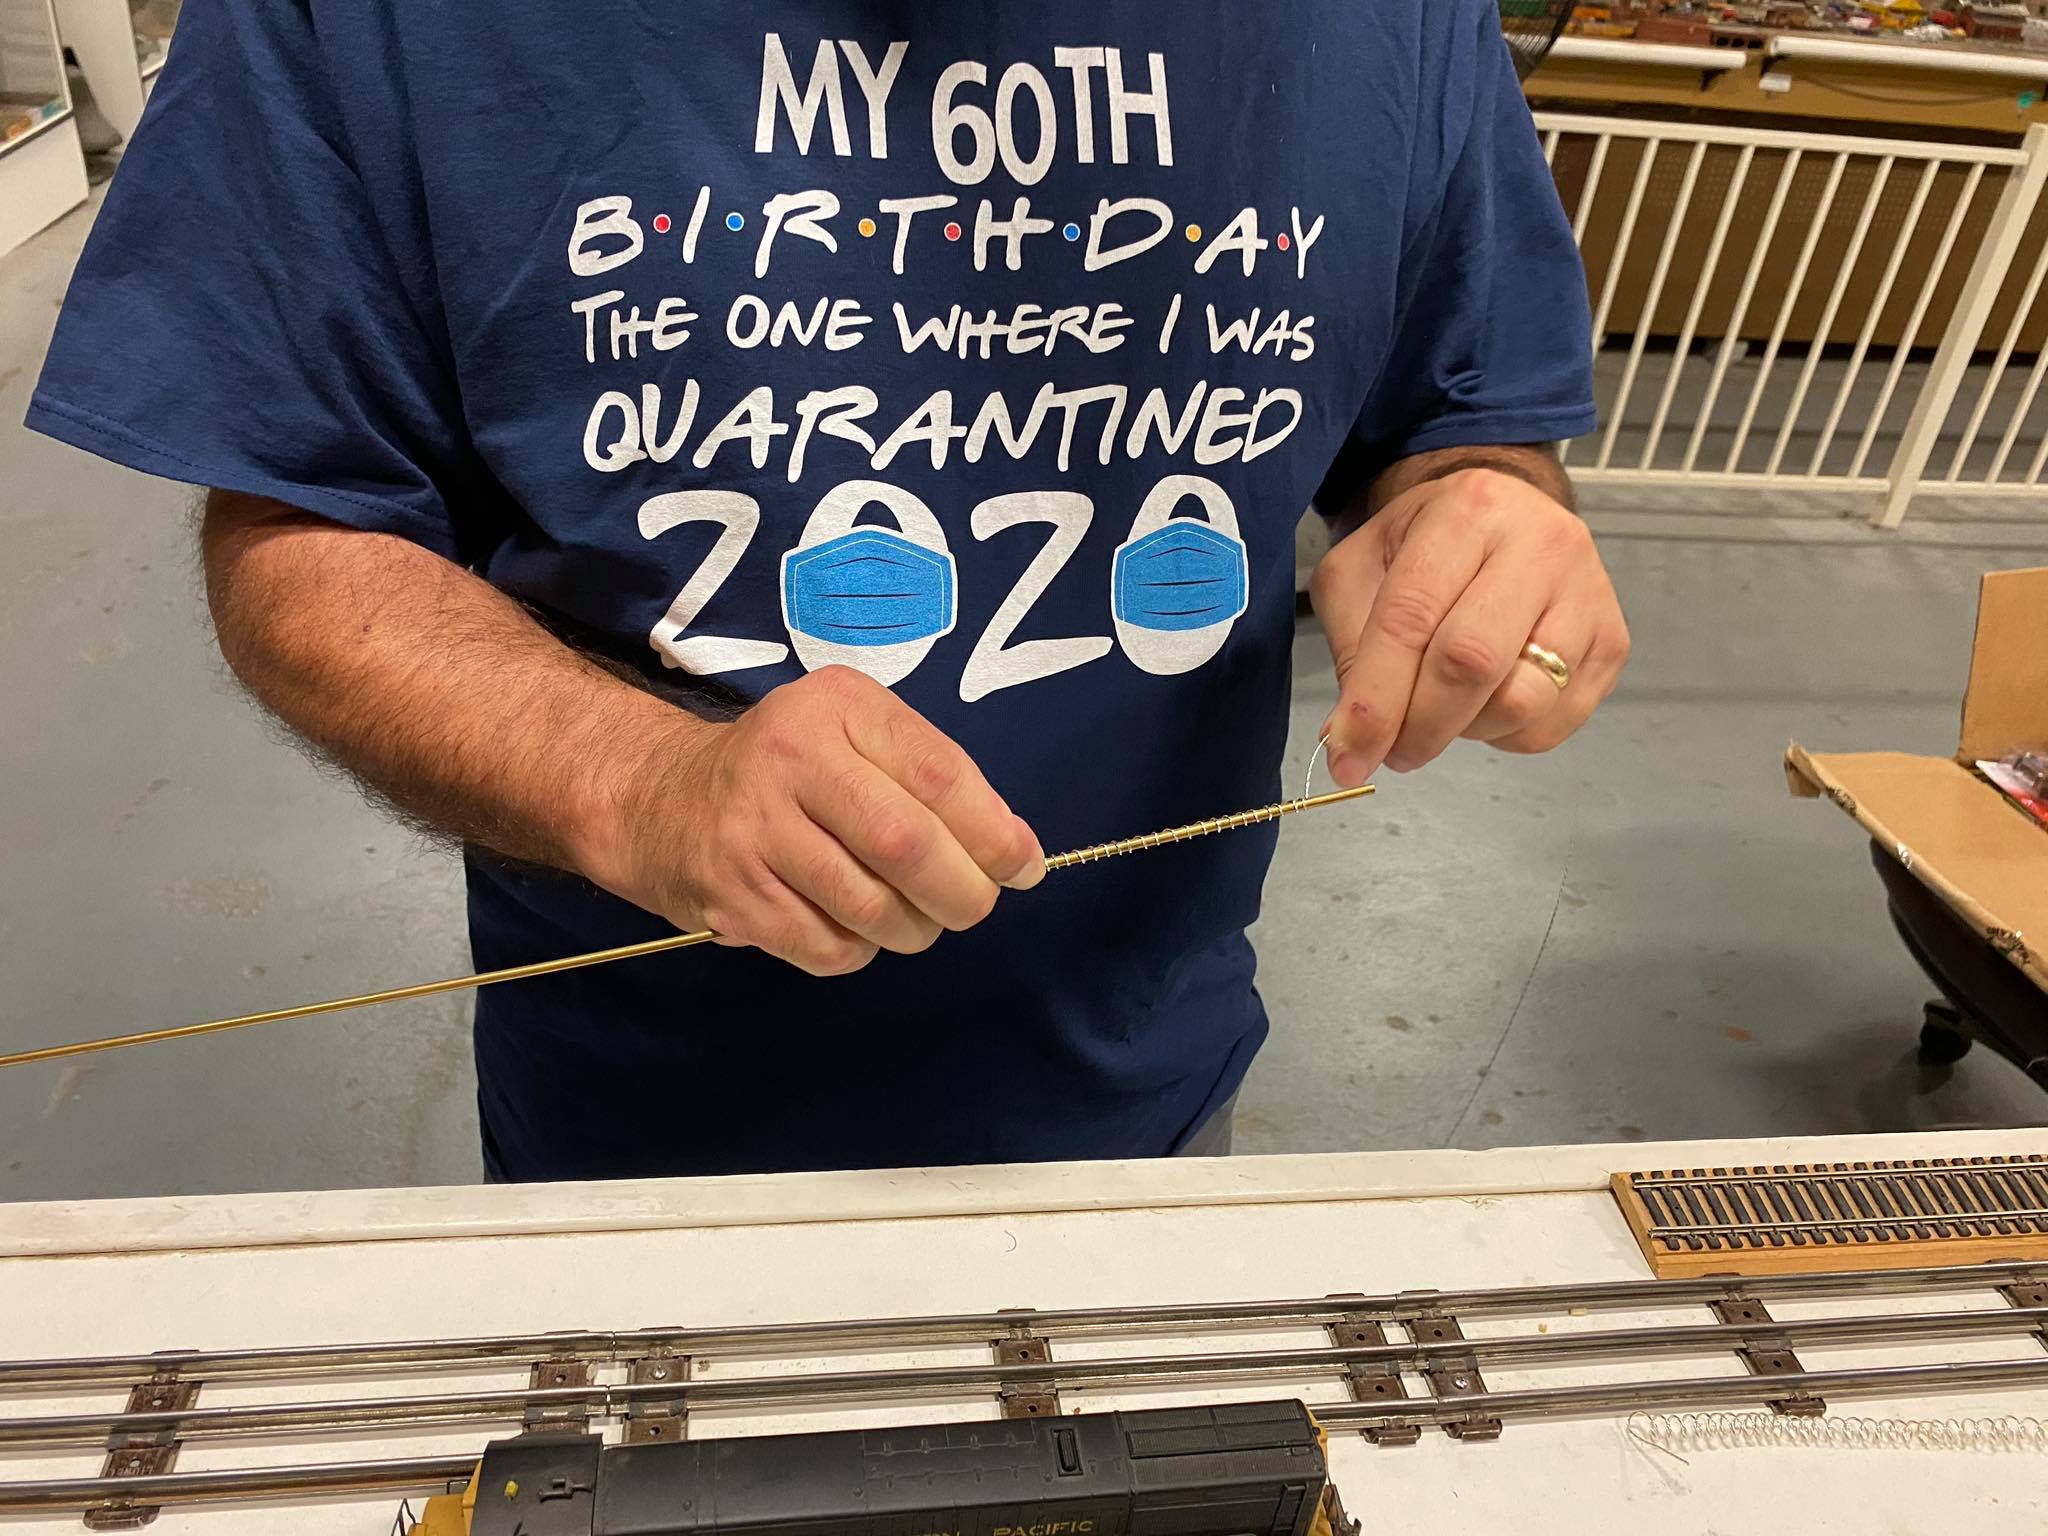 We then wind the twisted wire around a brass rod to form it into razor wire. |
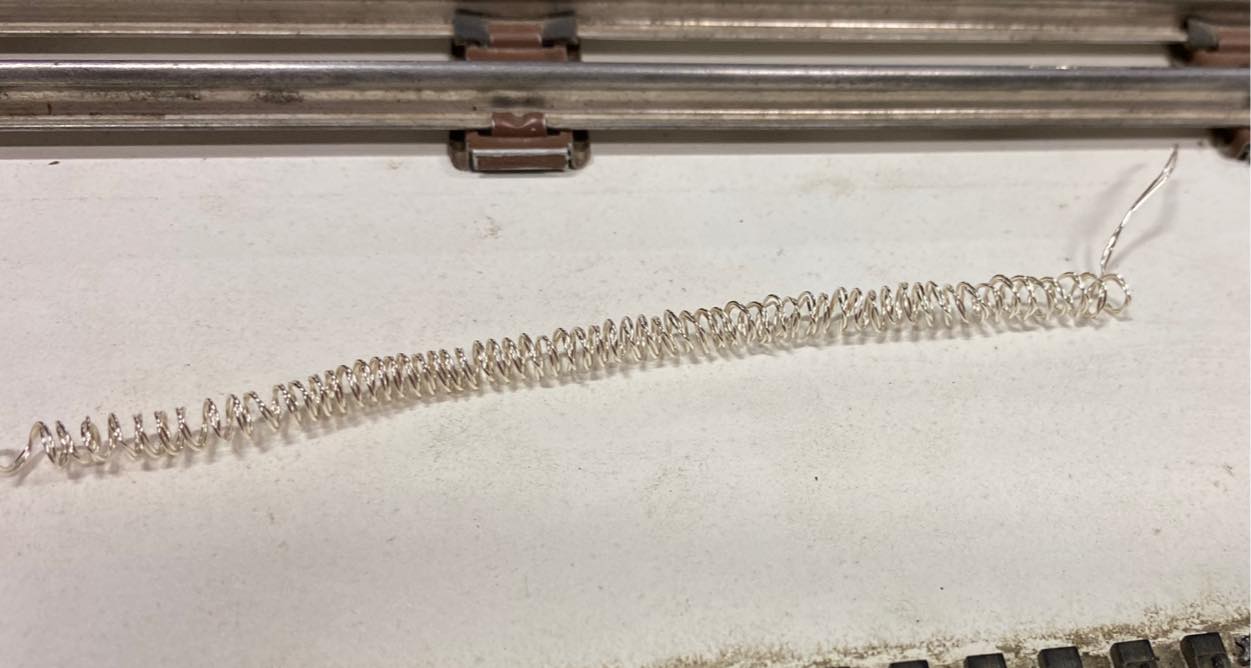 What it looks like after being wound. |
 |
 |
 Jim getting the wiring done for the bridge streetlights |
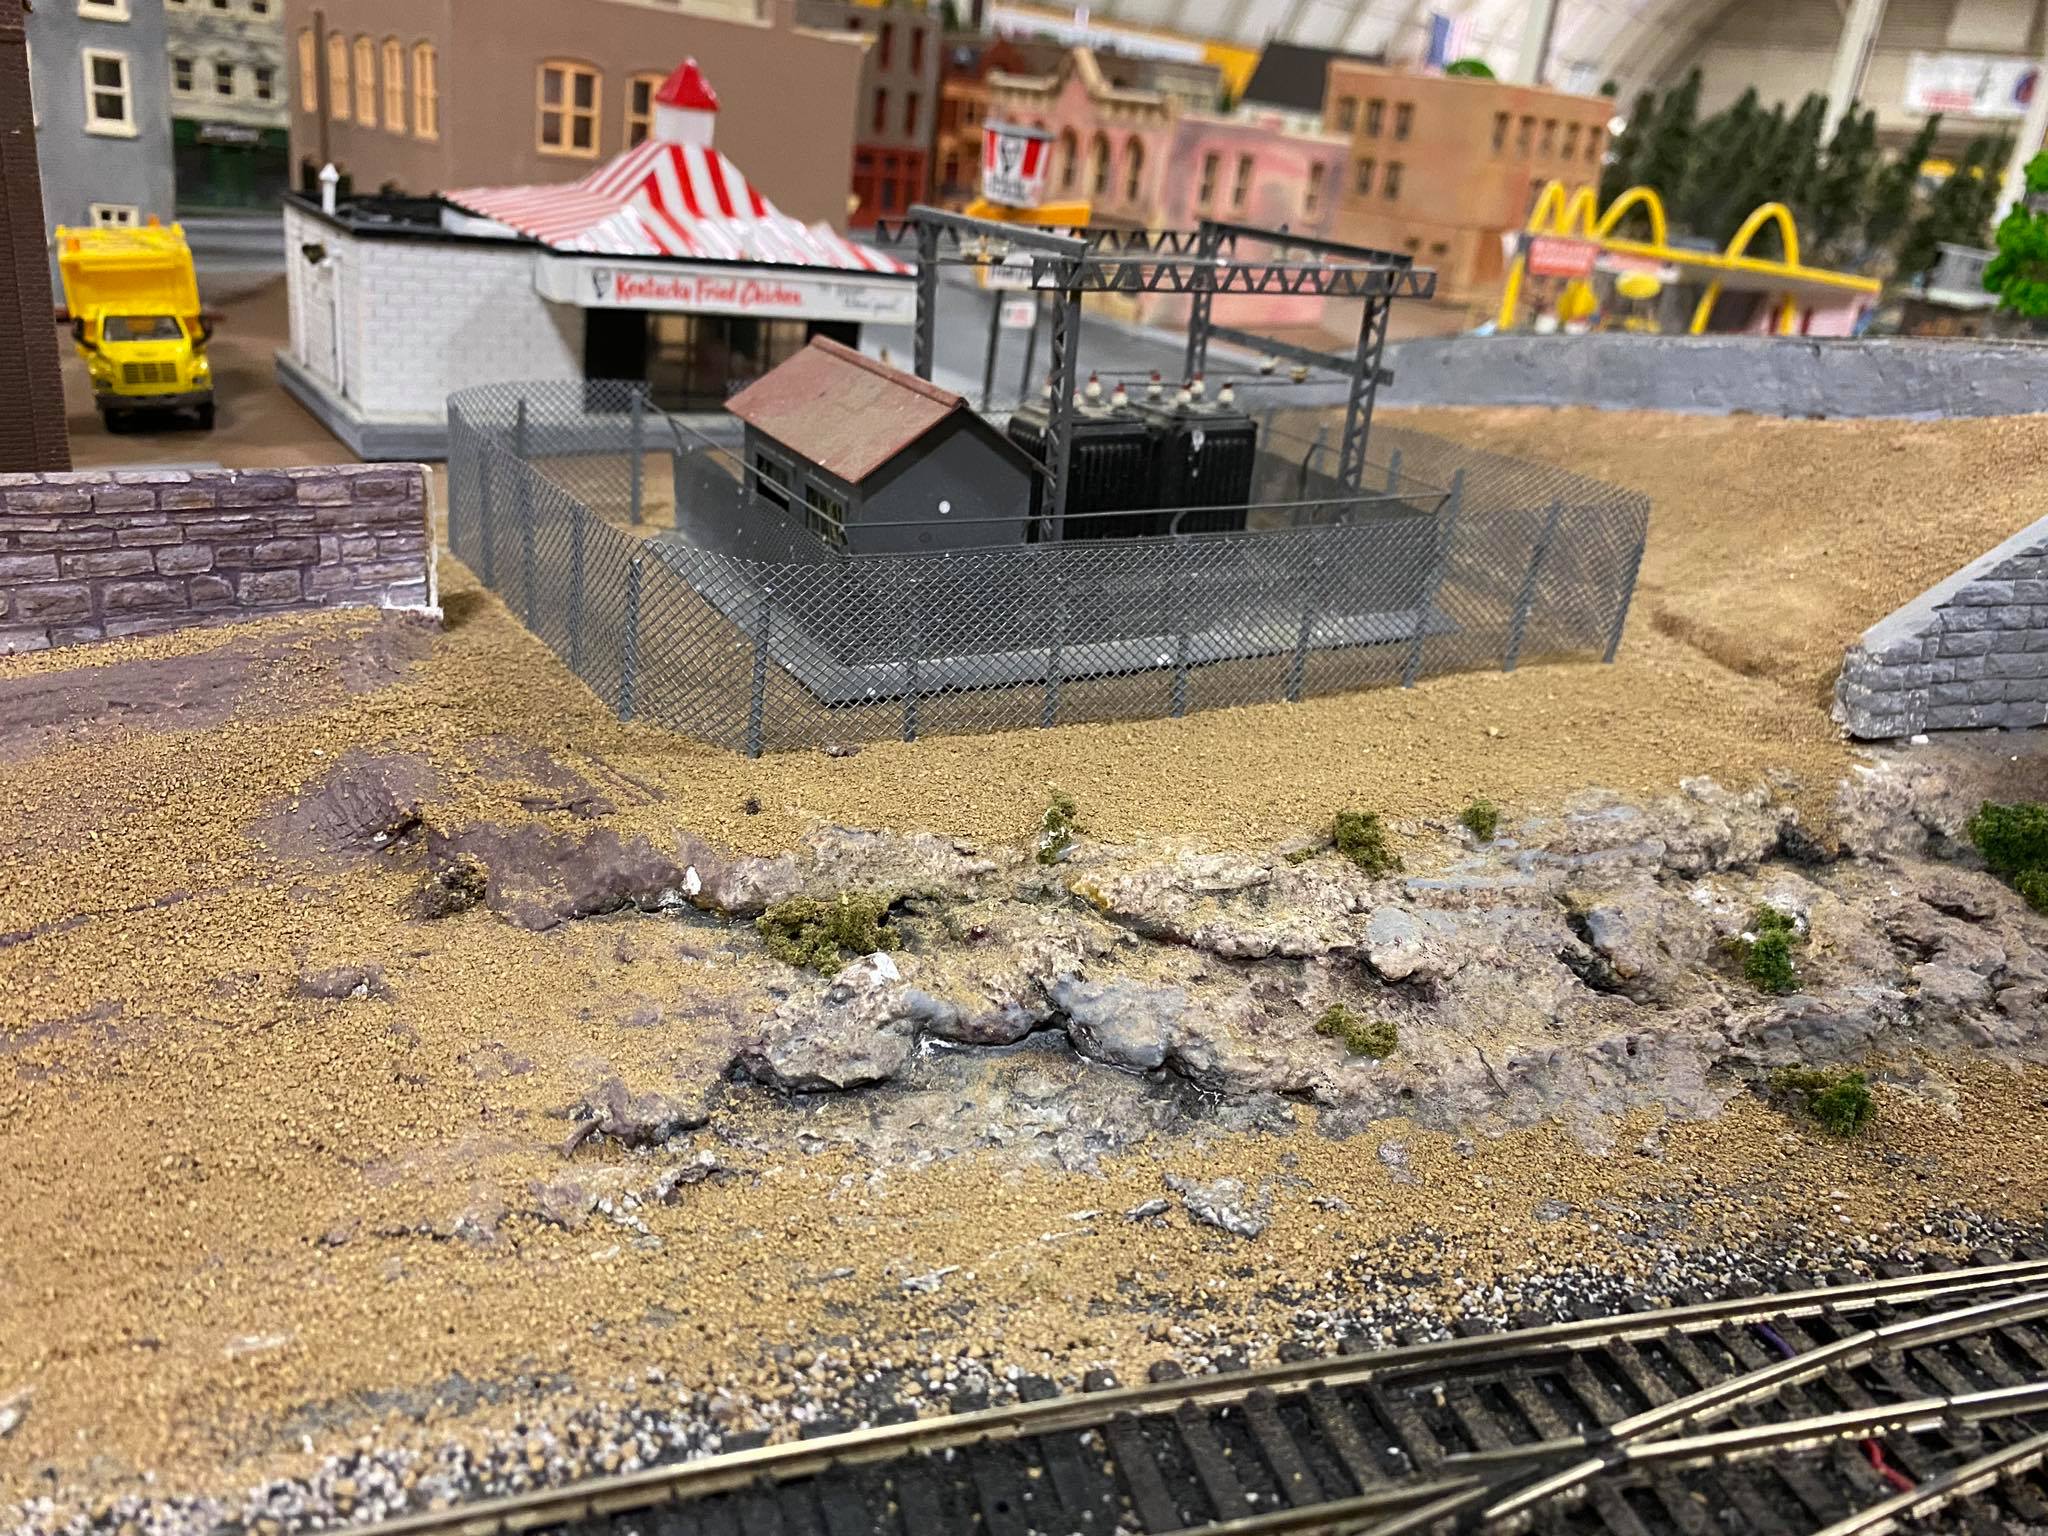 Chain link fence finished around the substation. |
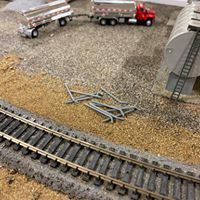
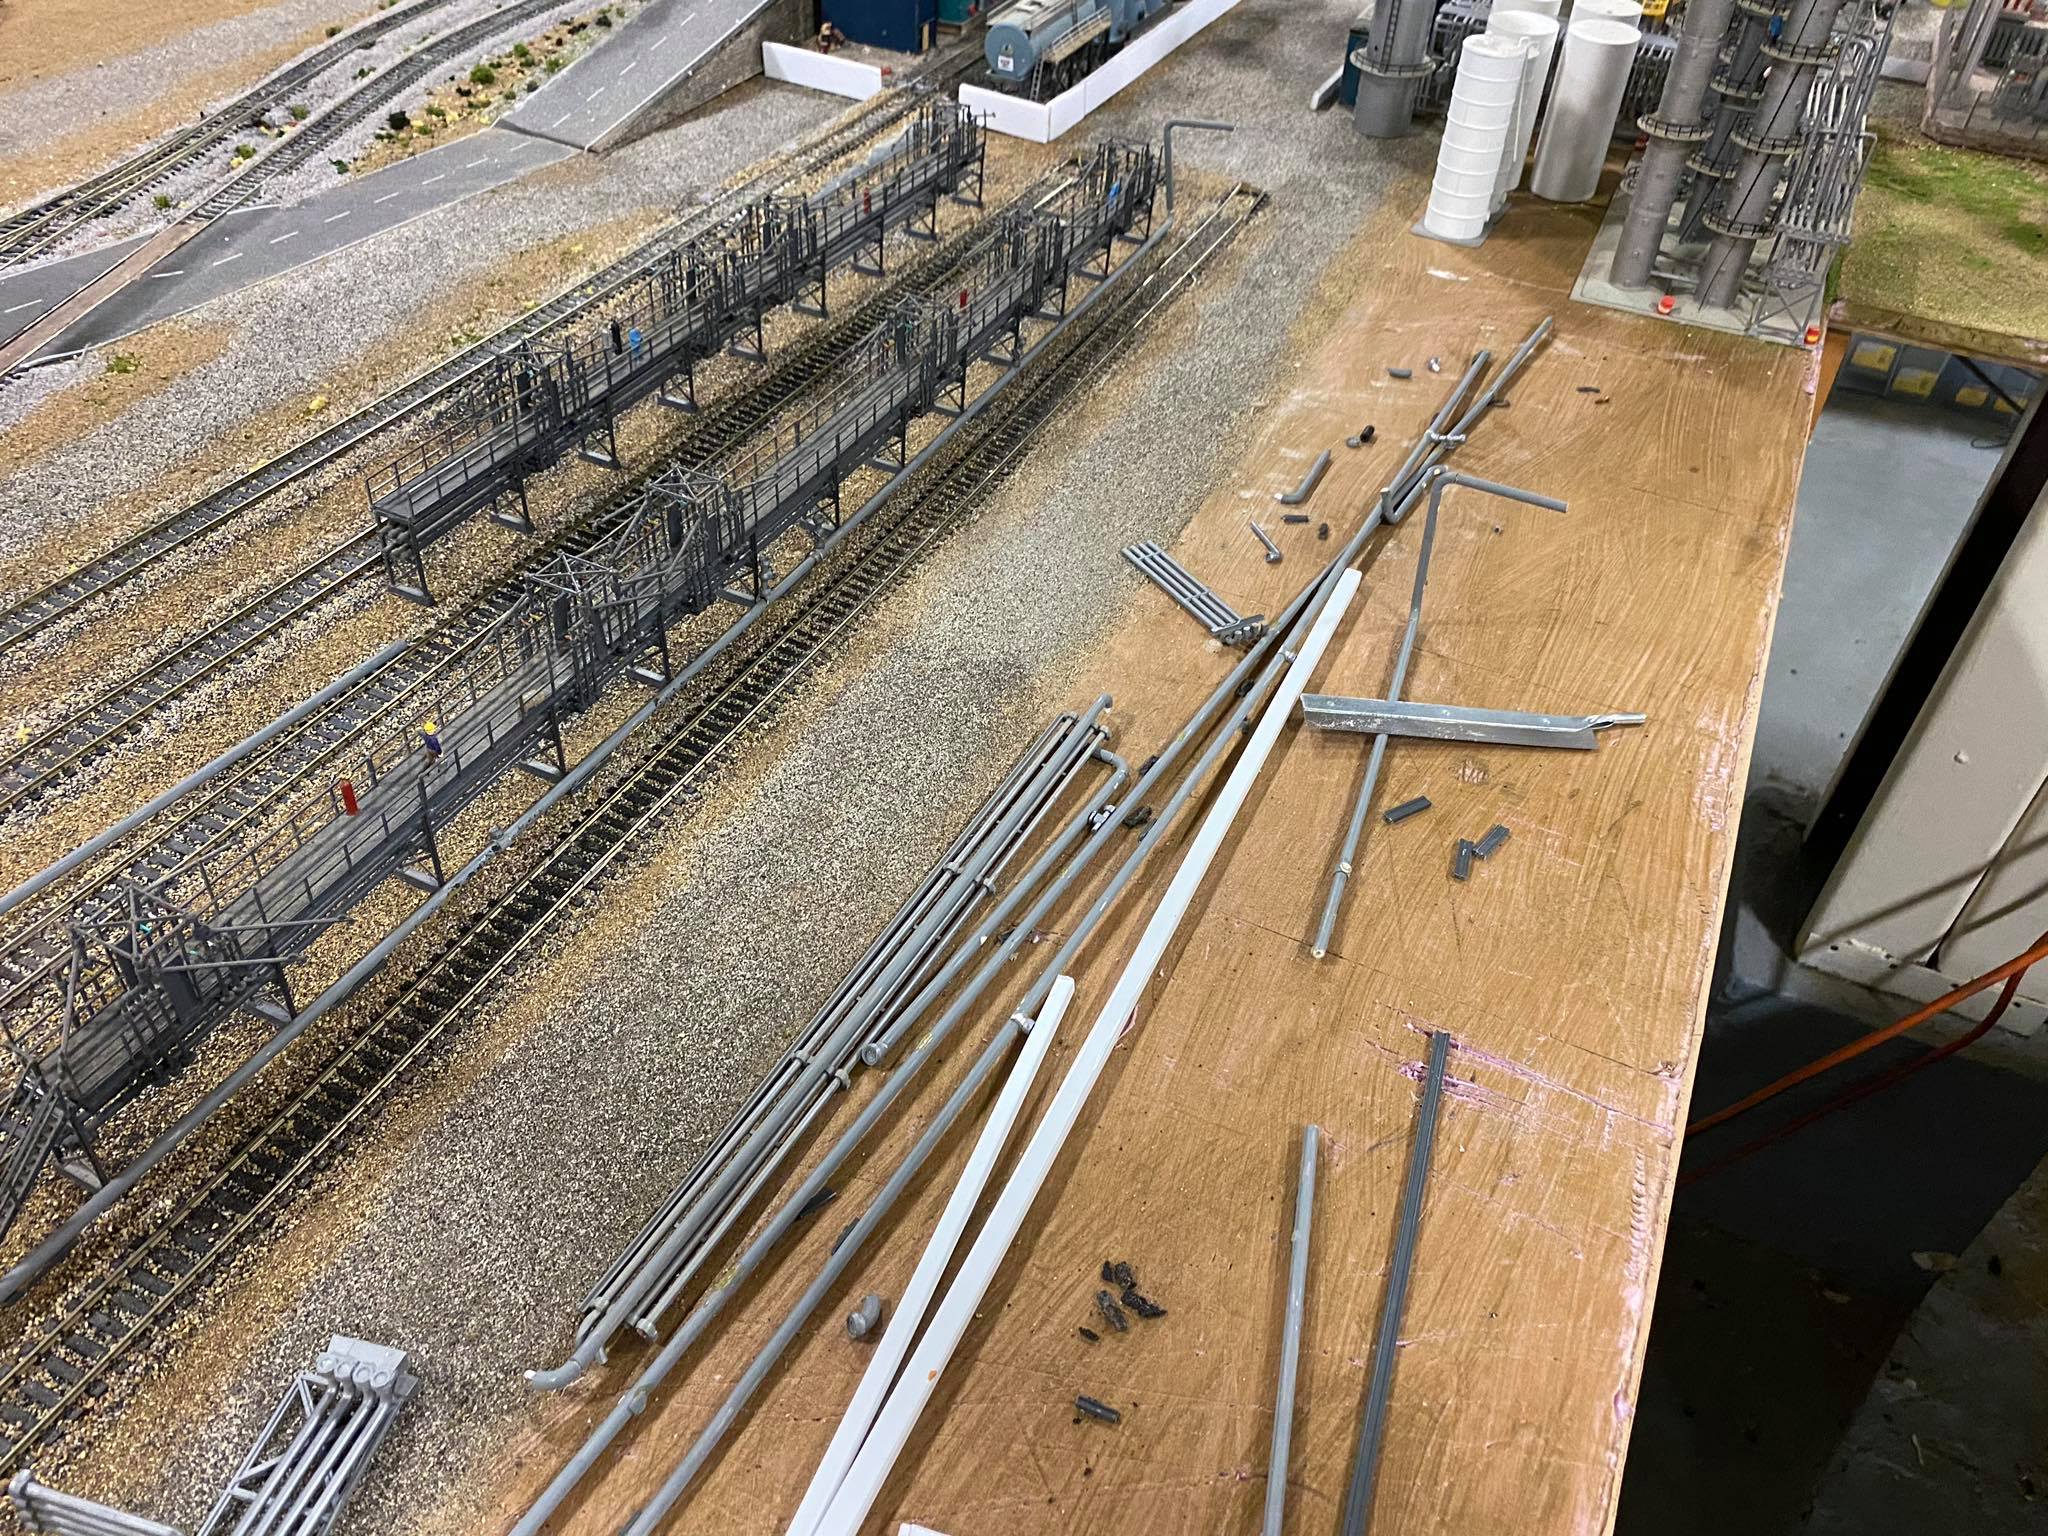 Starting on the “plumbing” to connect the load/unload racks to the refinery. |
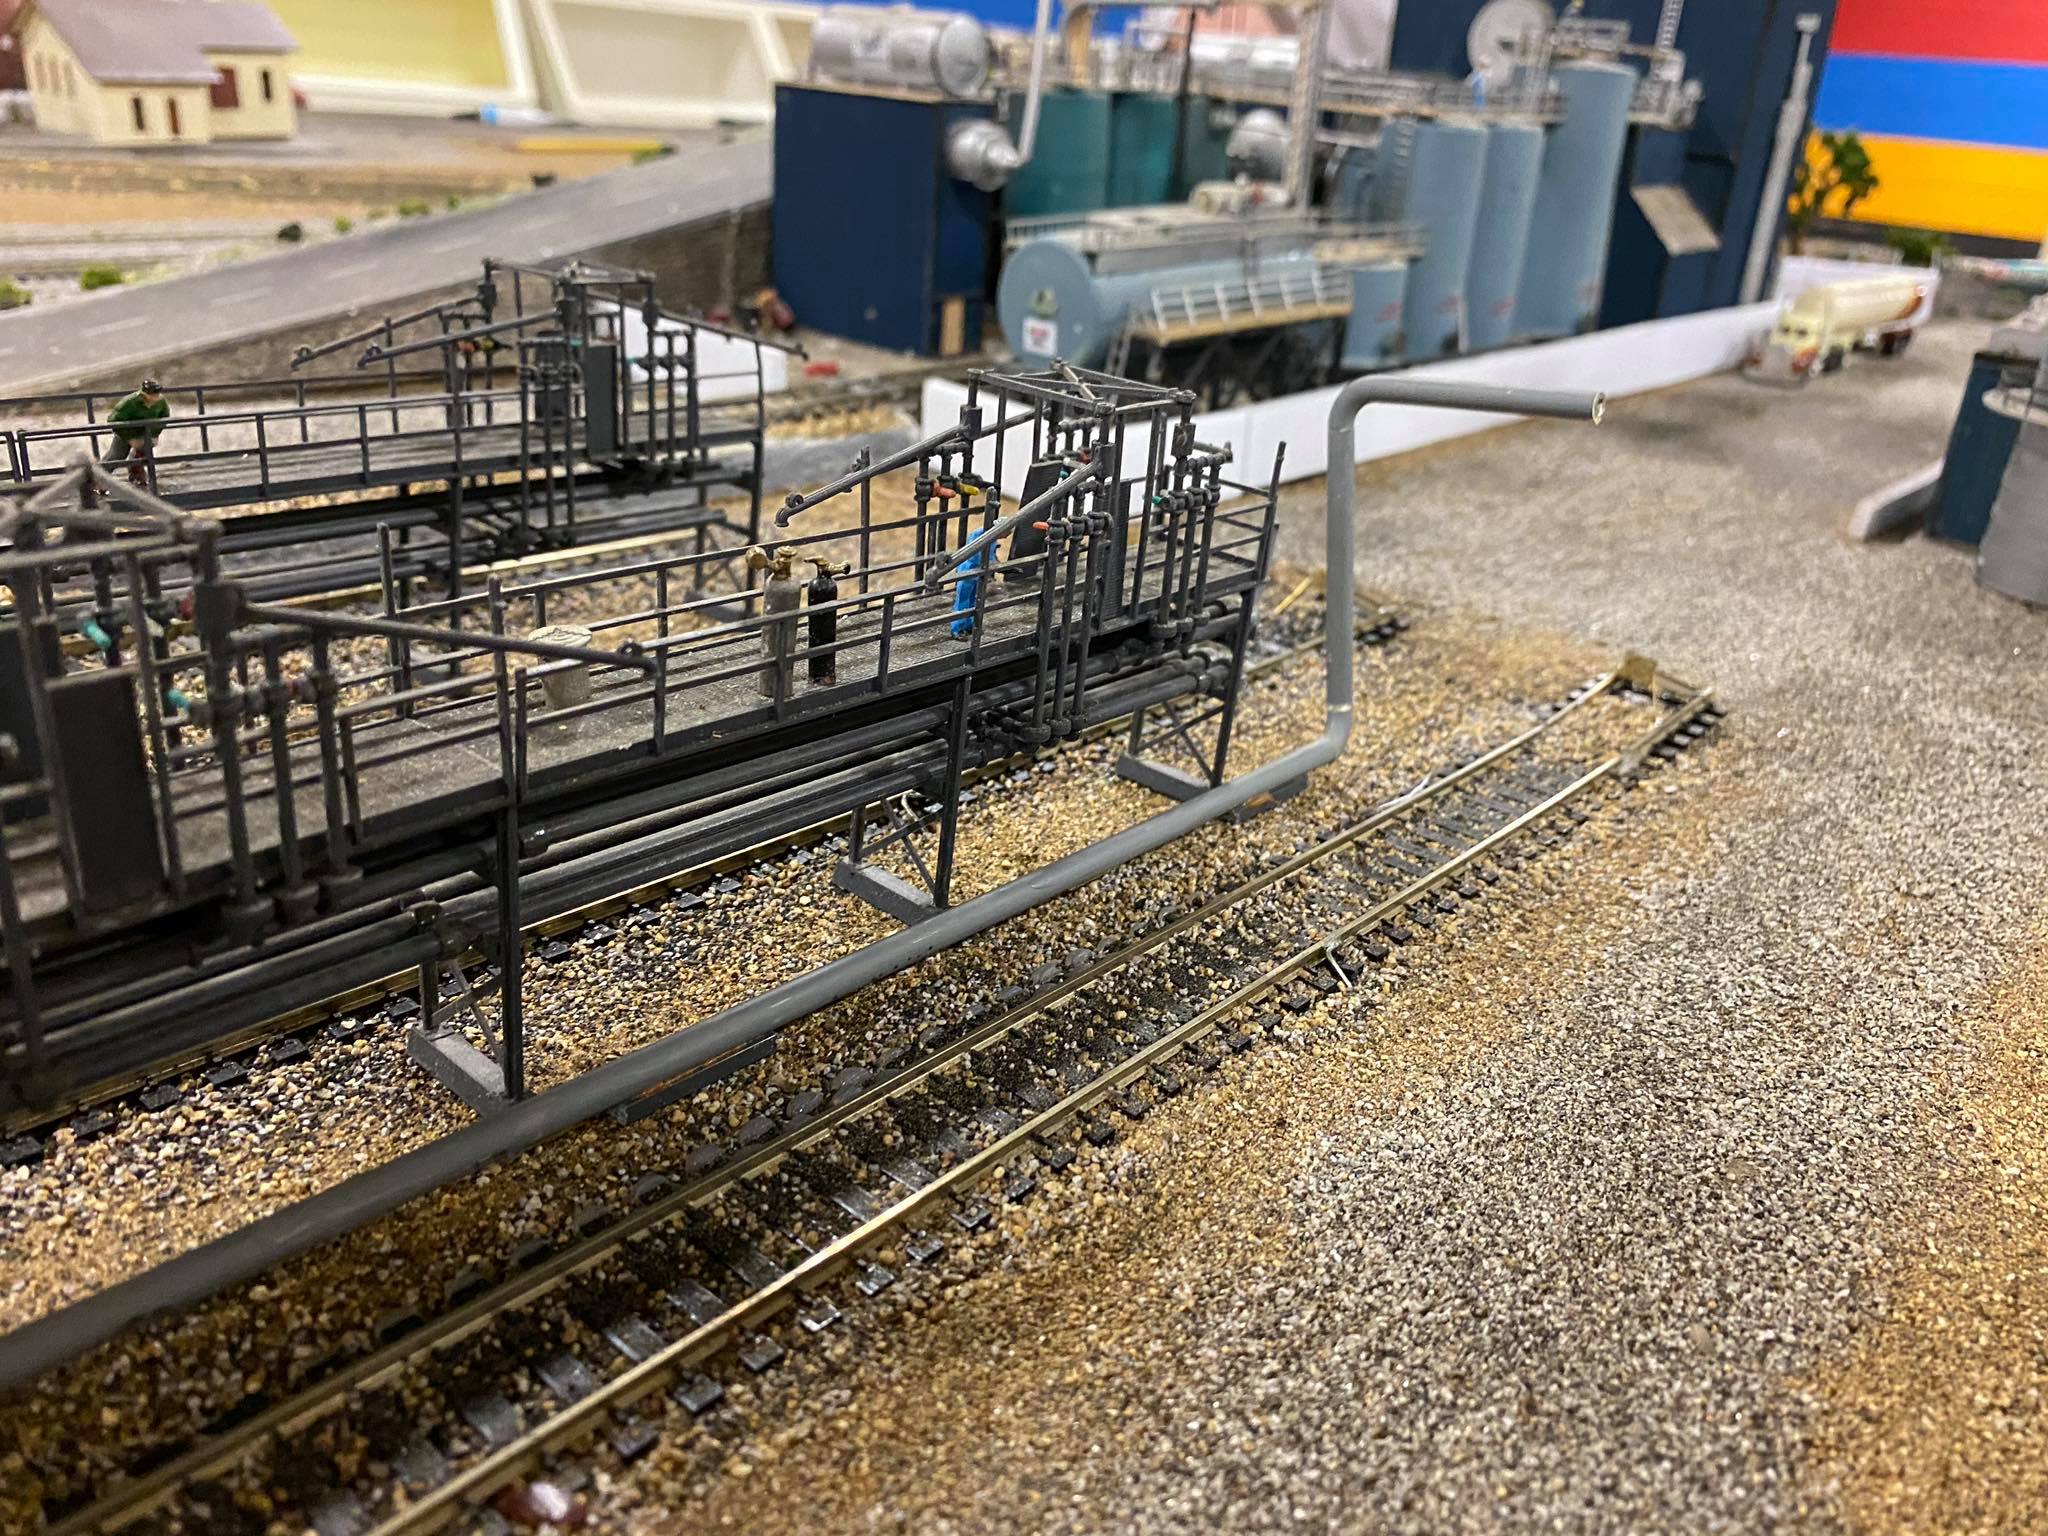 Starting on the “plumbing” to connect the load/unload racks to the refinery. |
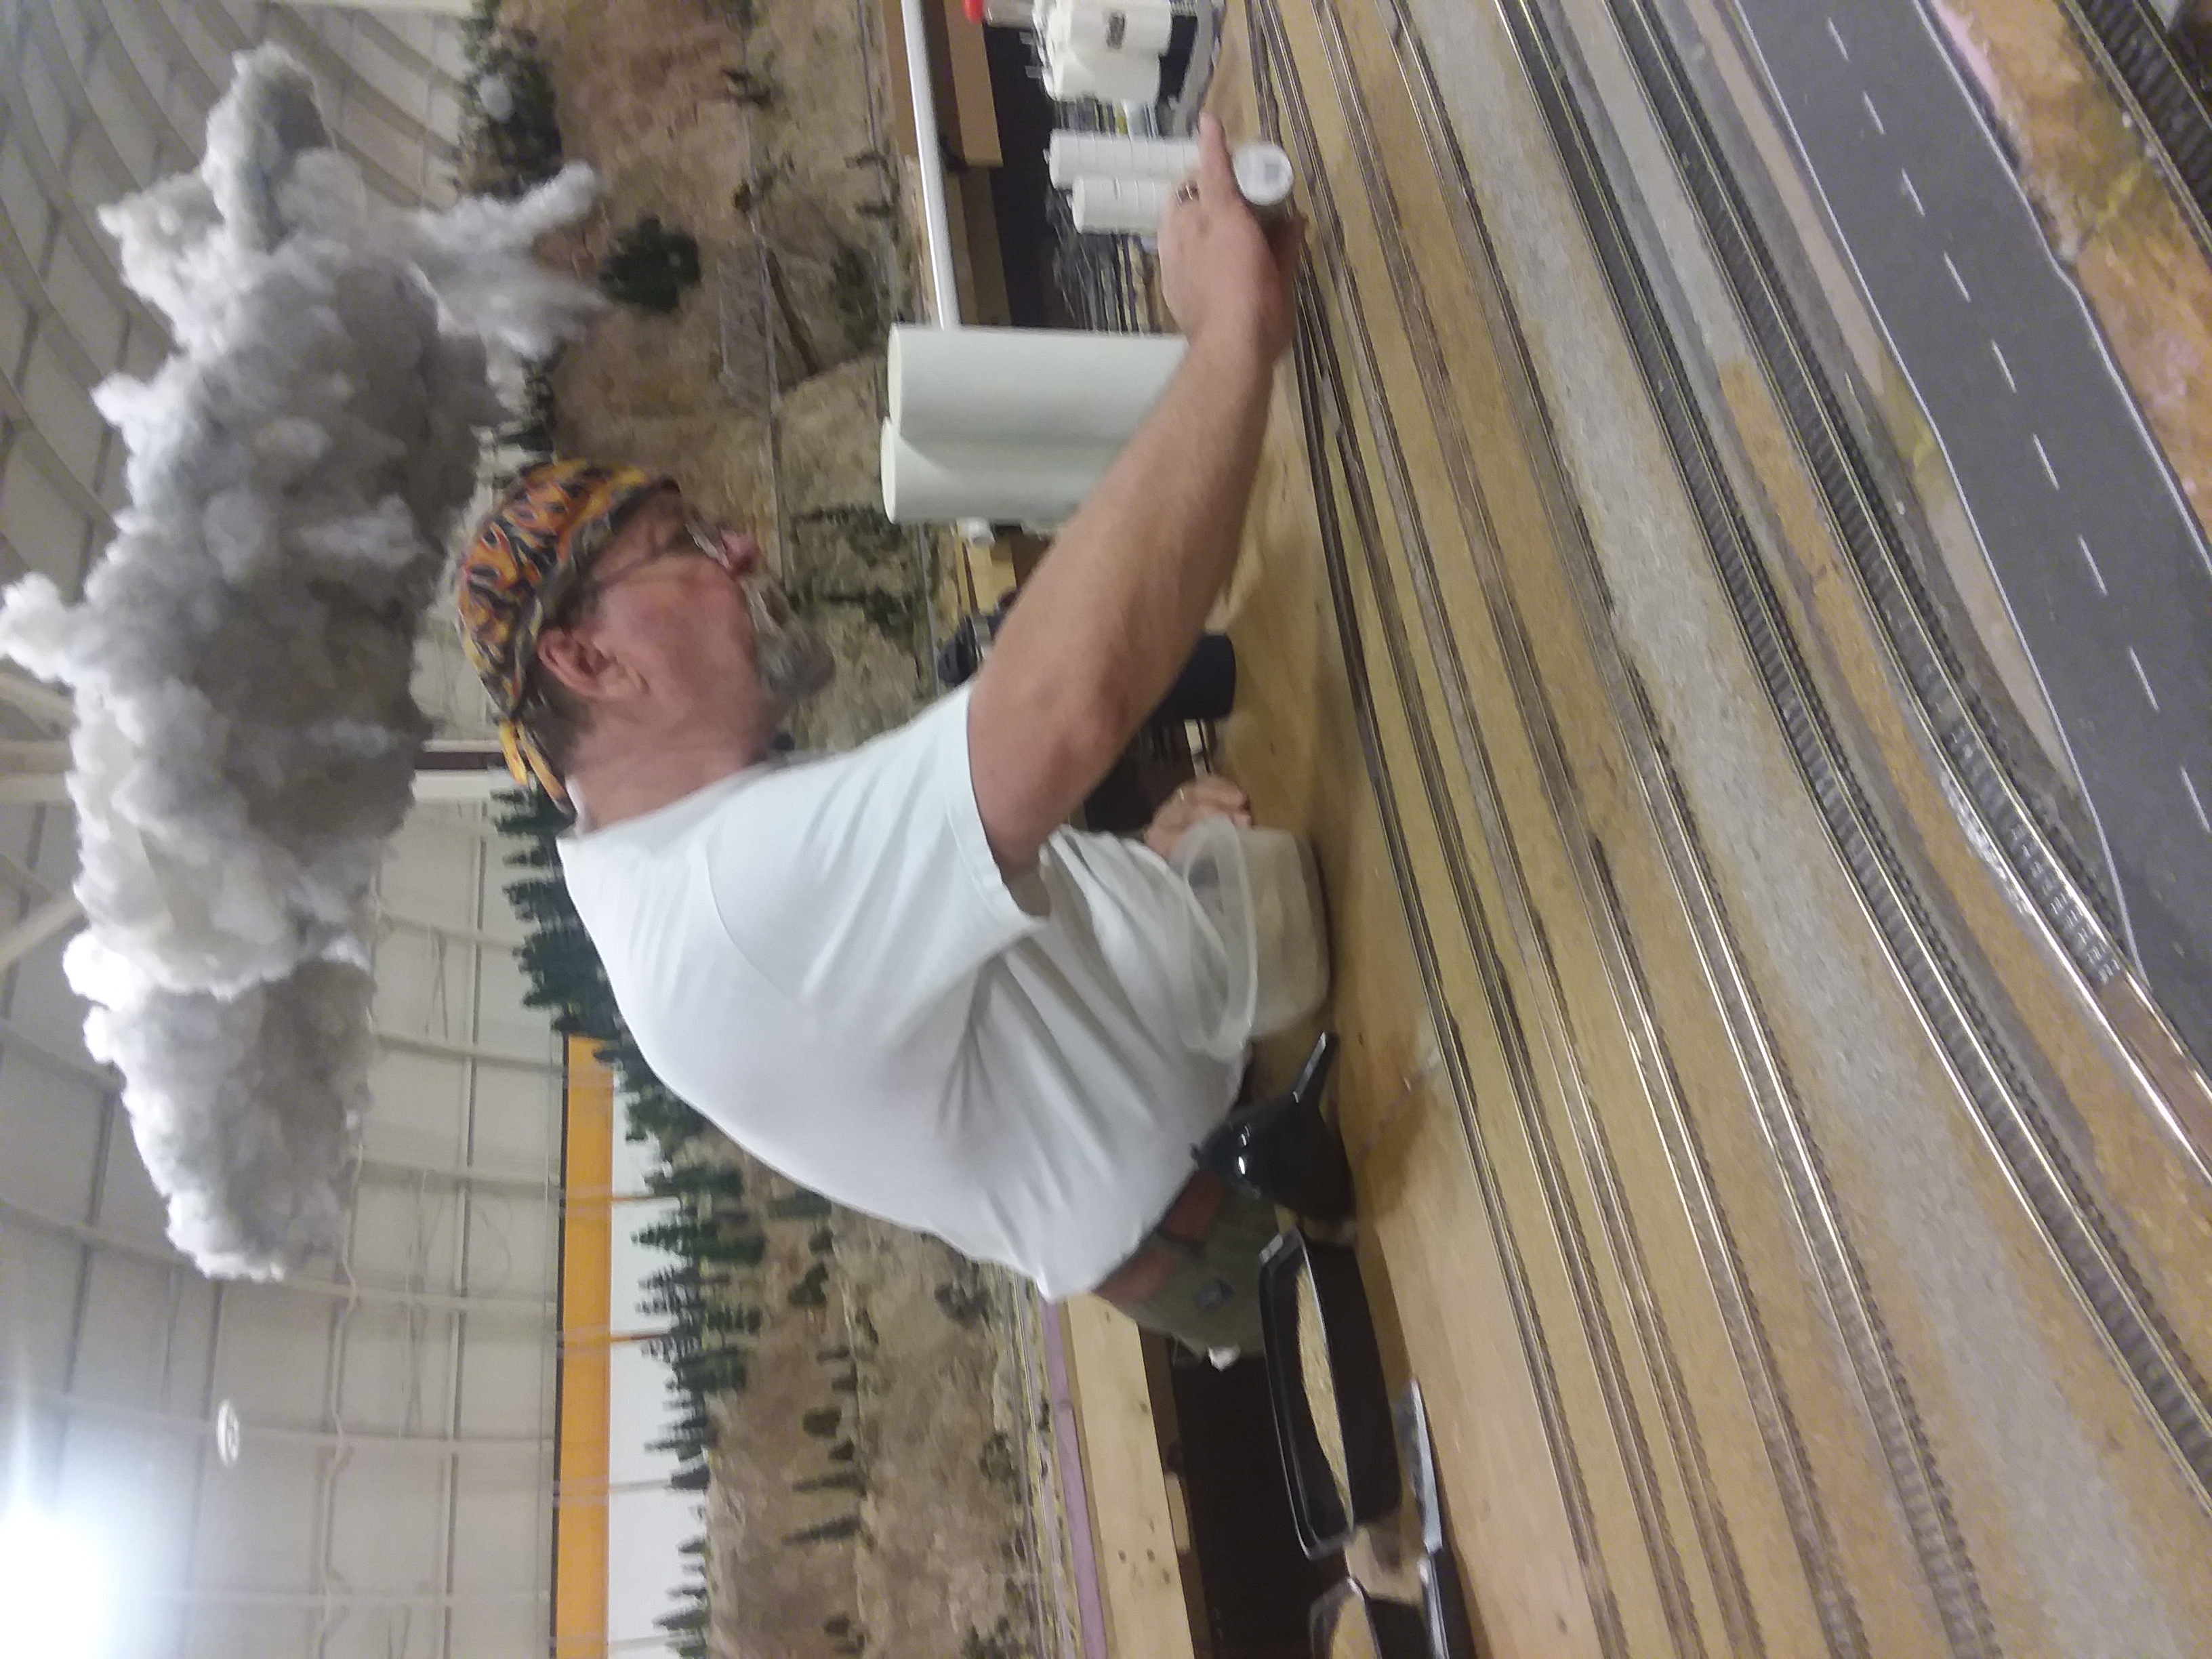
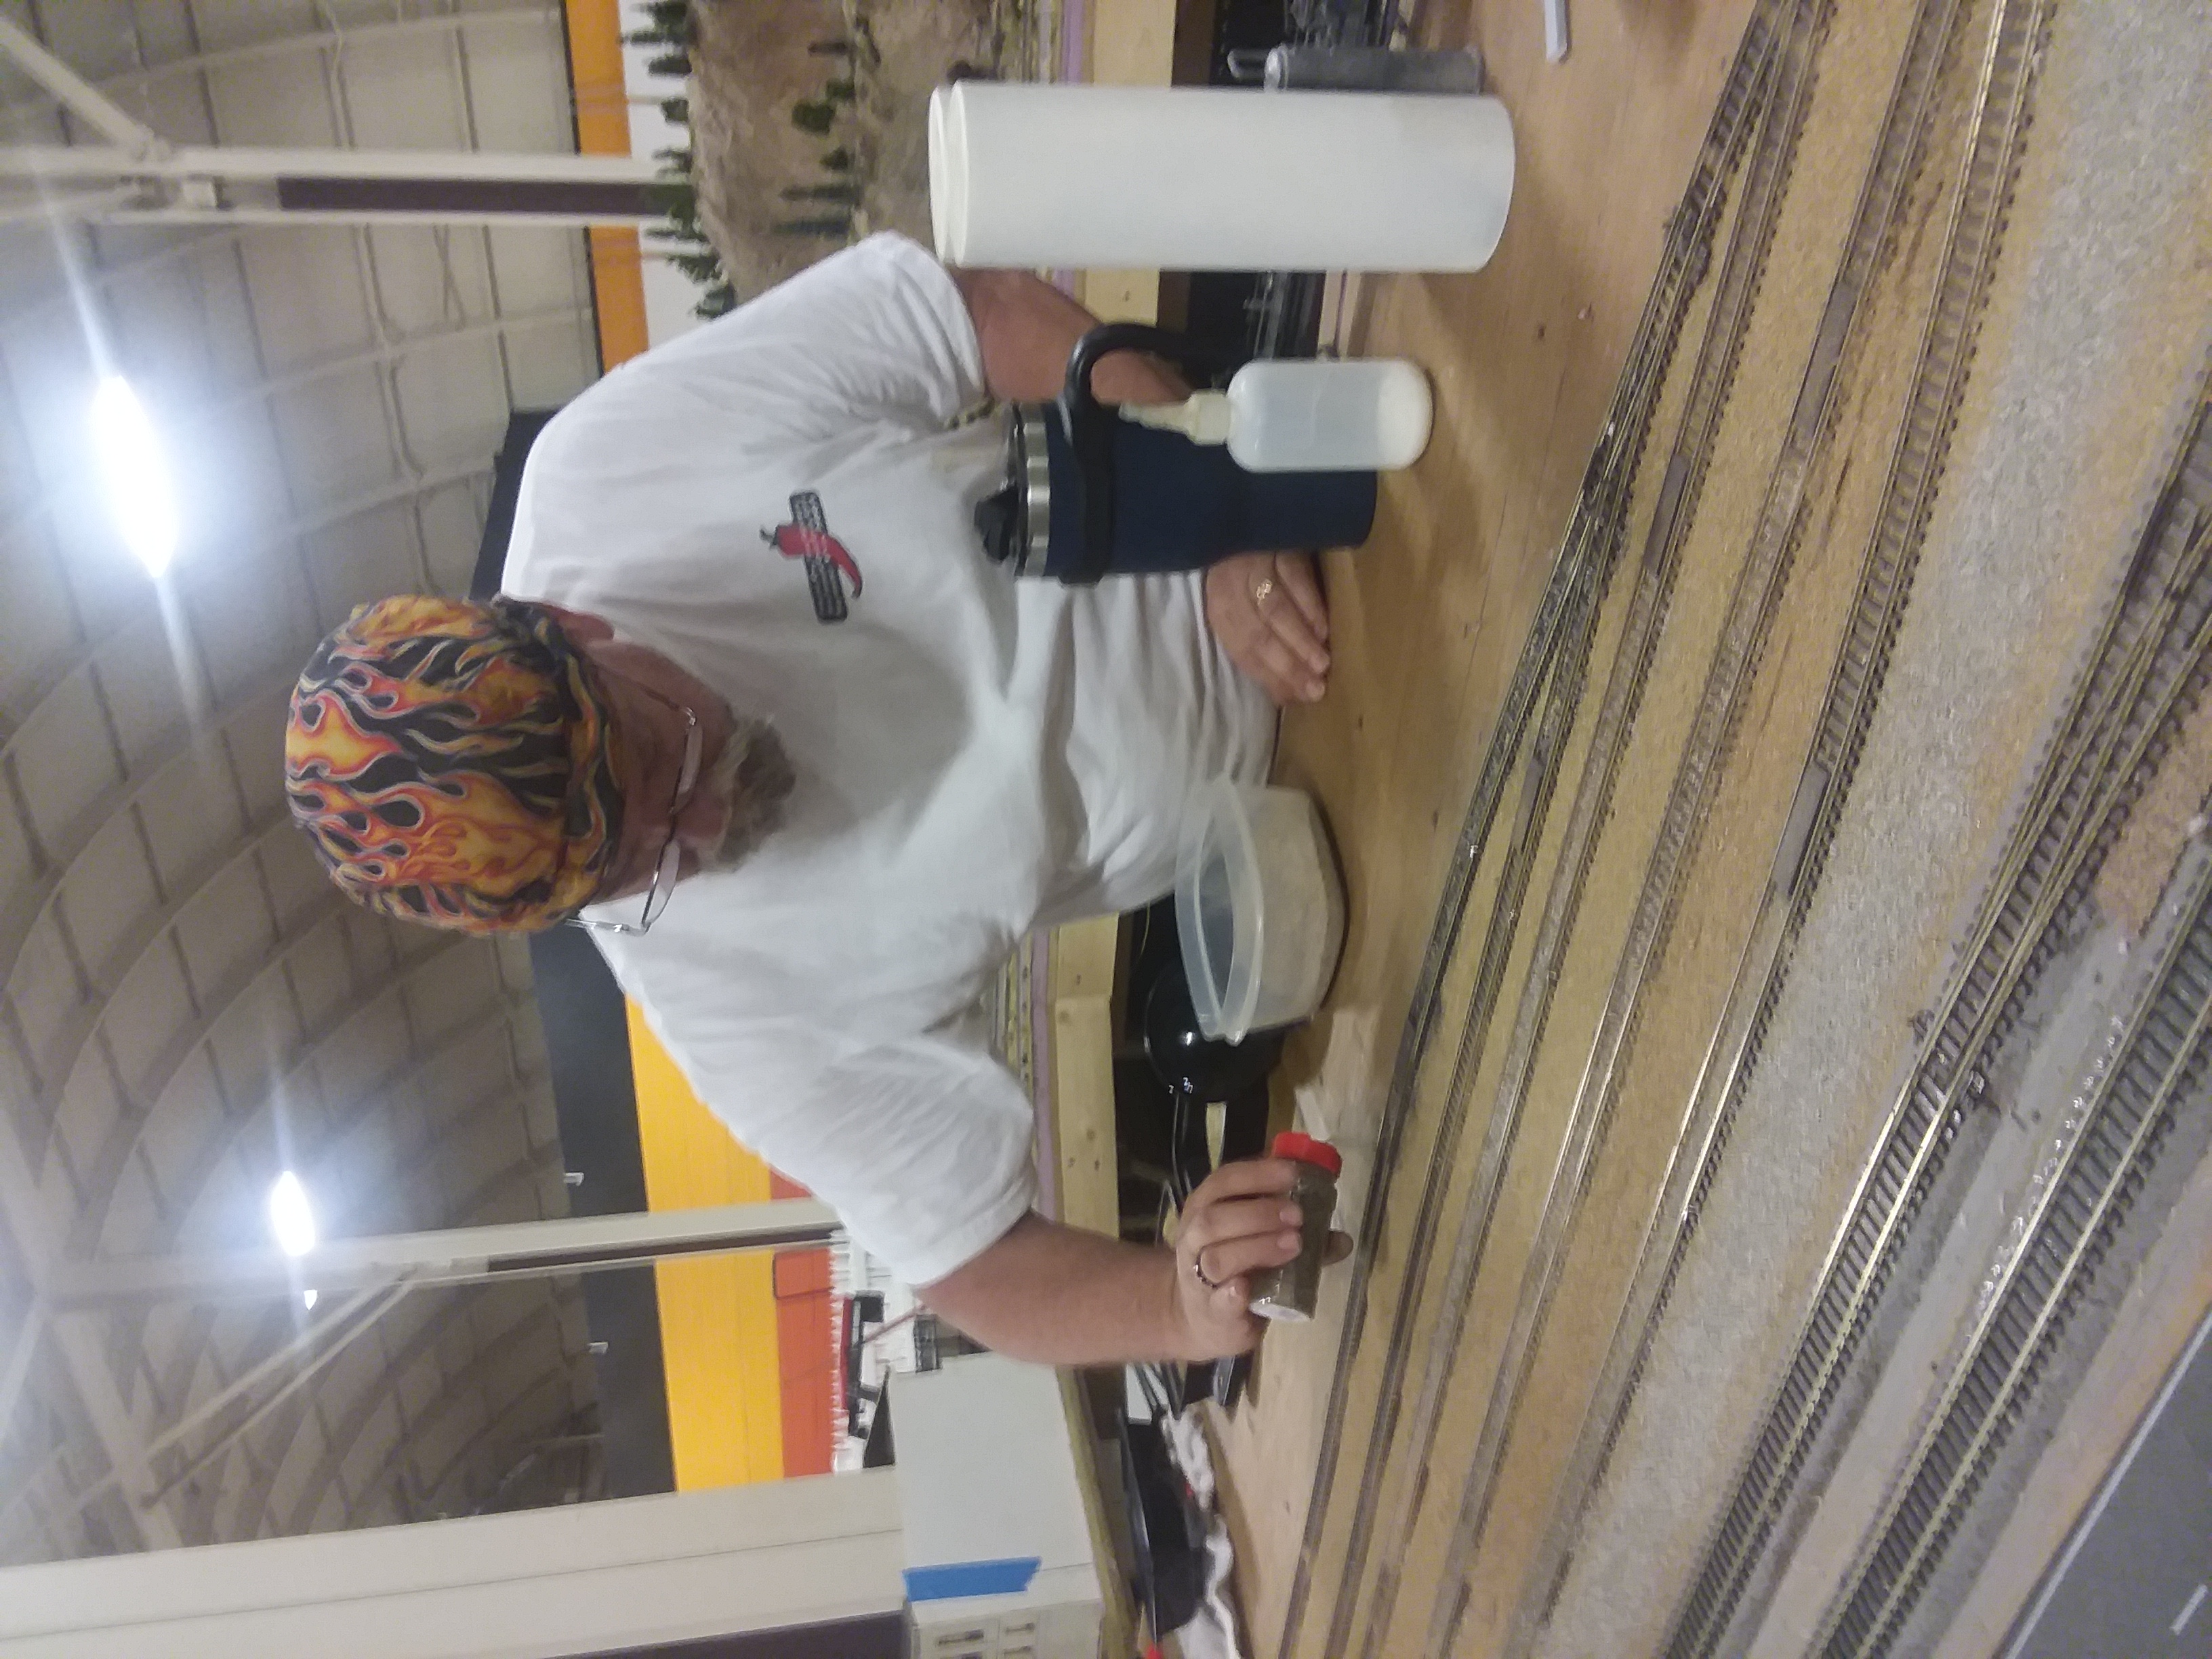
 Adding Ballast |
 Mark using the Proses ballast spreader |
 Mark and Tyler feathering out the edges of ballast |
 Adding the final touch |
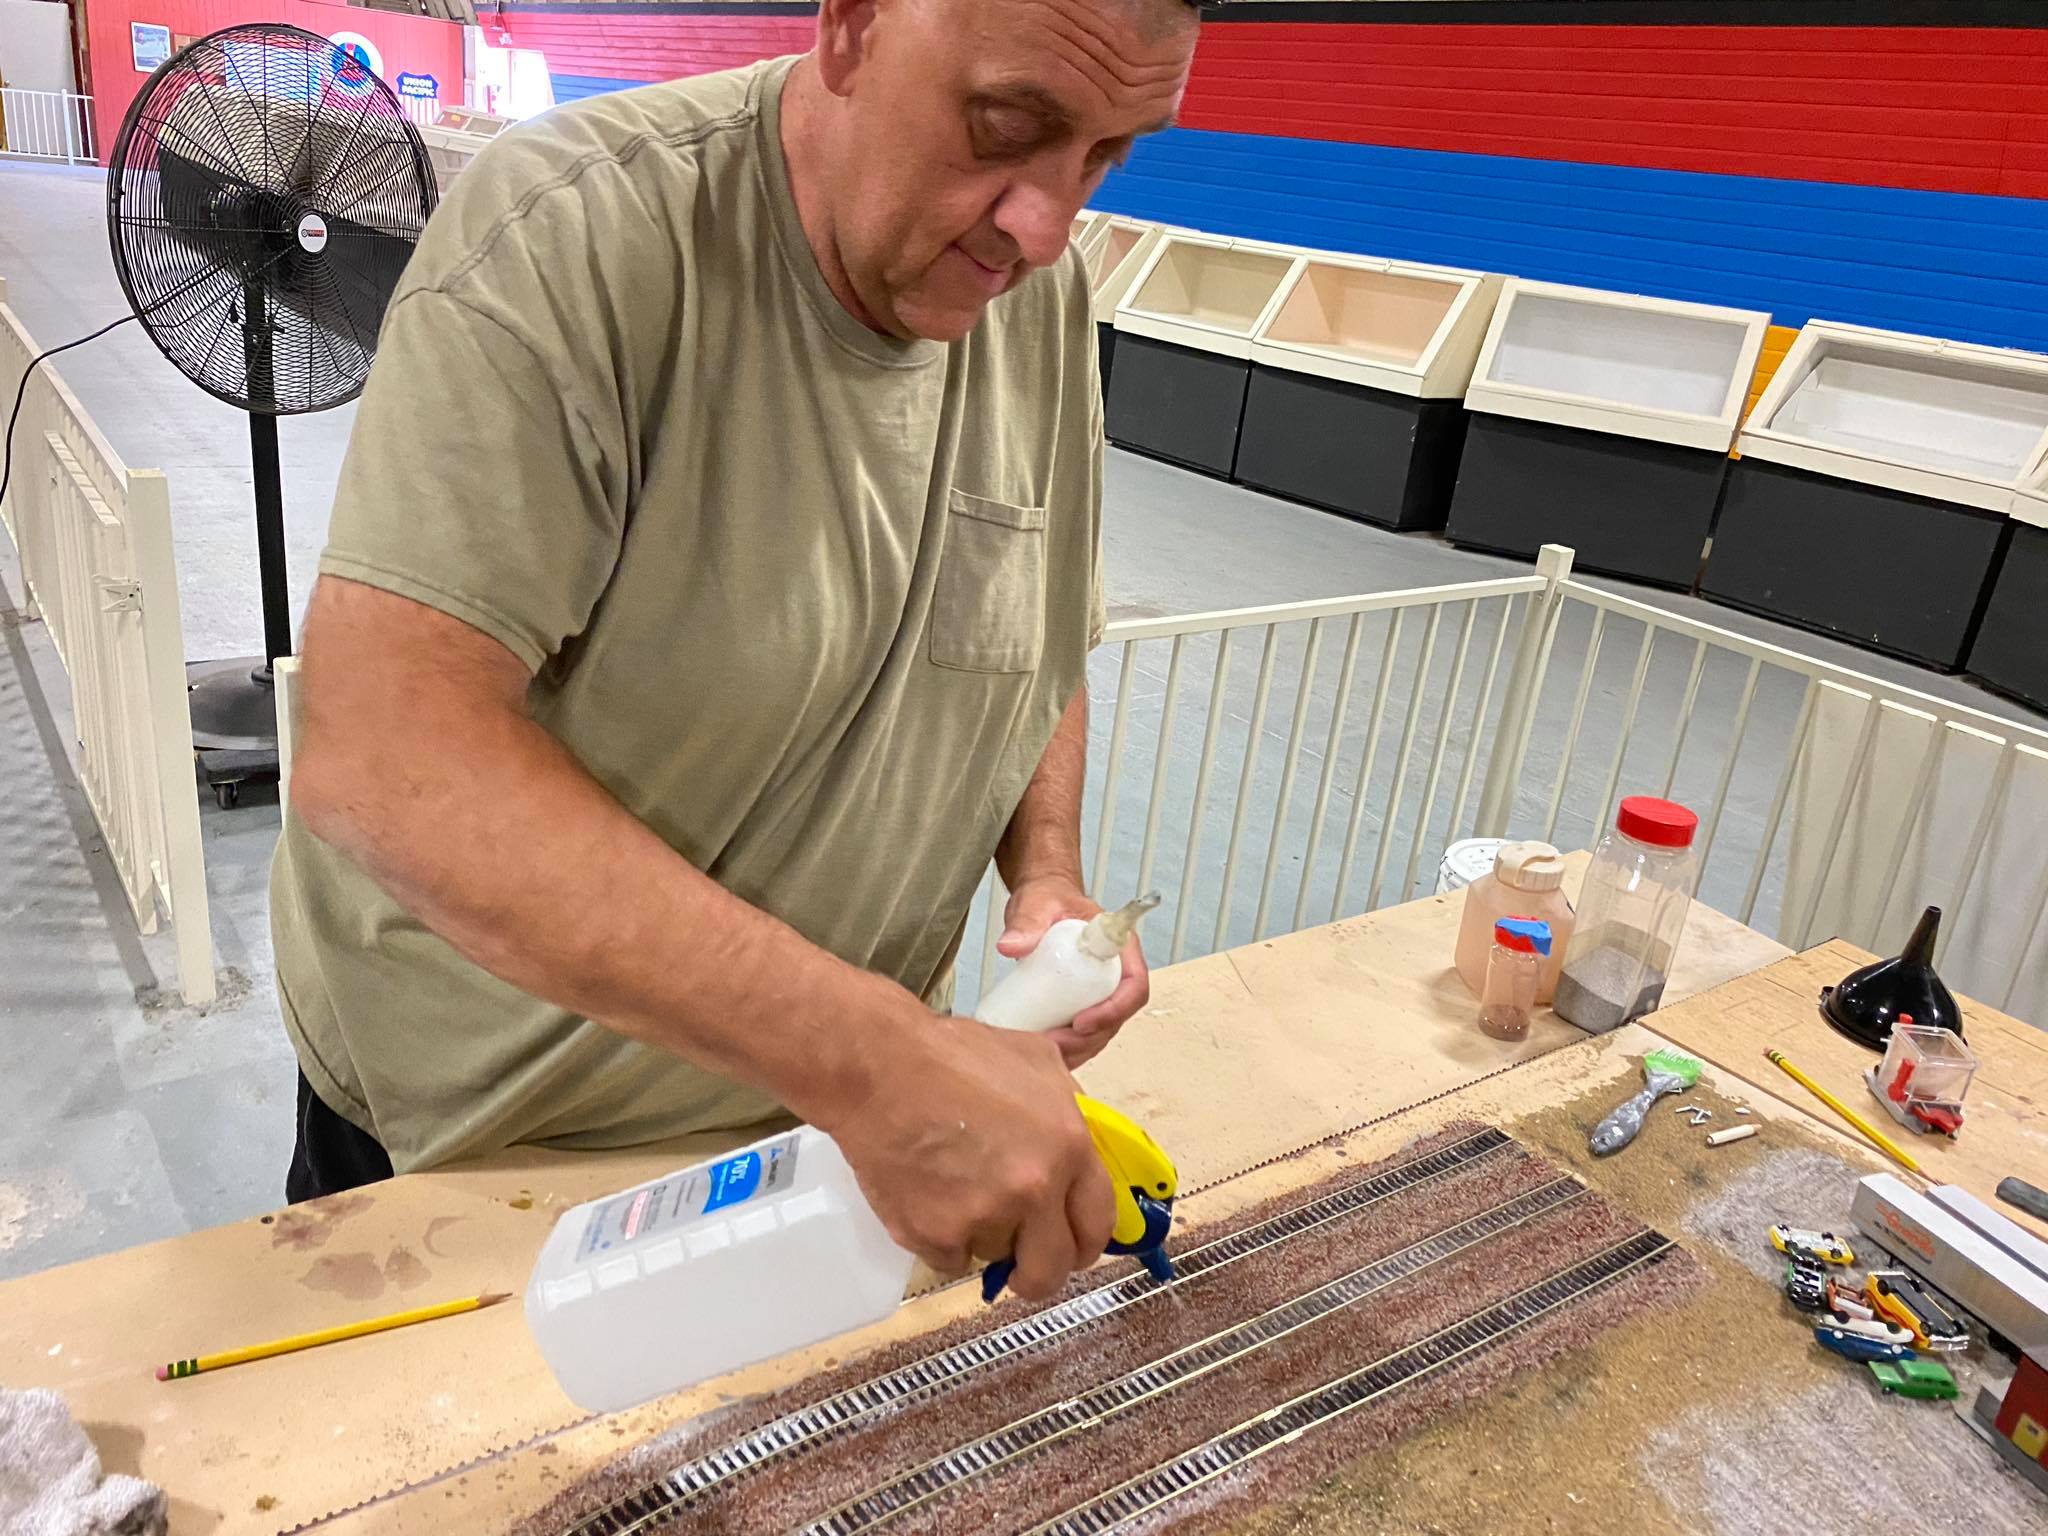 Gluing down the ballast, We use a 50/50 mix of water and white glue, Spraying alcohol as a wetting agent to allow the glue/water to penetrate |
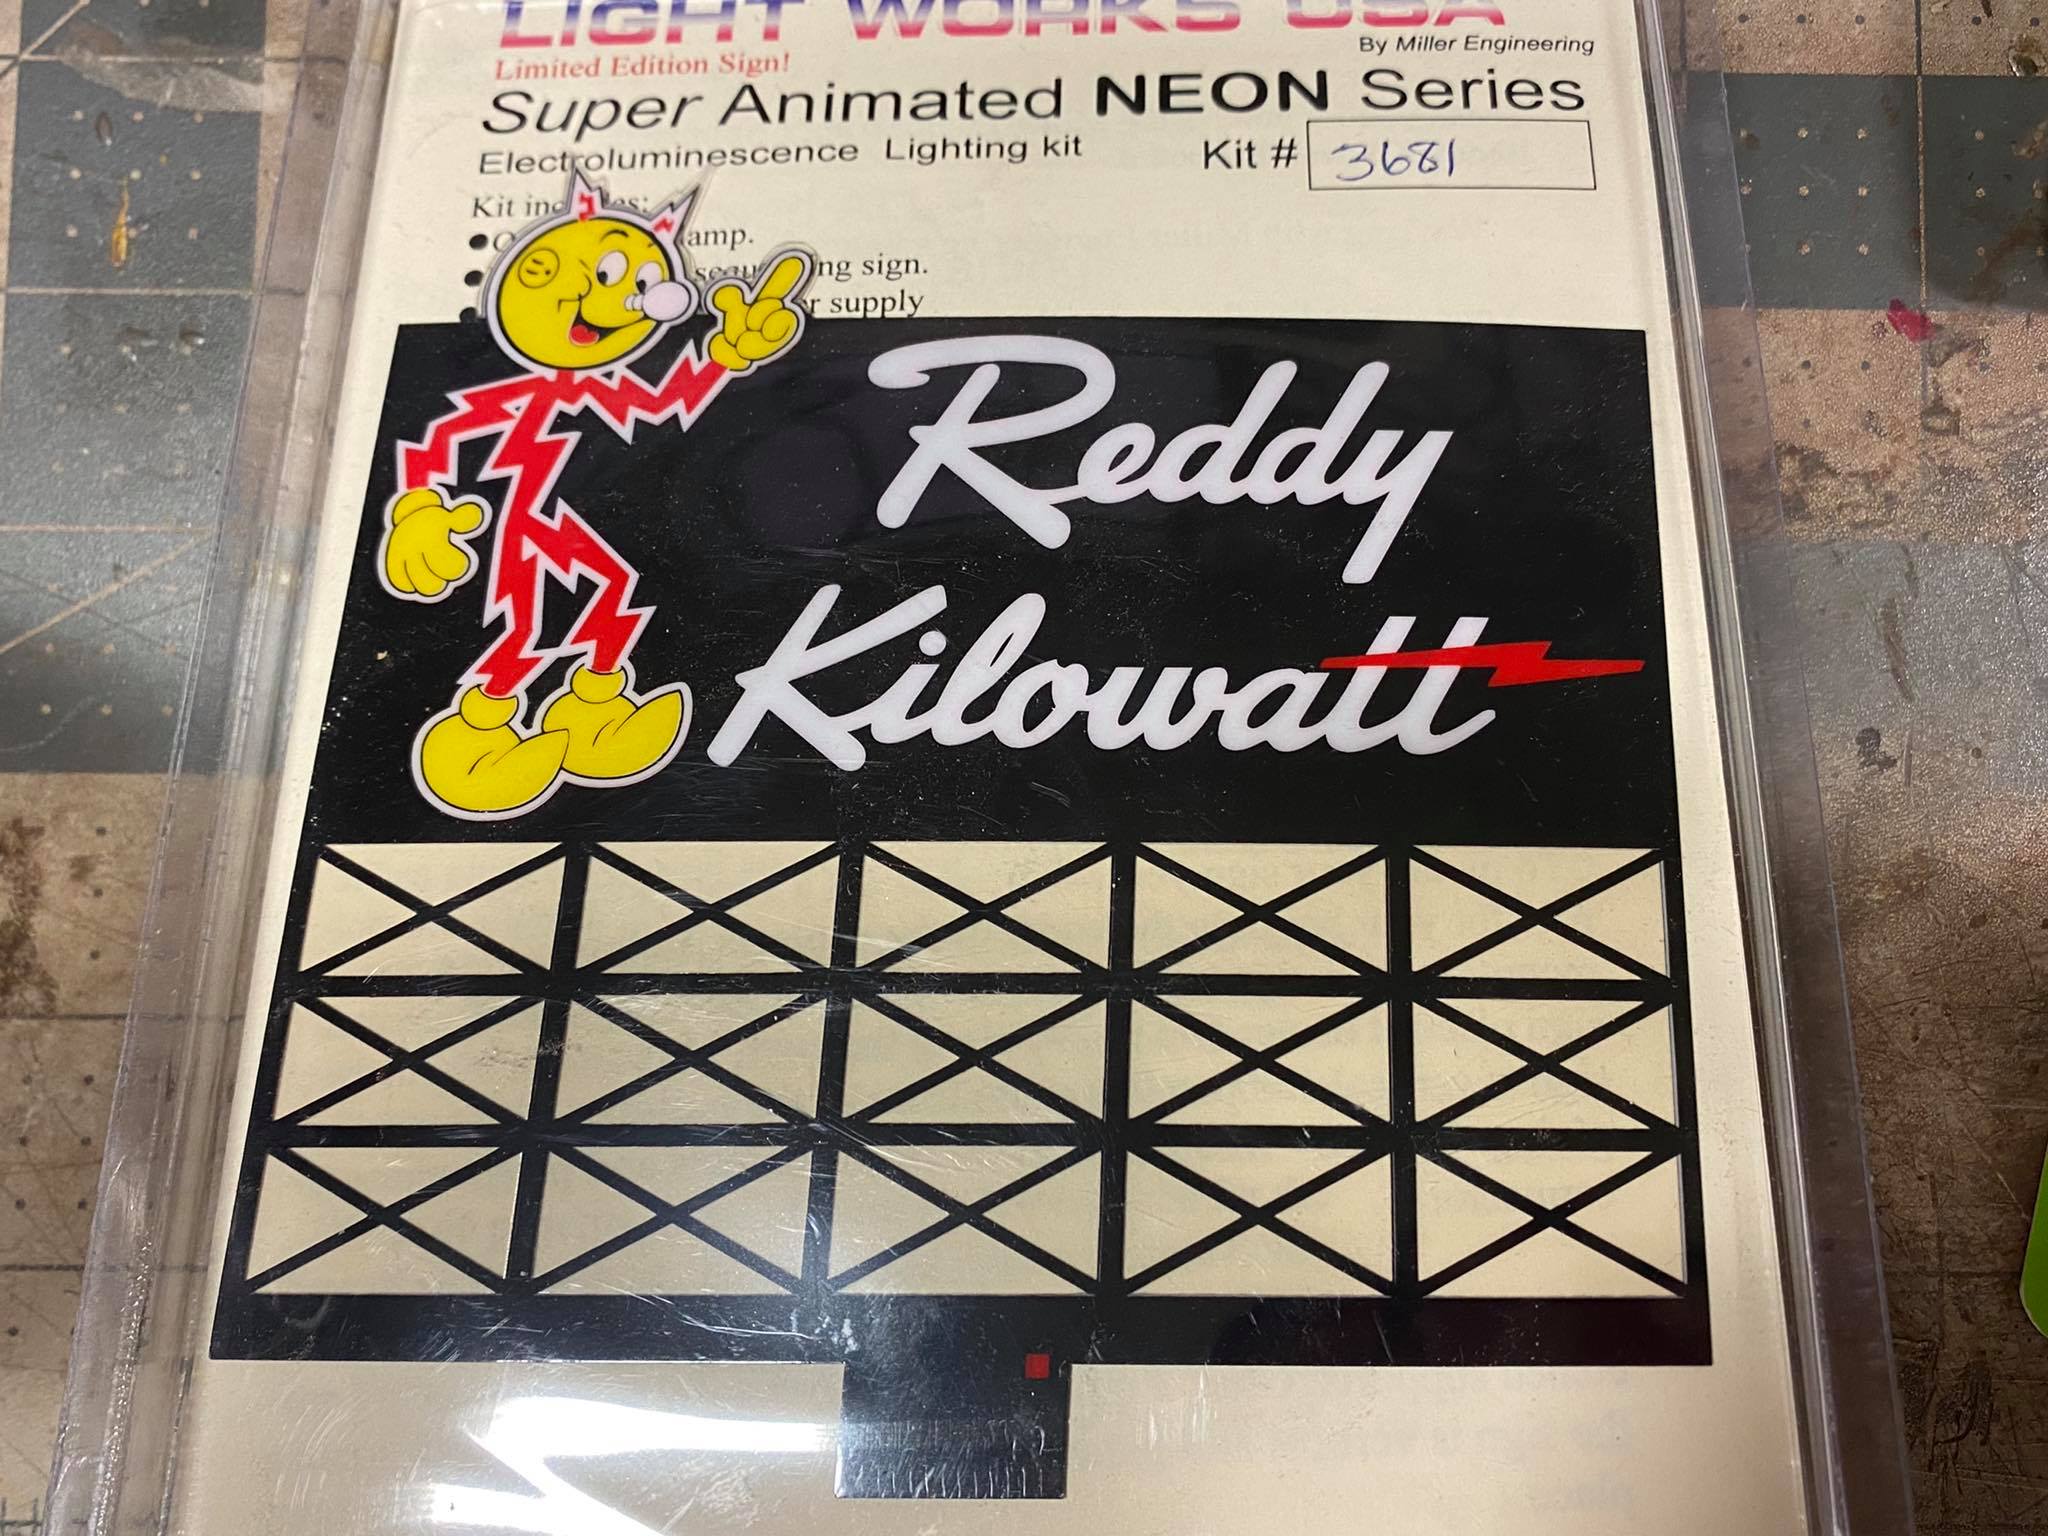
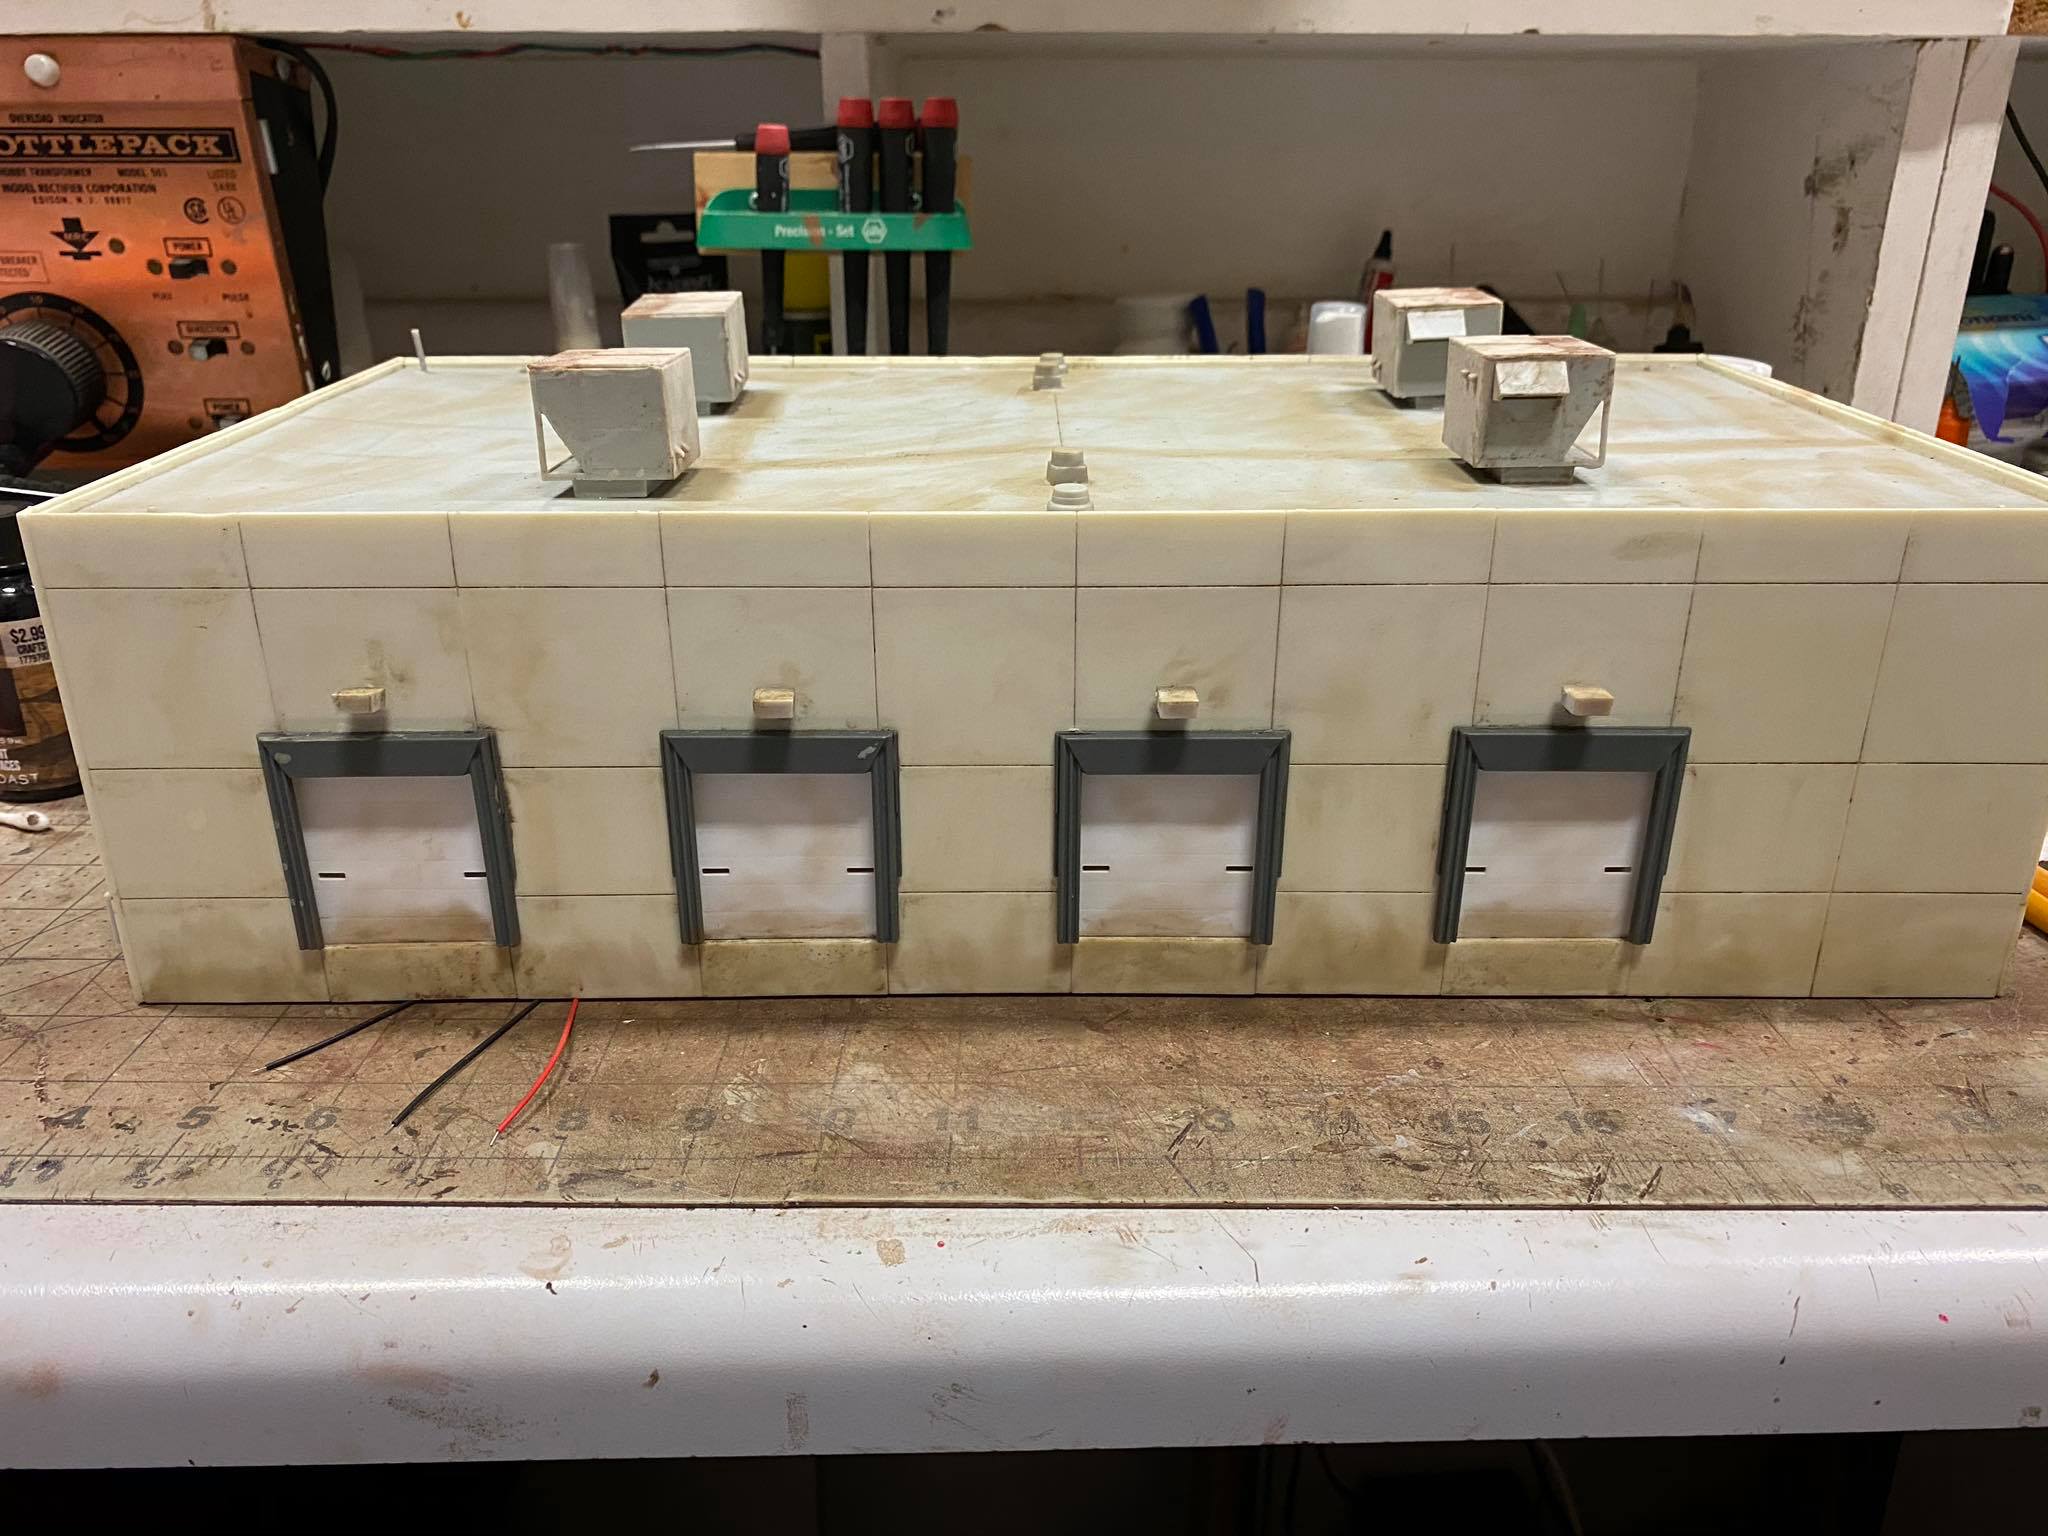
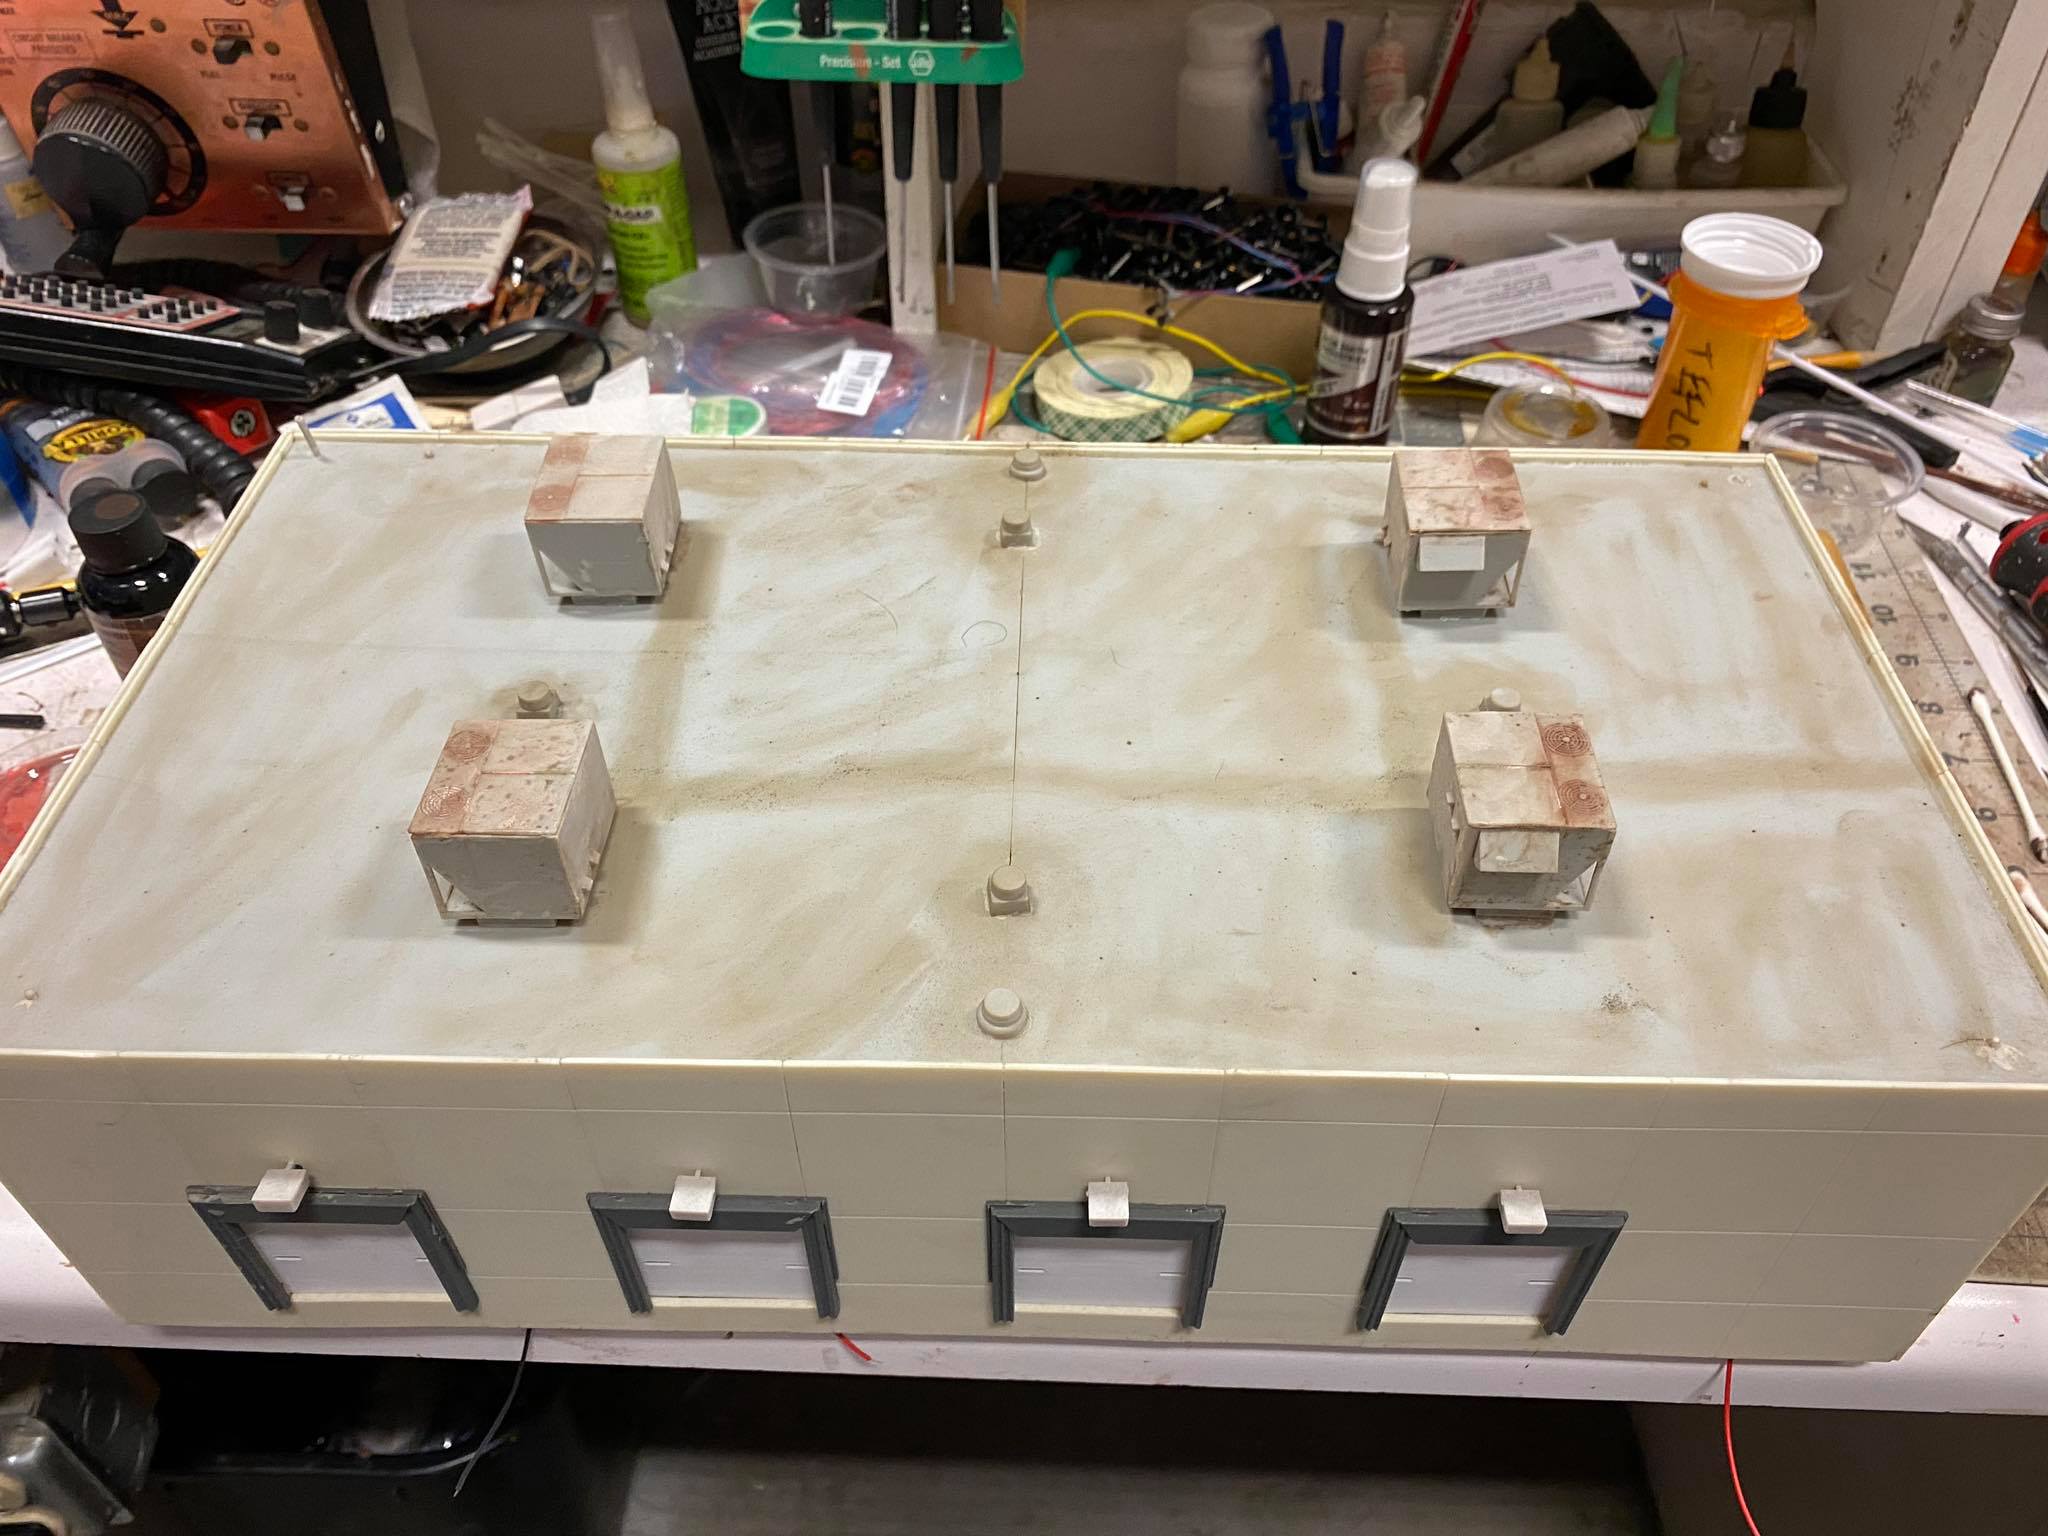
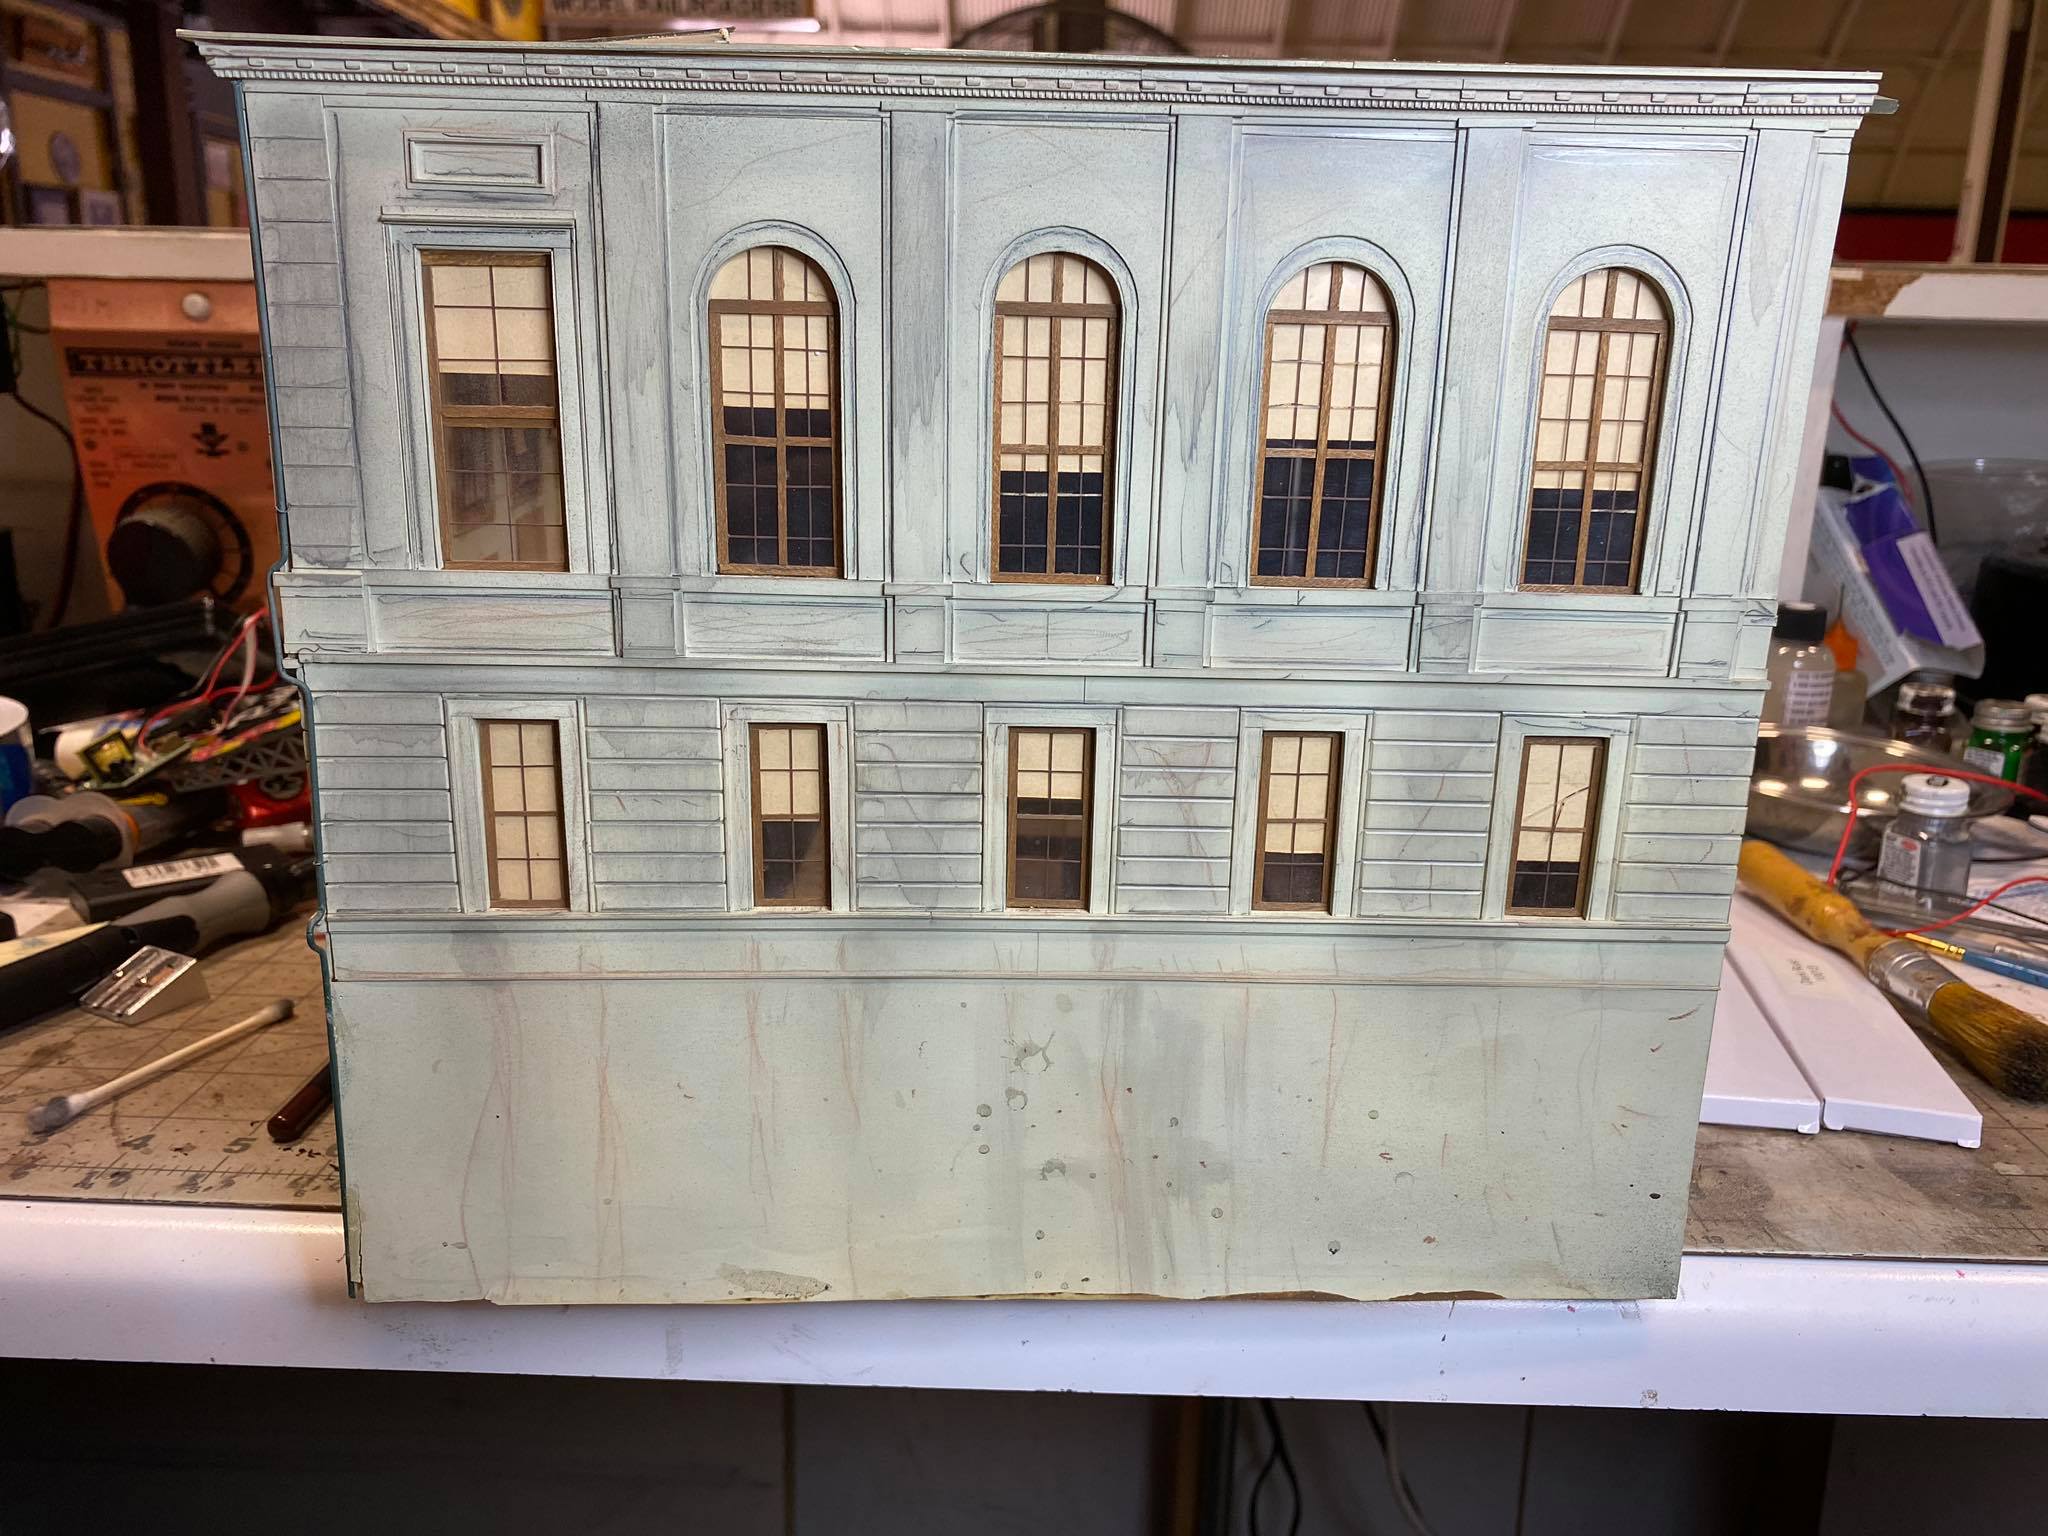 Weathering what will be our Reddy Kilowatt building |
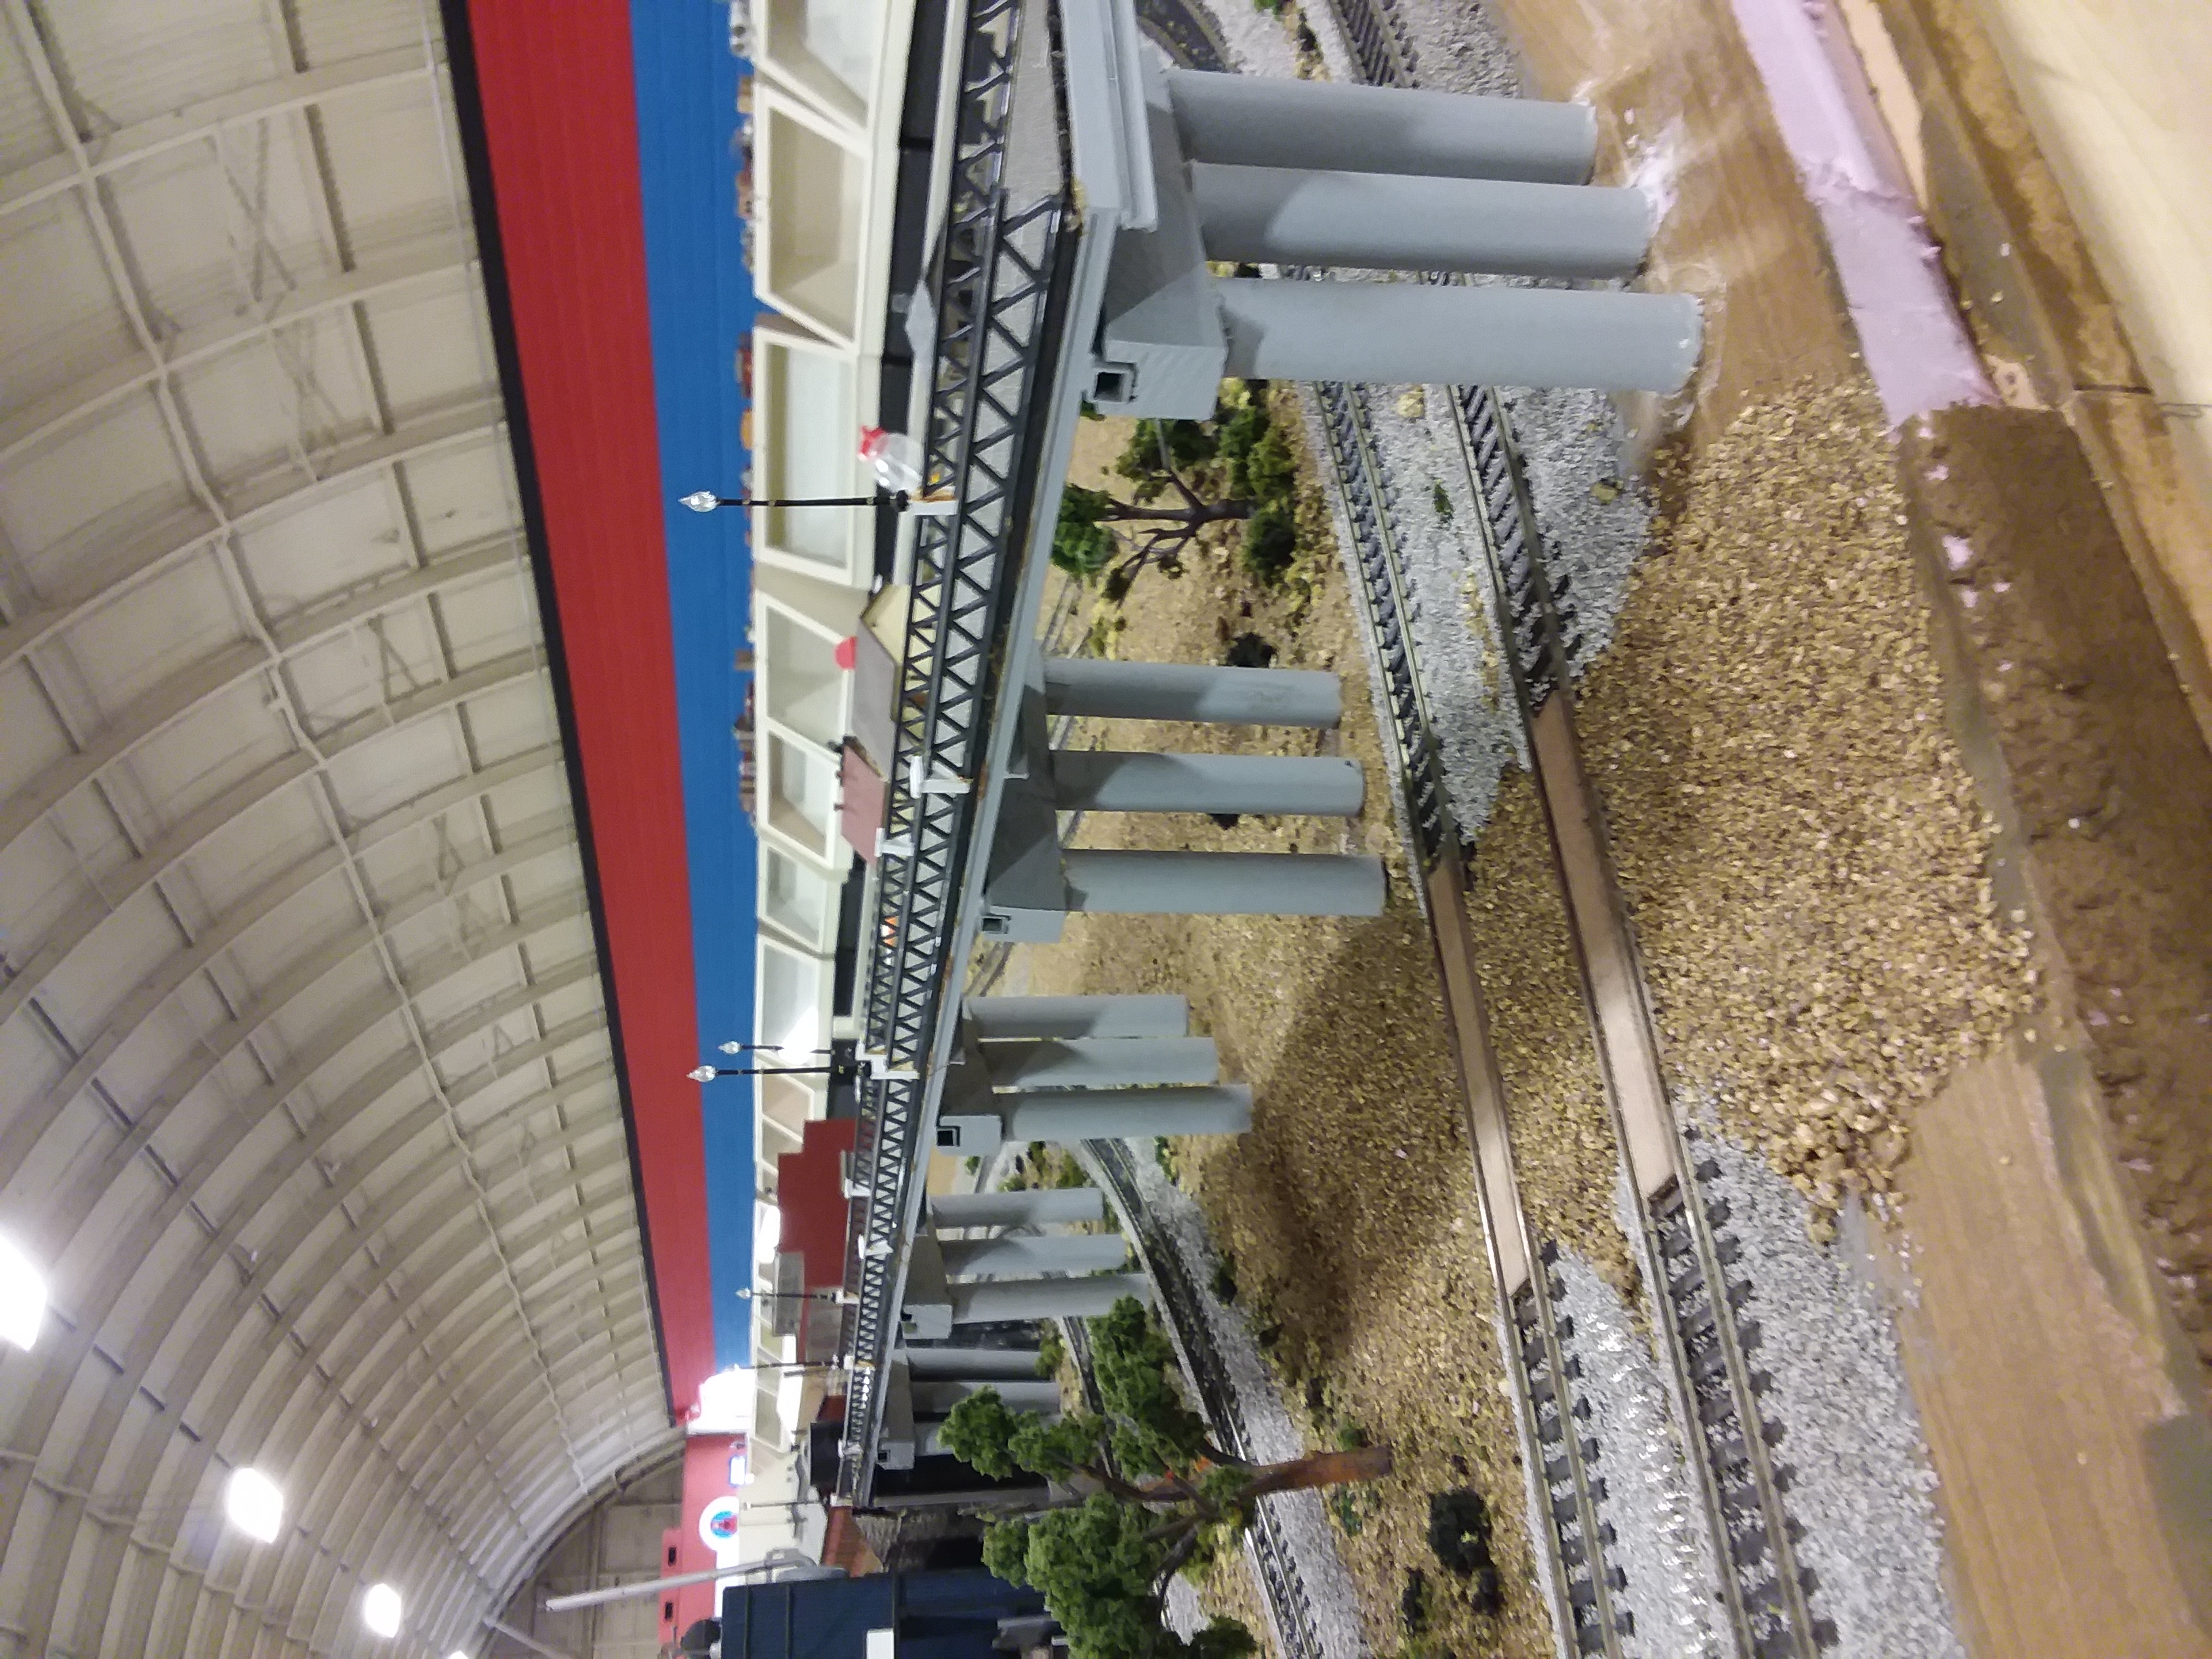 Bridge with railing and streetlights installed |
 Jim extending the wires on the street lights |
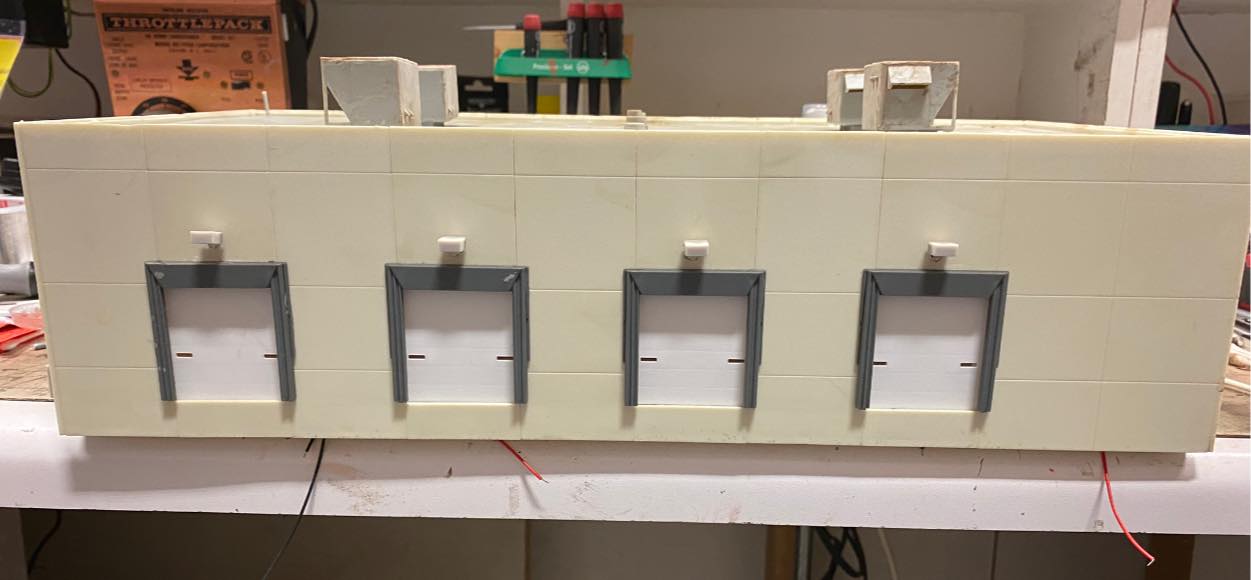
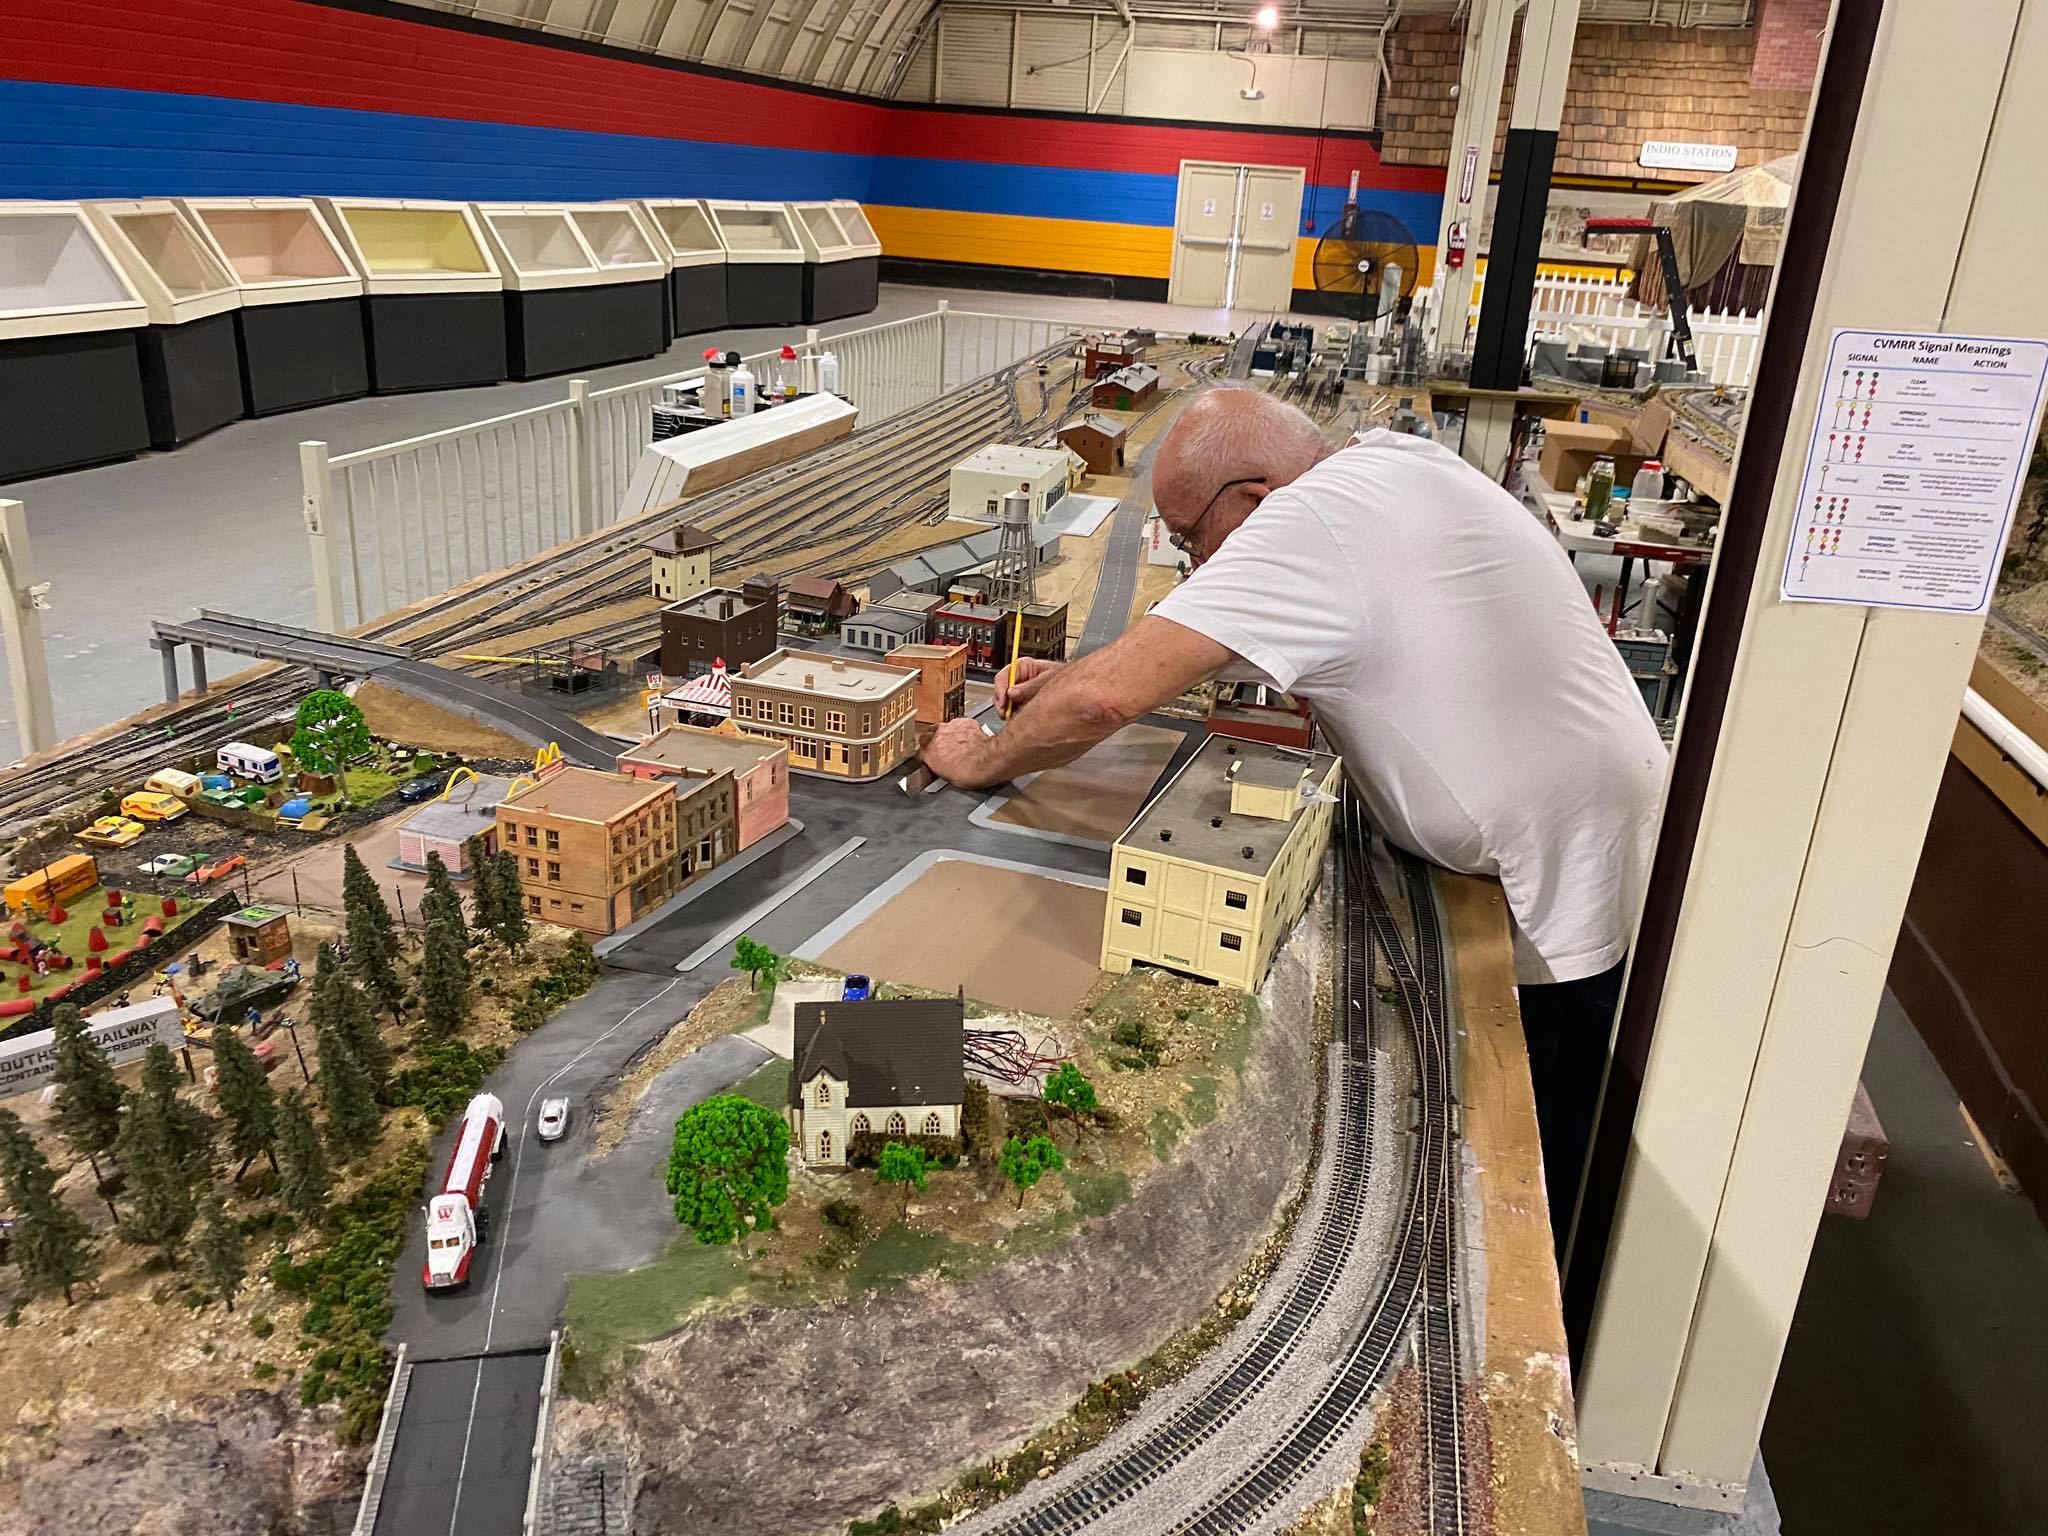 Marking where the street lights will be installed |
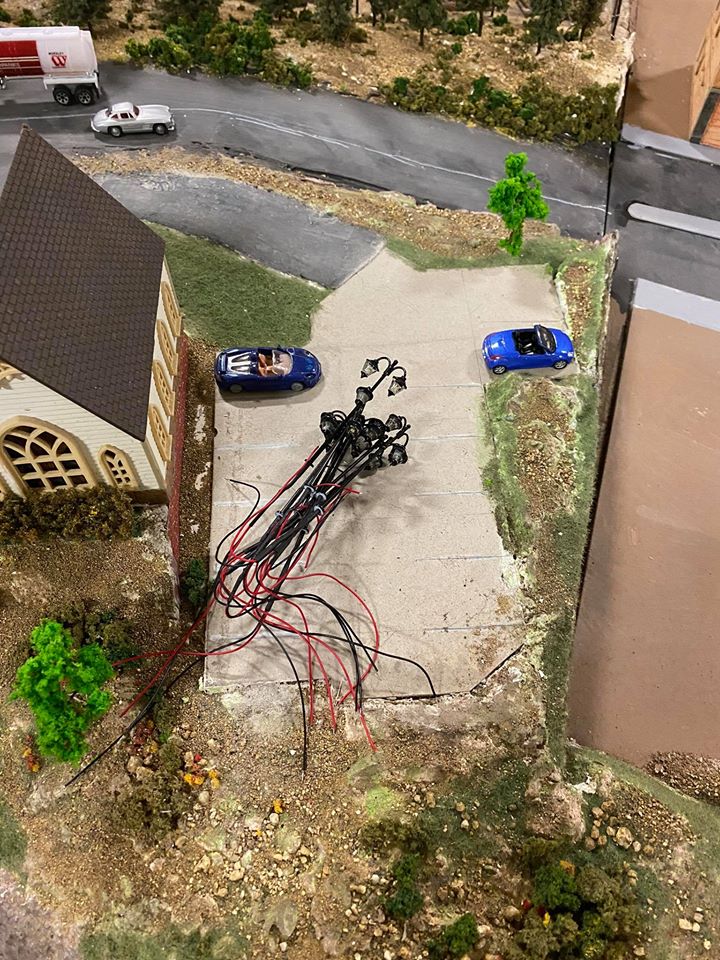 Our new street lights |
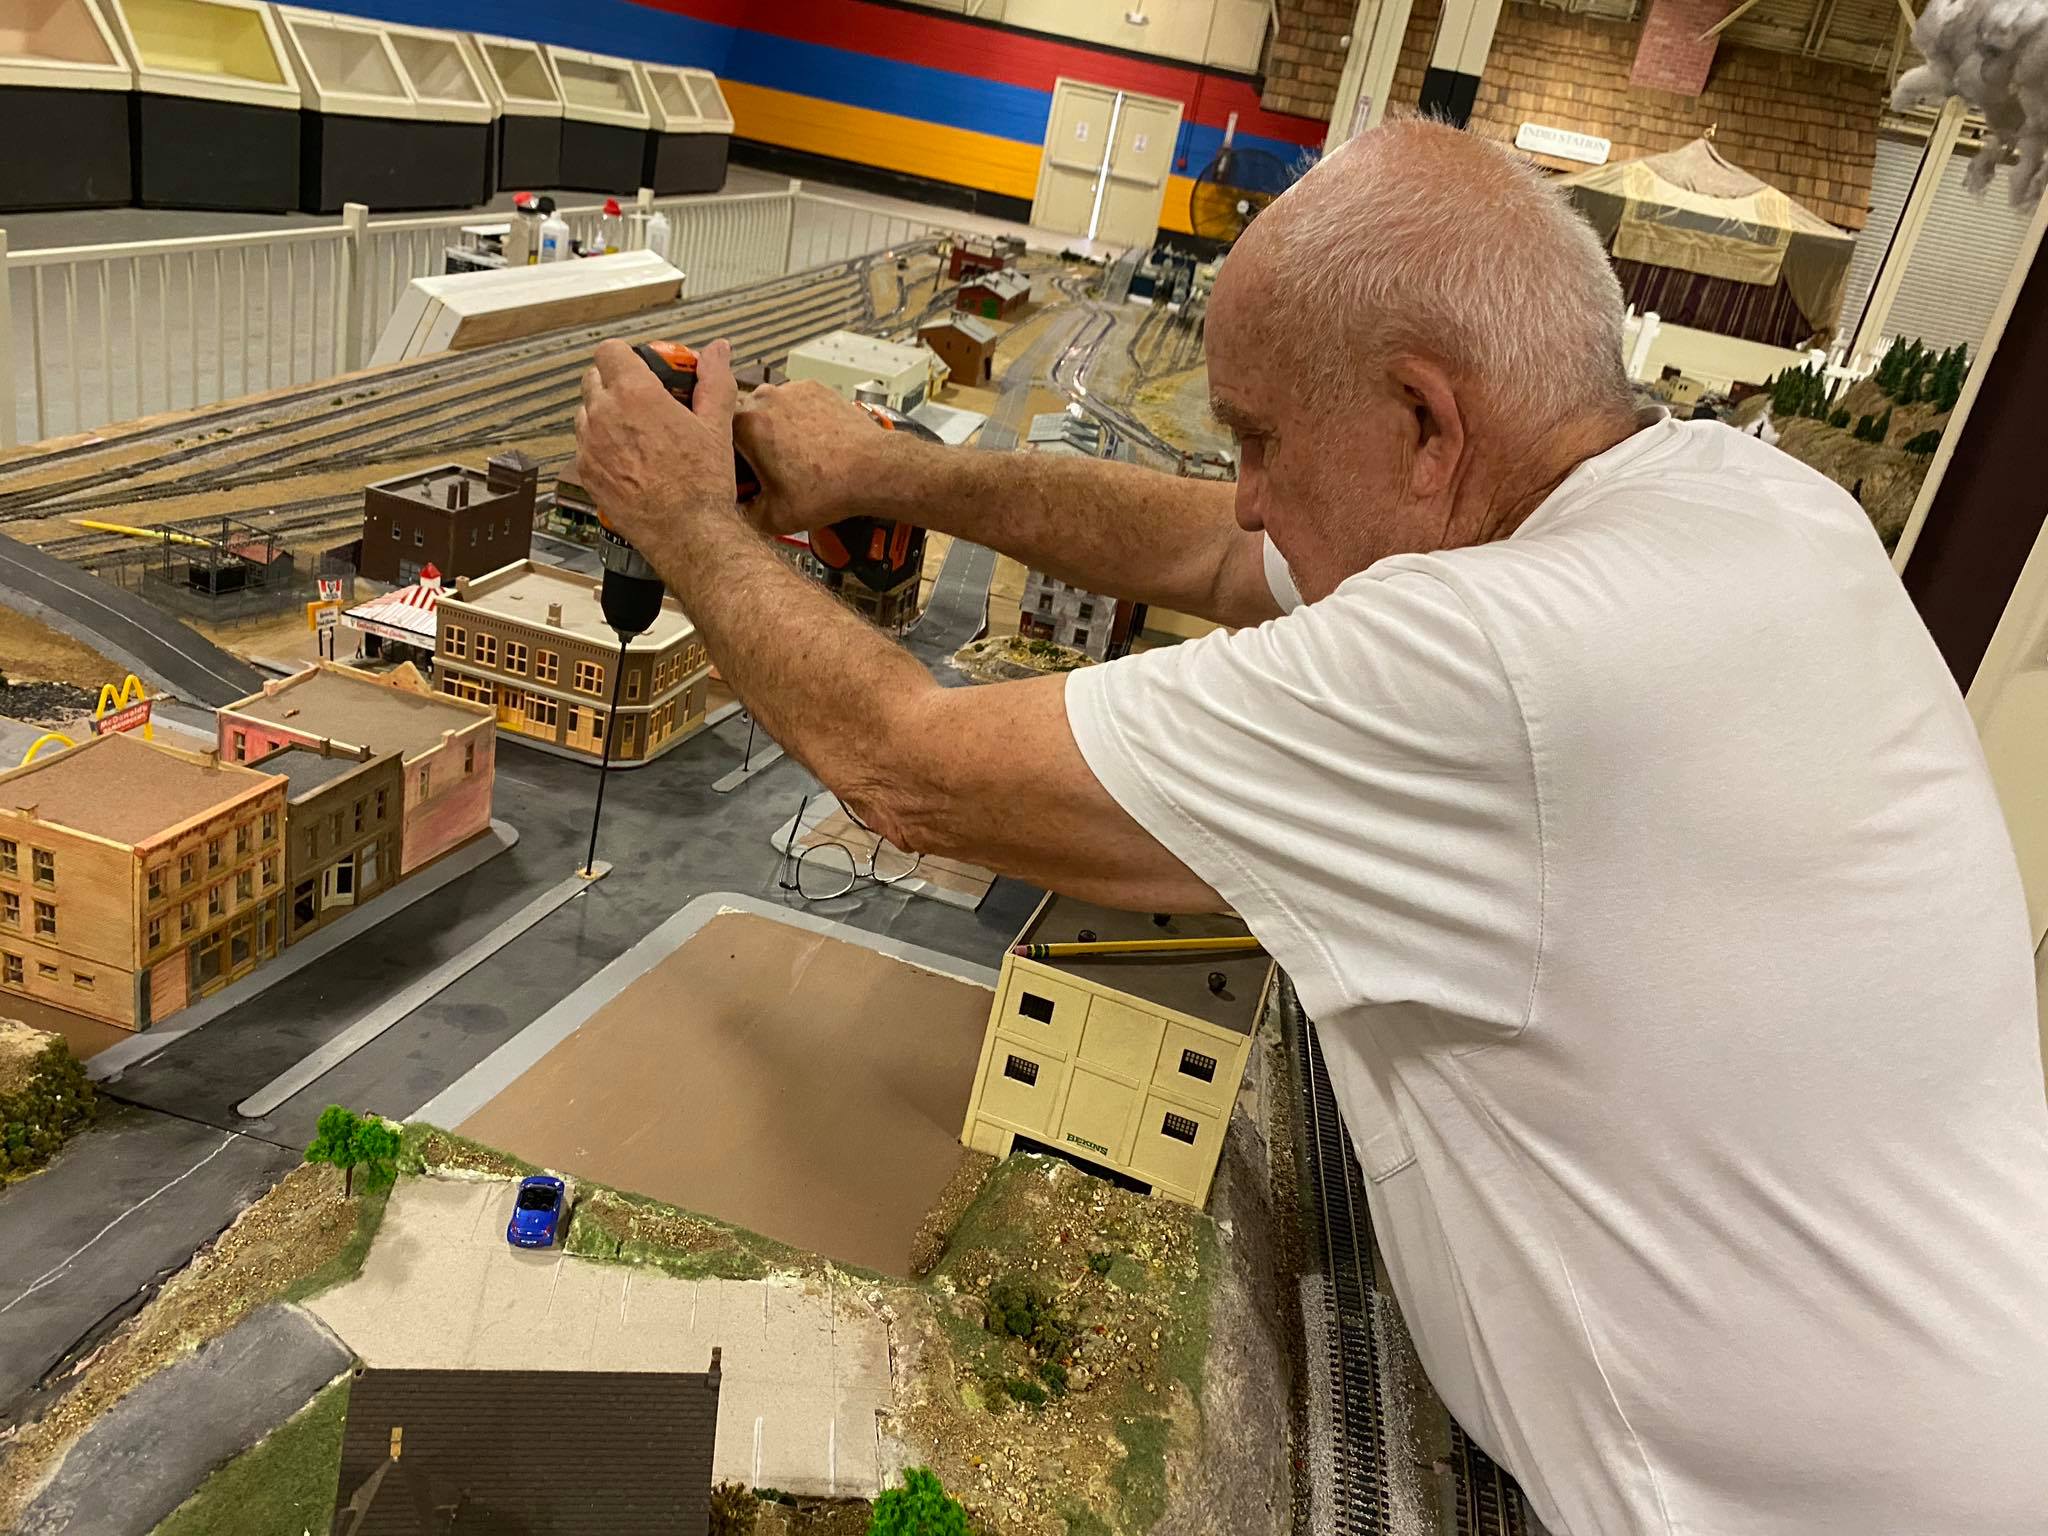 Drilling where the street lights will be installed |
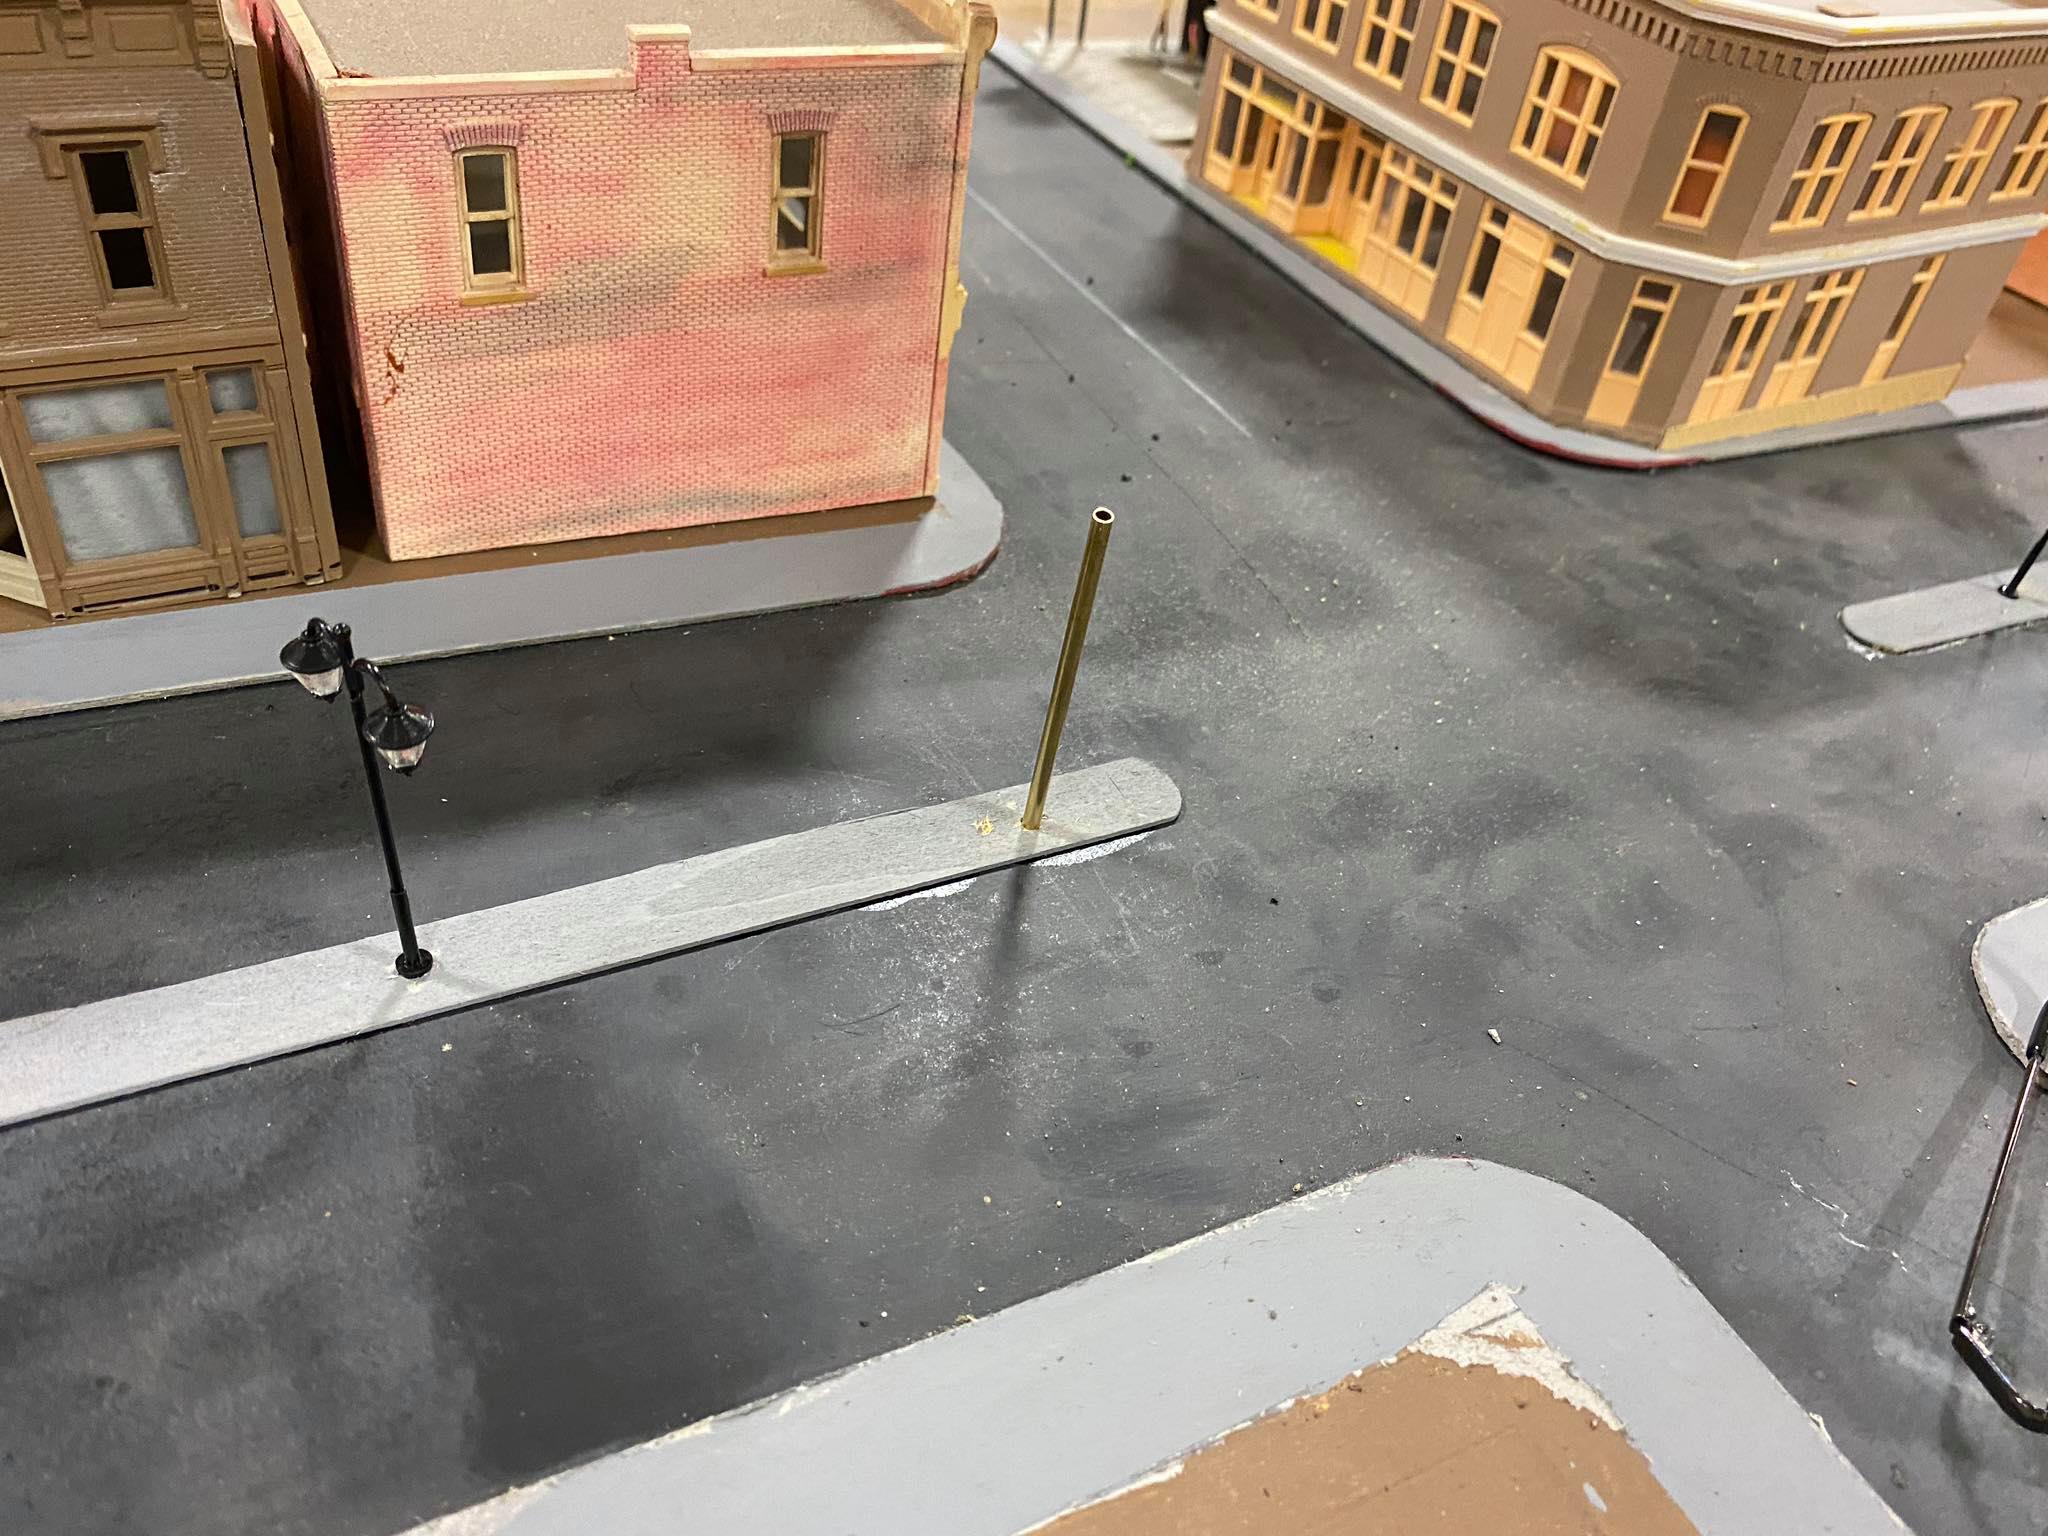 We use a brass tube inserted into the hole to feed the wires down under the table. This method works very well since we were going thru 3 layers of material, 2 1/2” layers of MDF and 1 2” layer of foam board. |
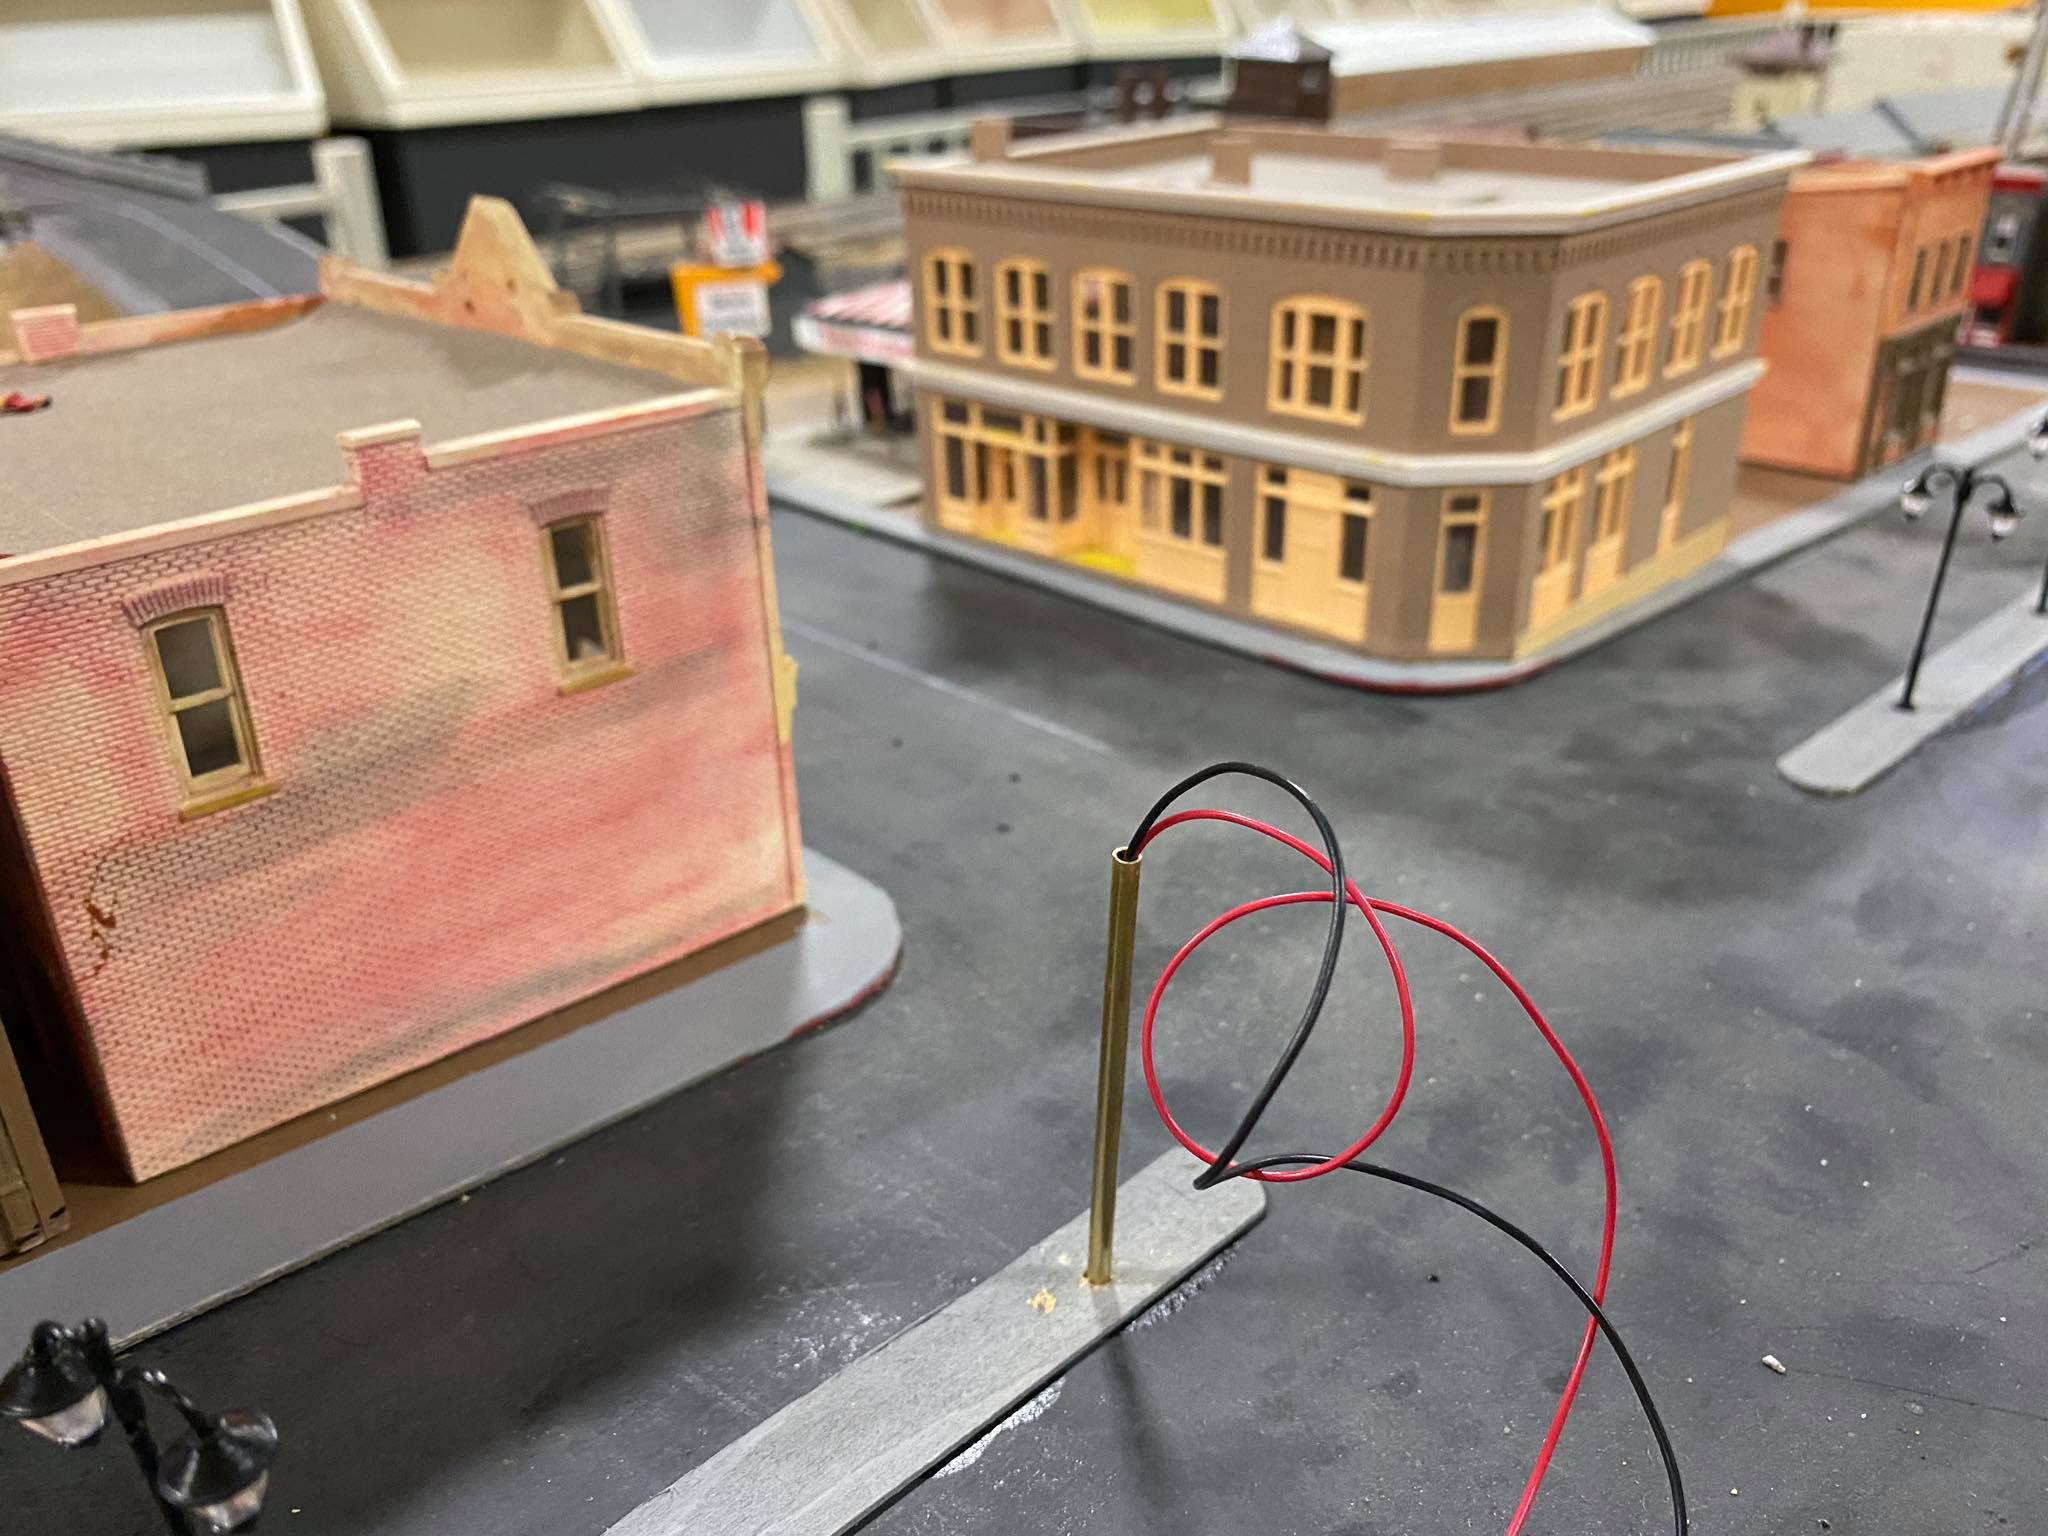 Feeding the wires down |
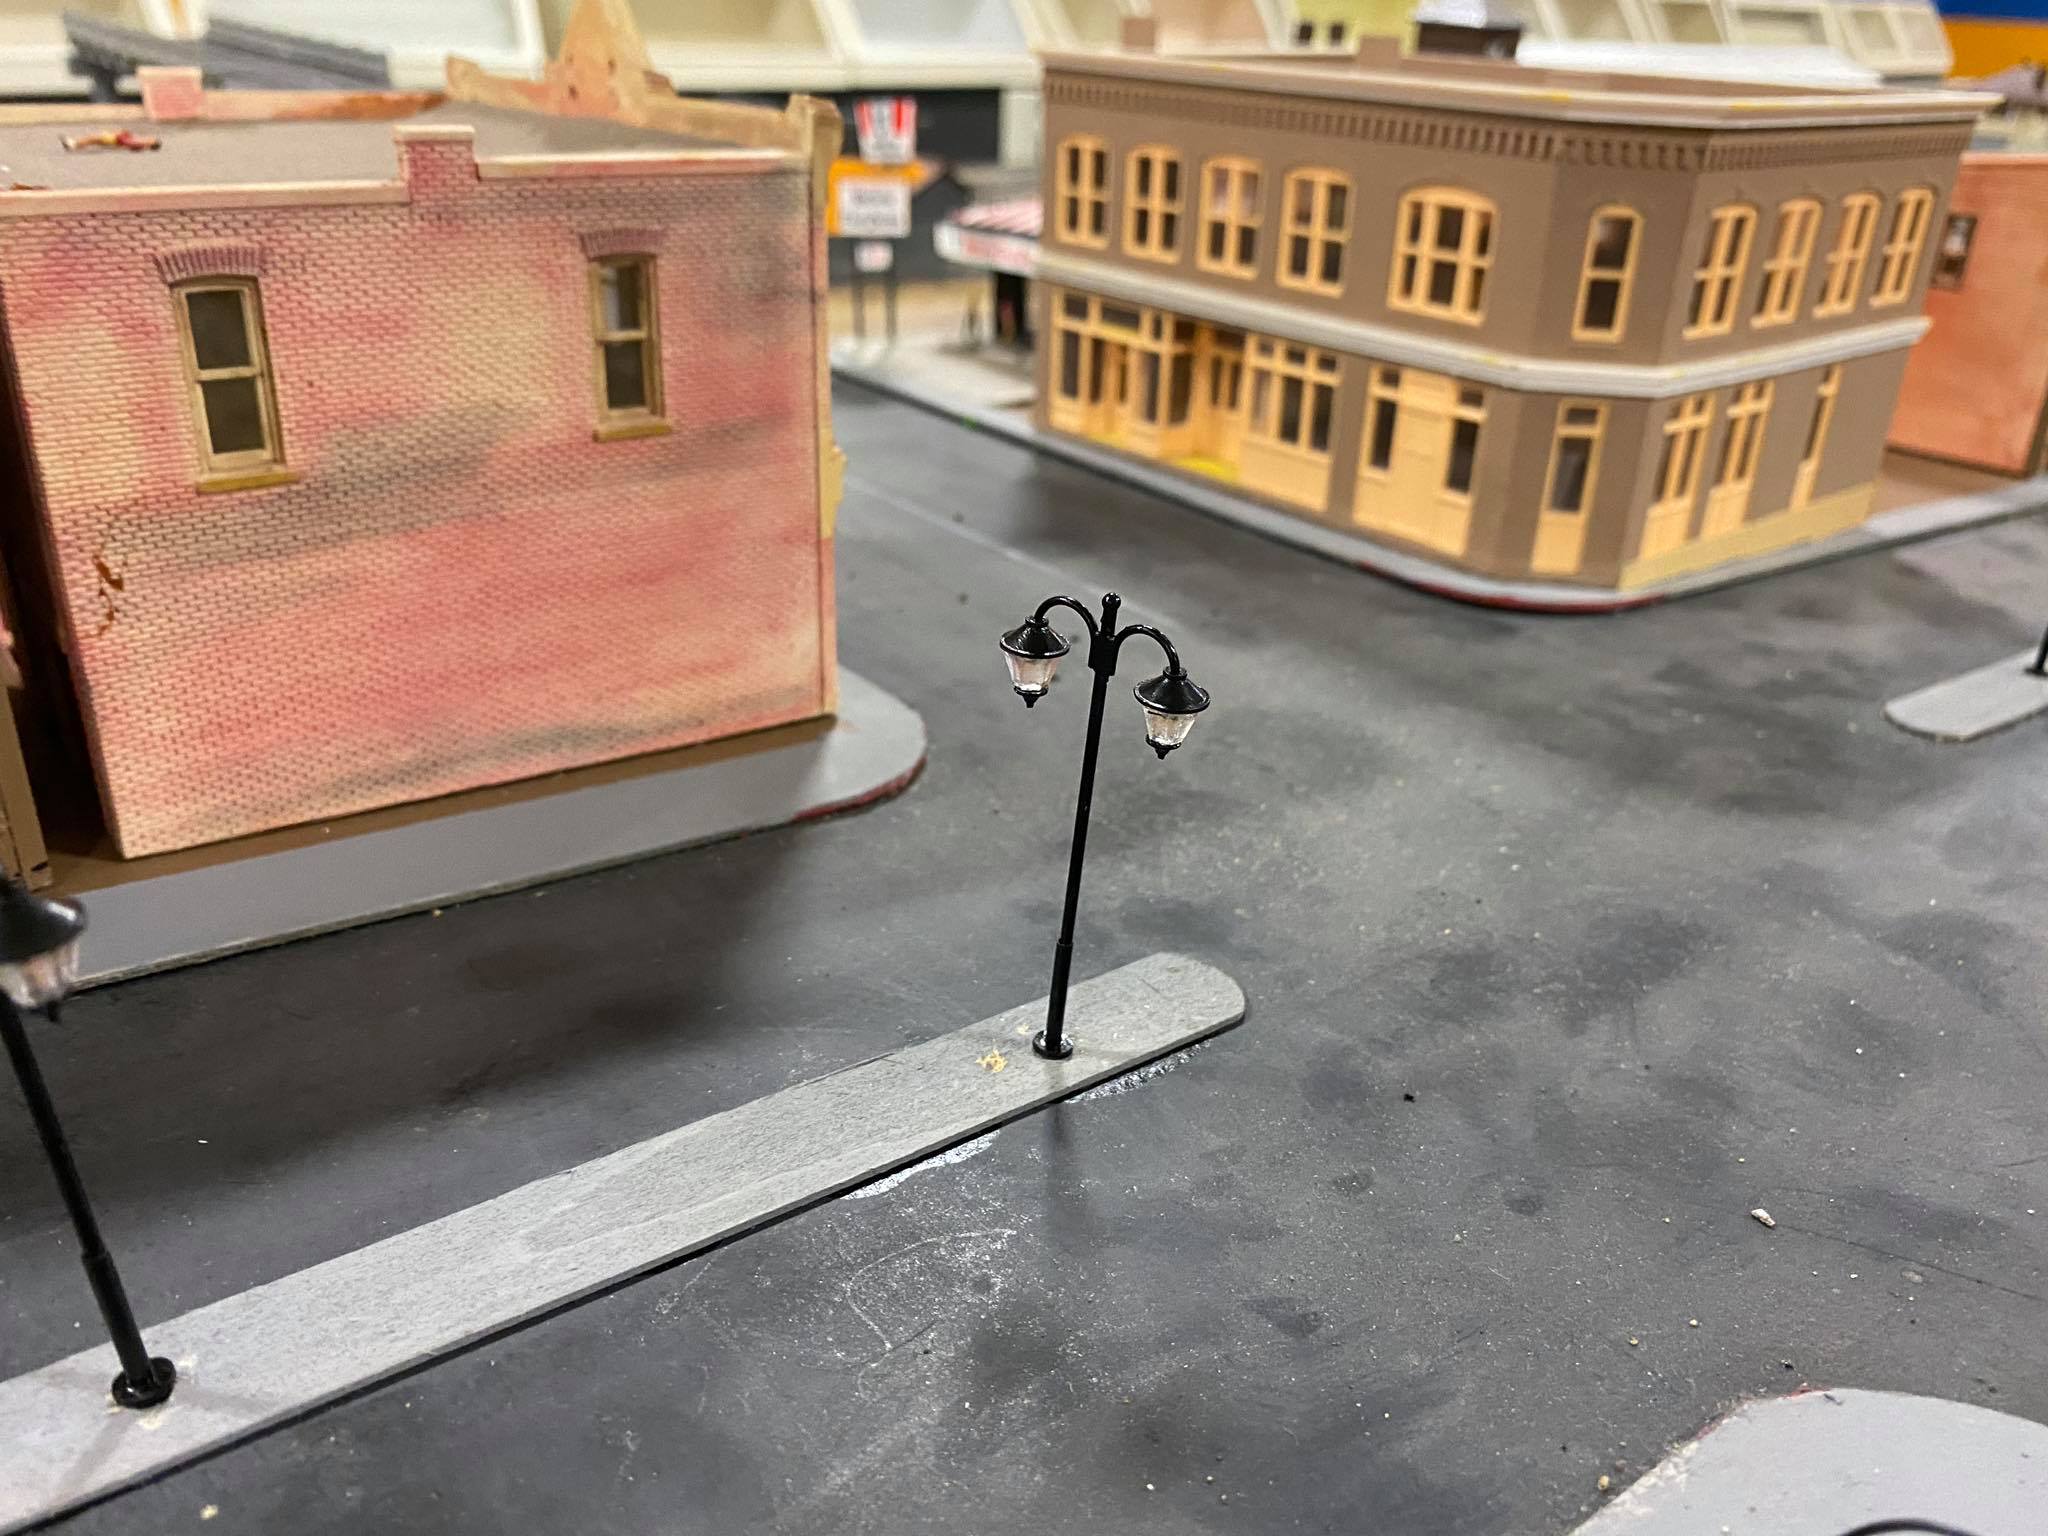 Street light in place |
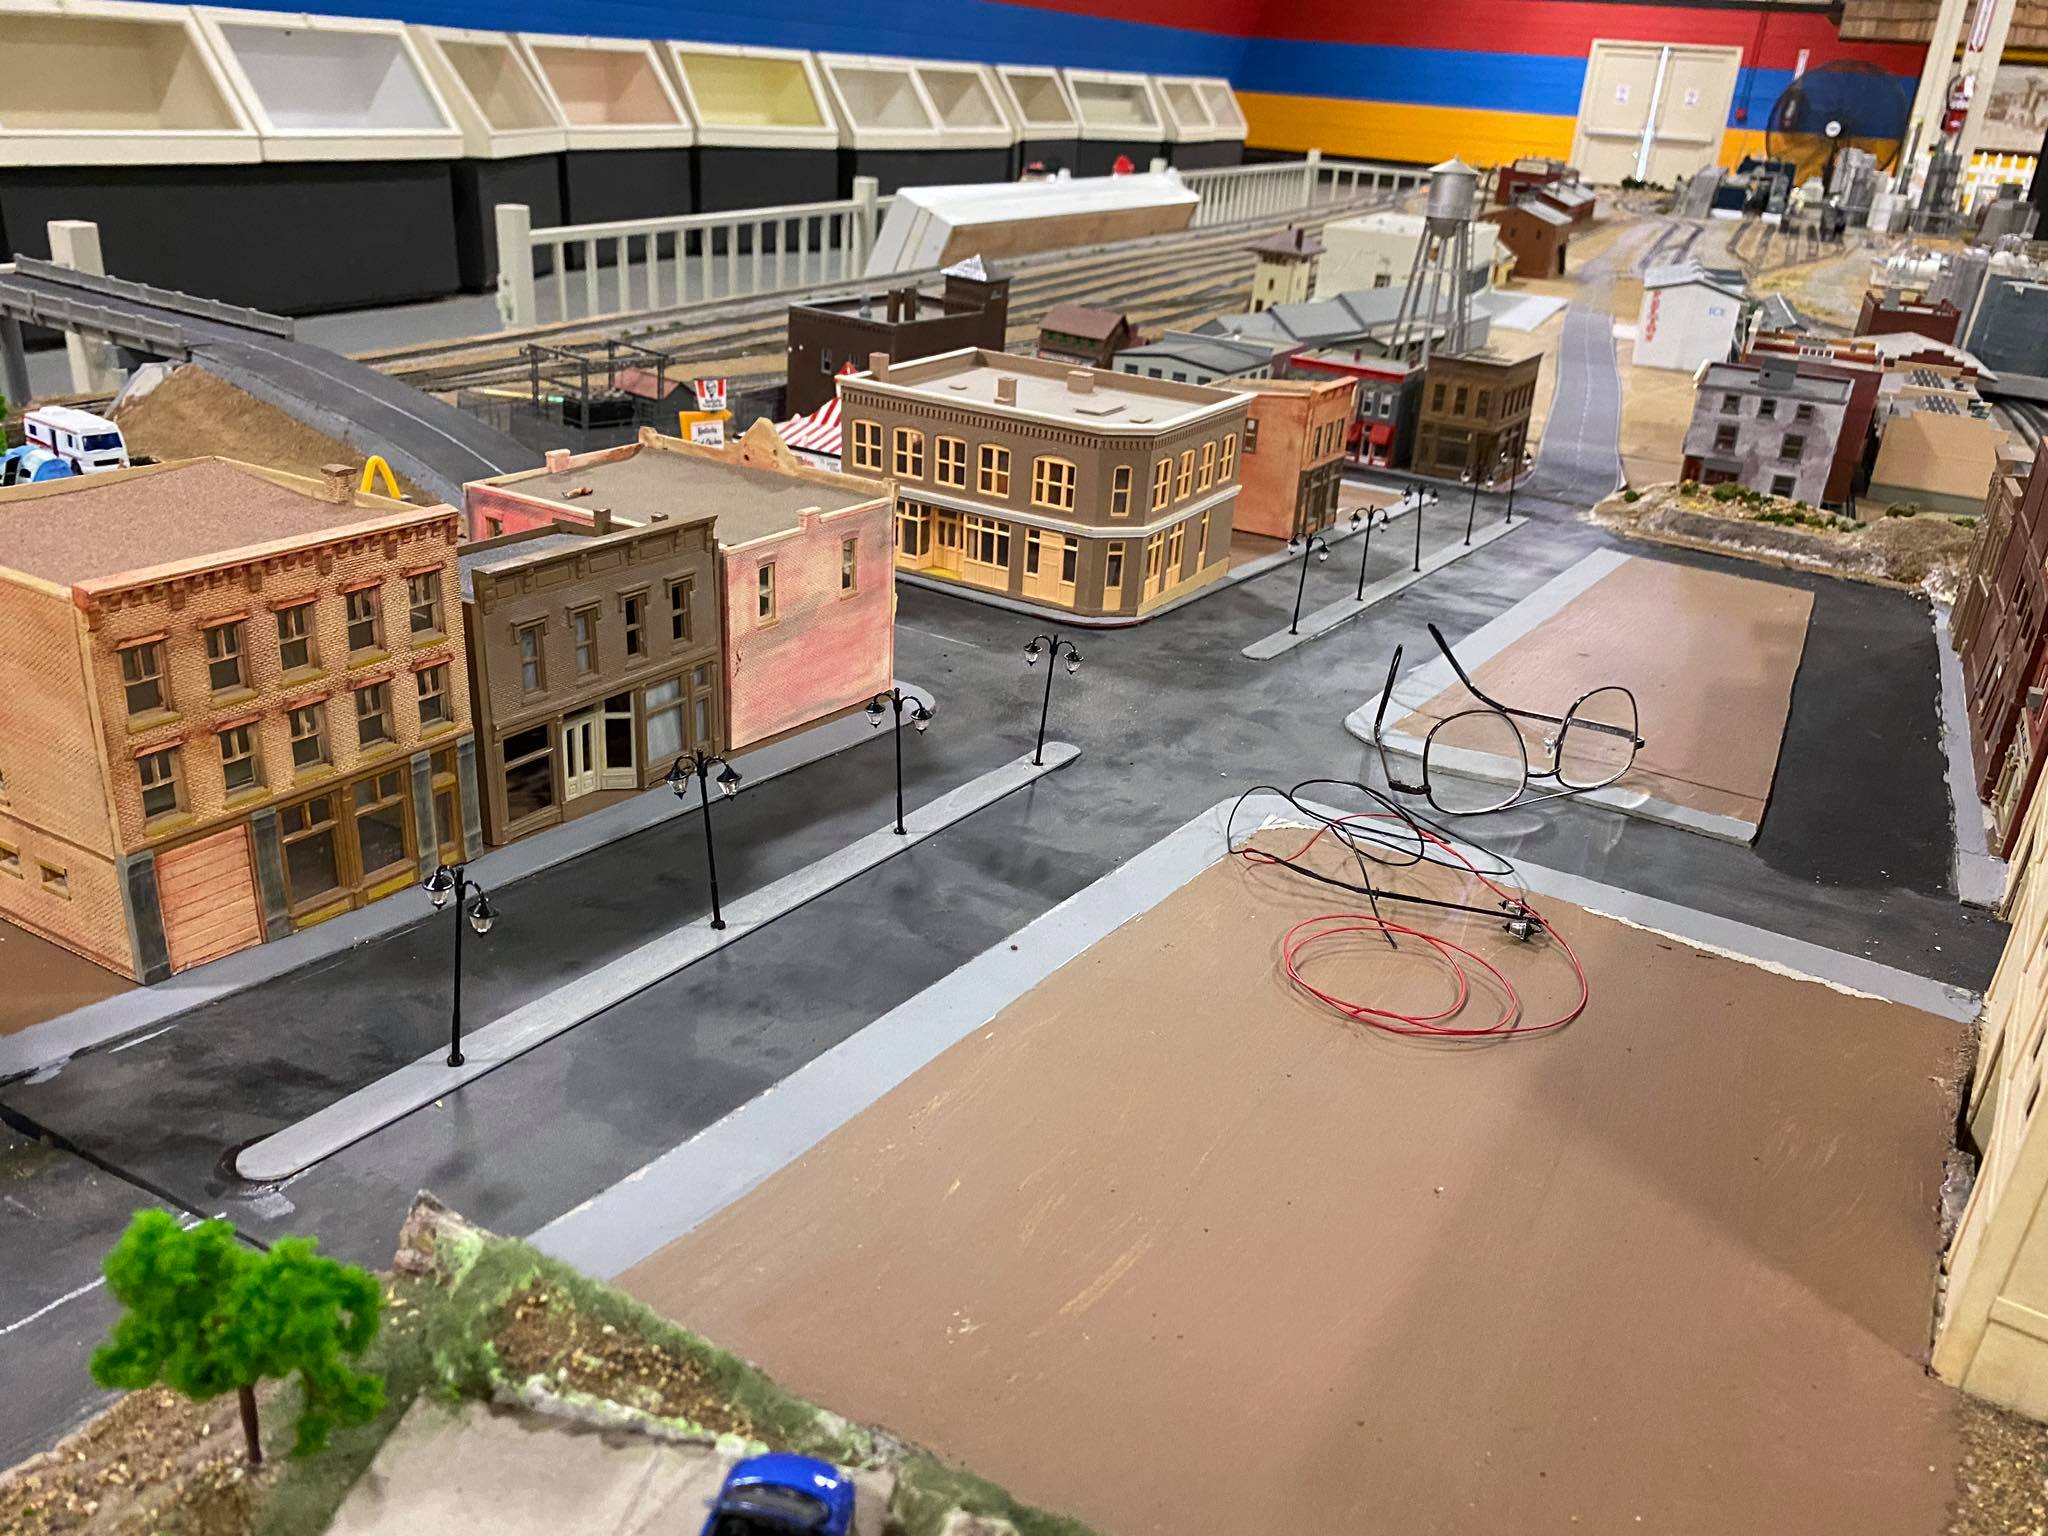 9 street lights installed |
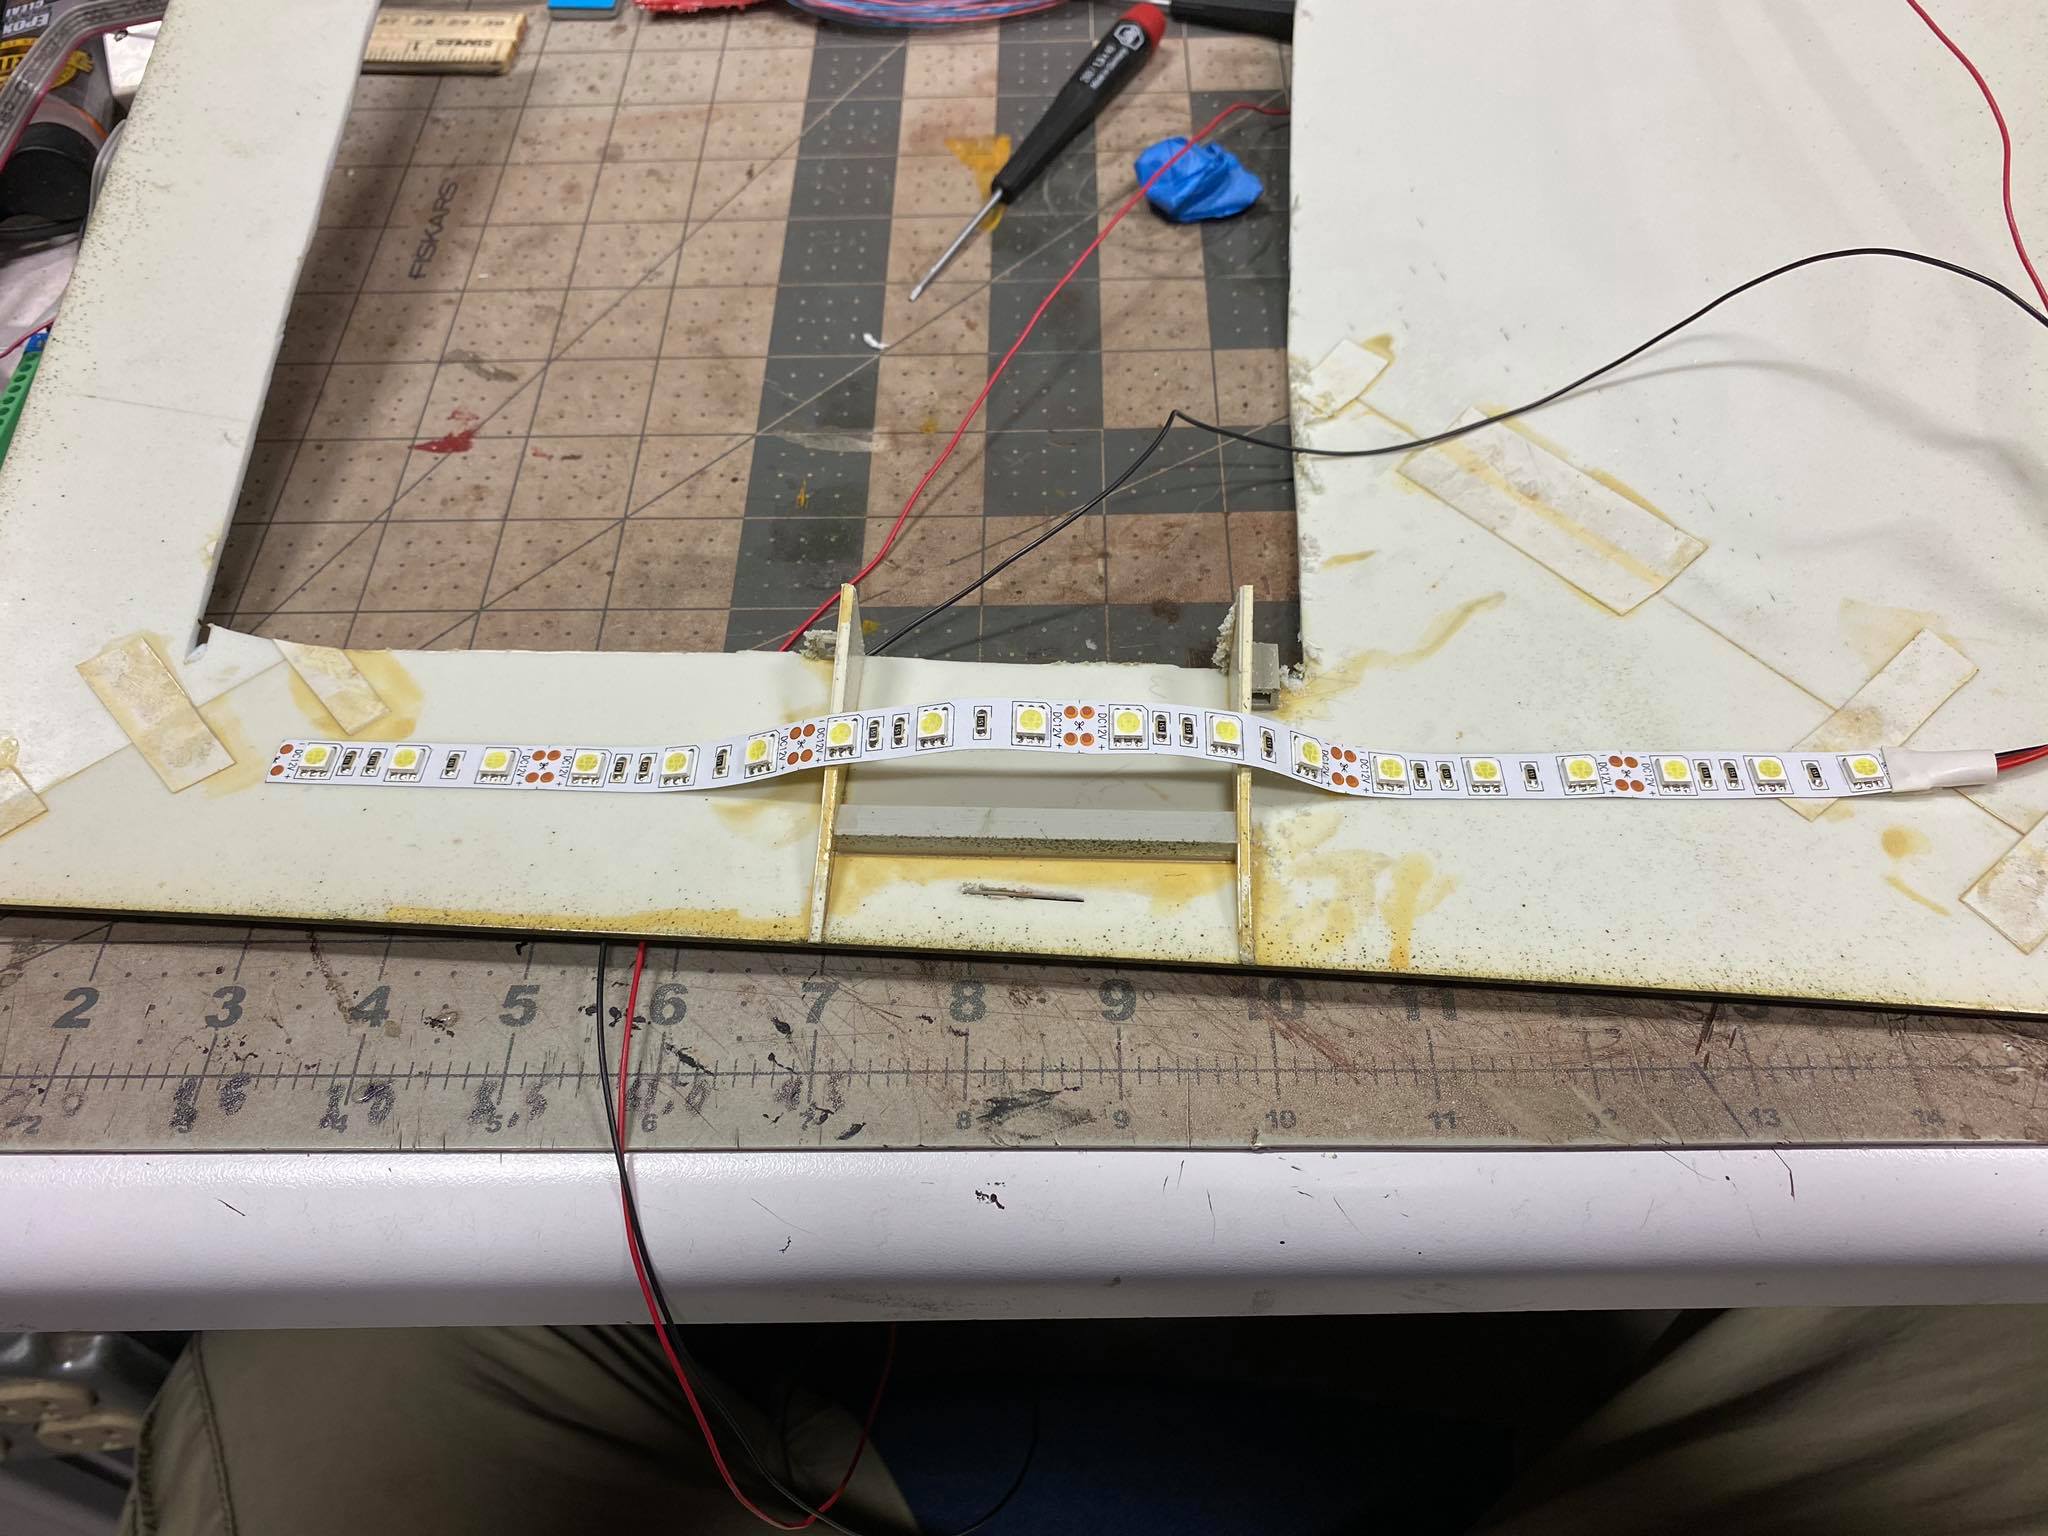 Interior lighting for the refinery admin building. |
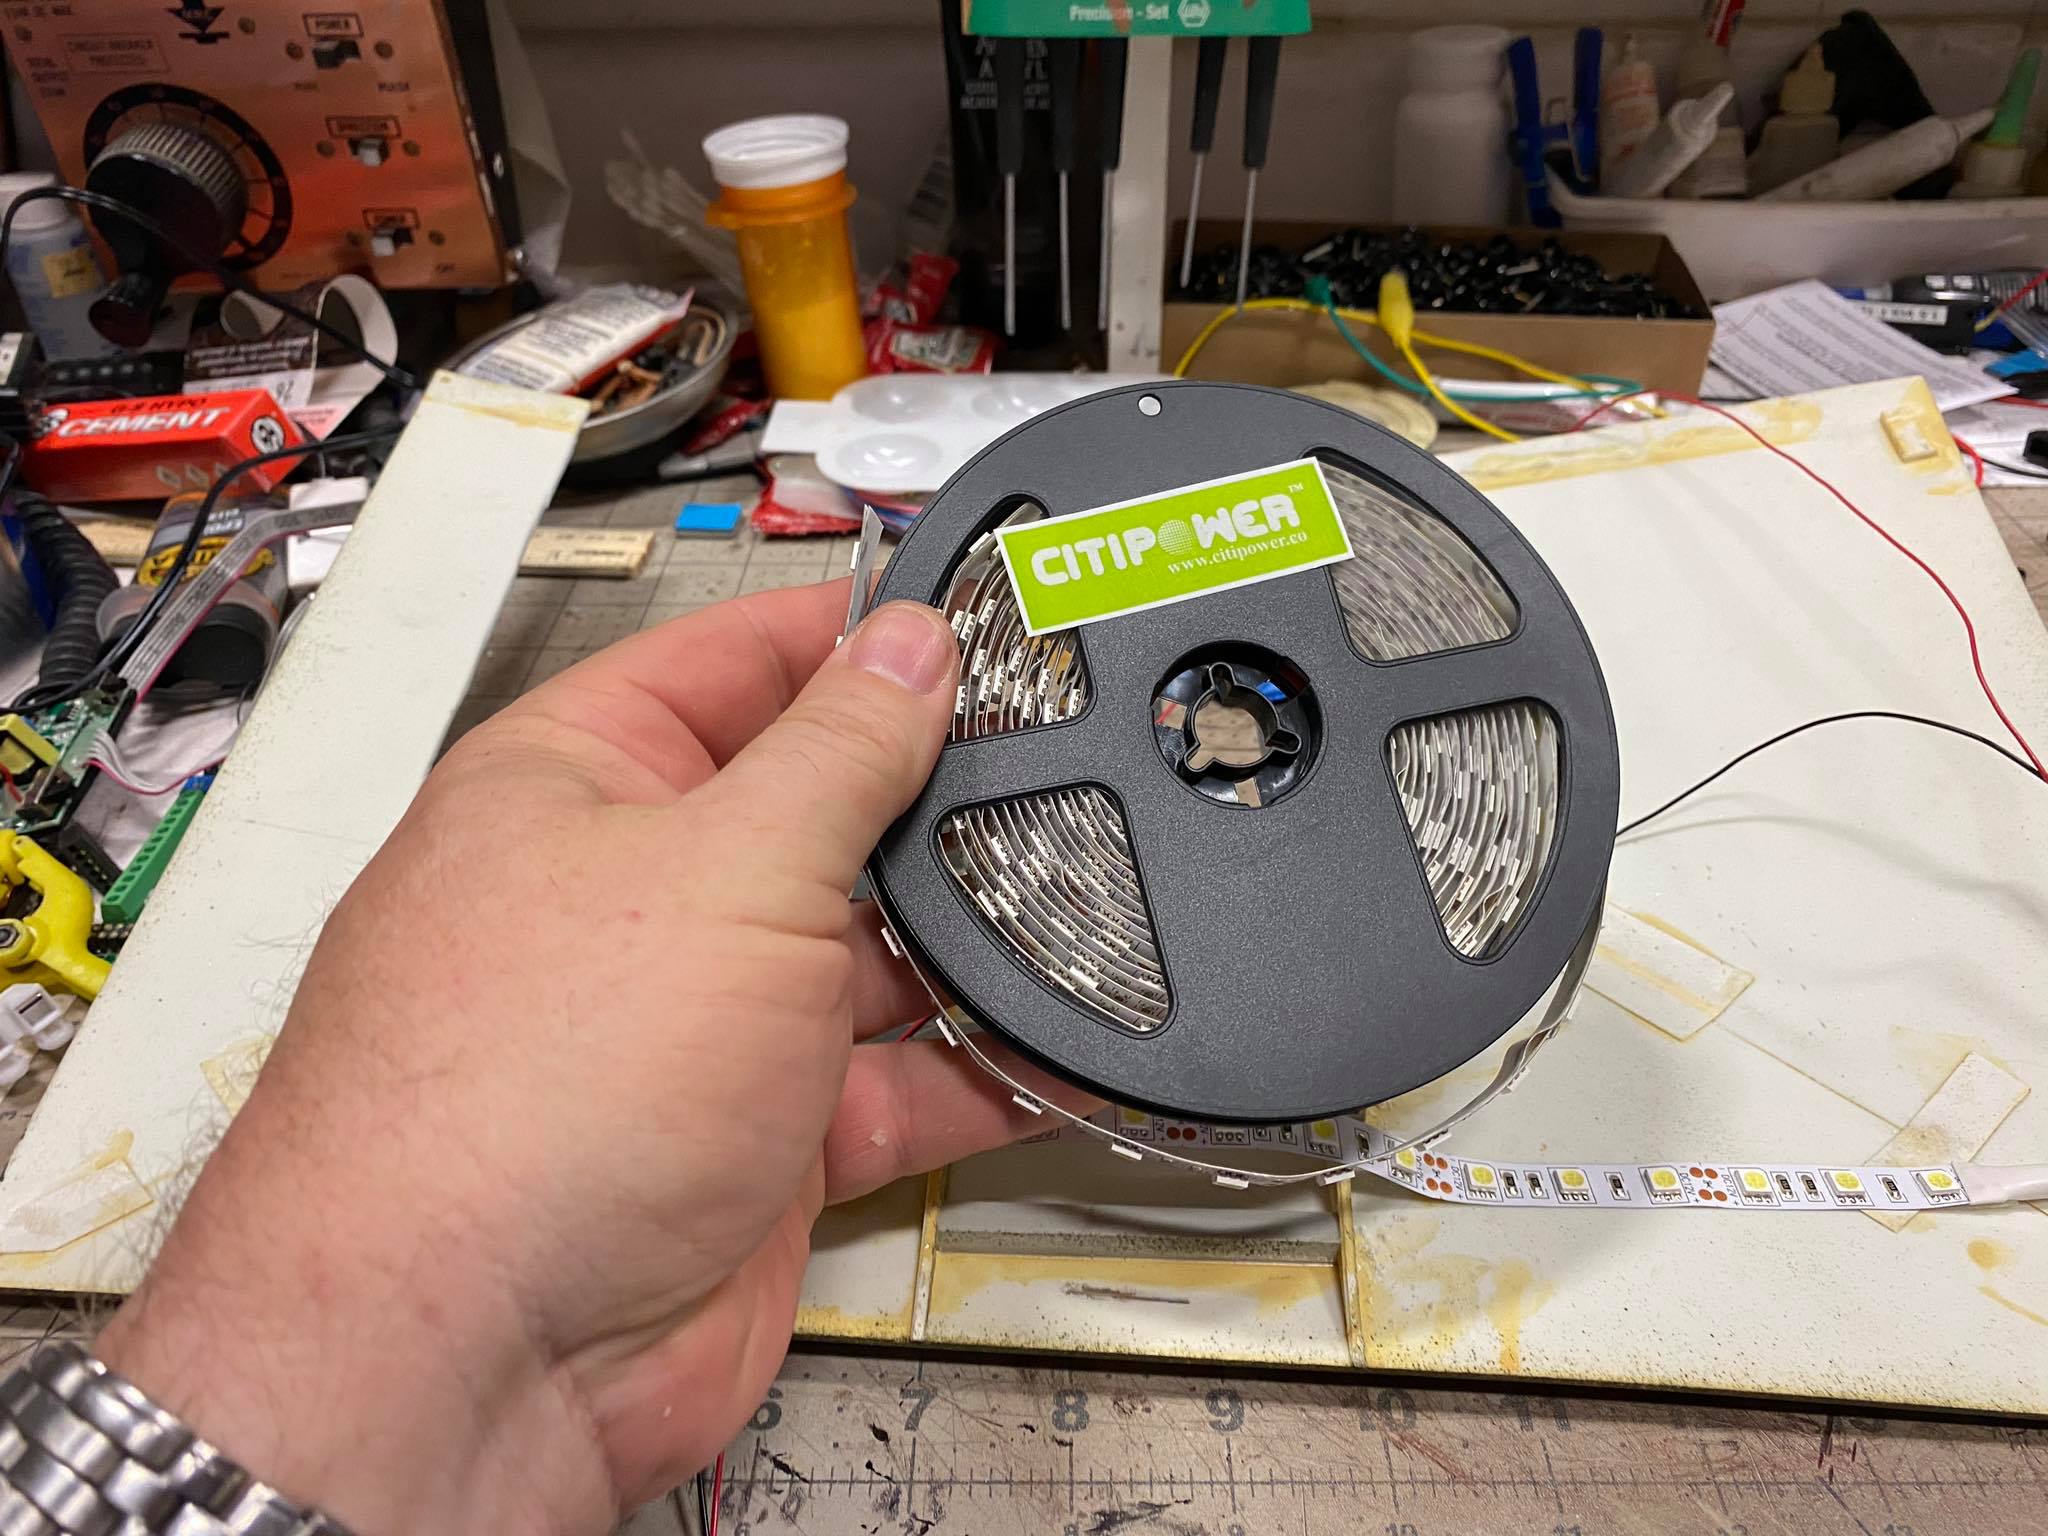 We are using these 12 volt strip LEDs, just cut off what you need and wire it up. |
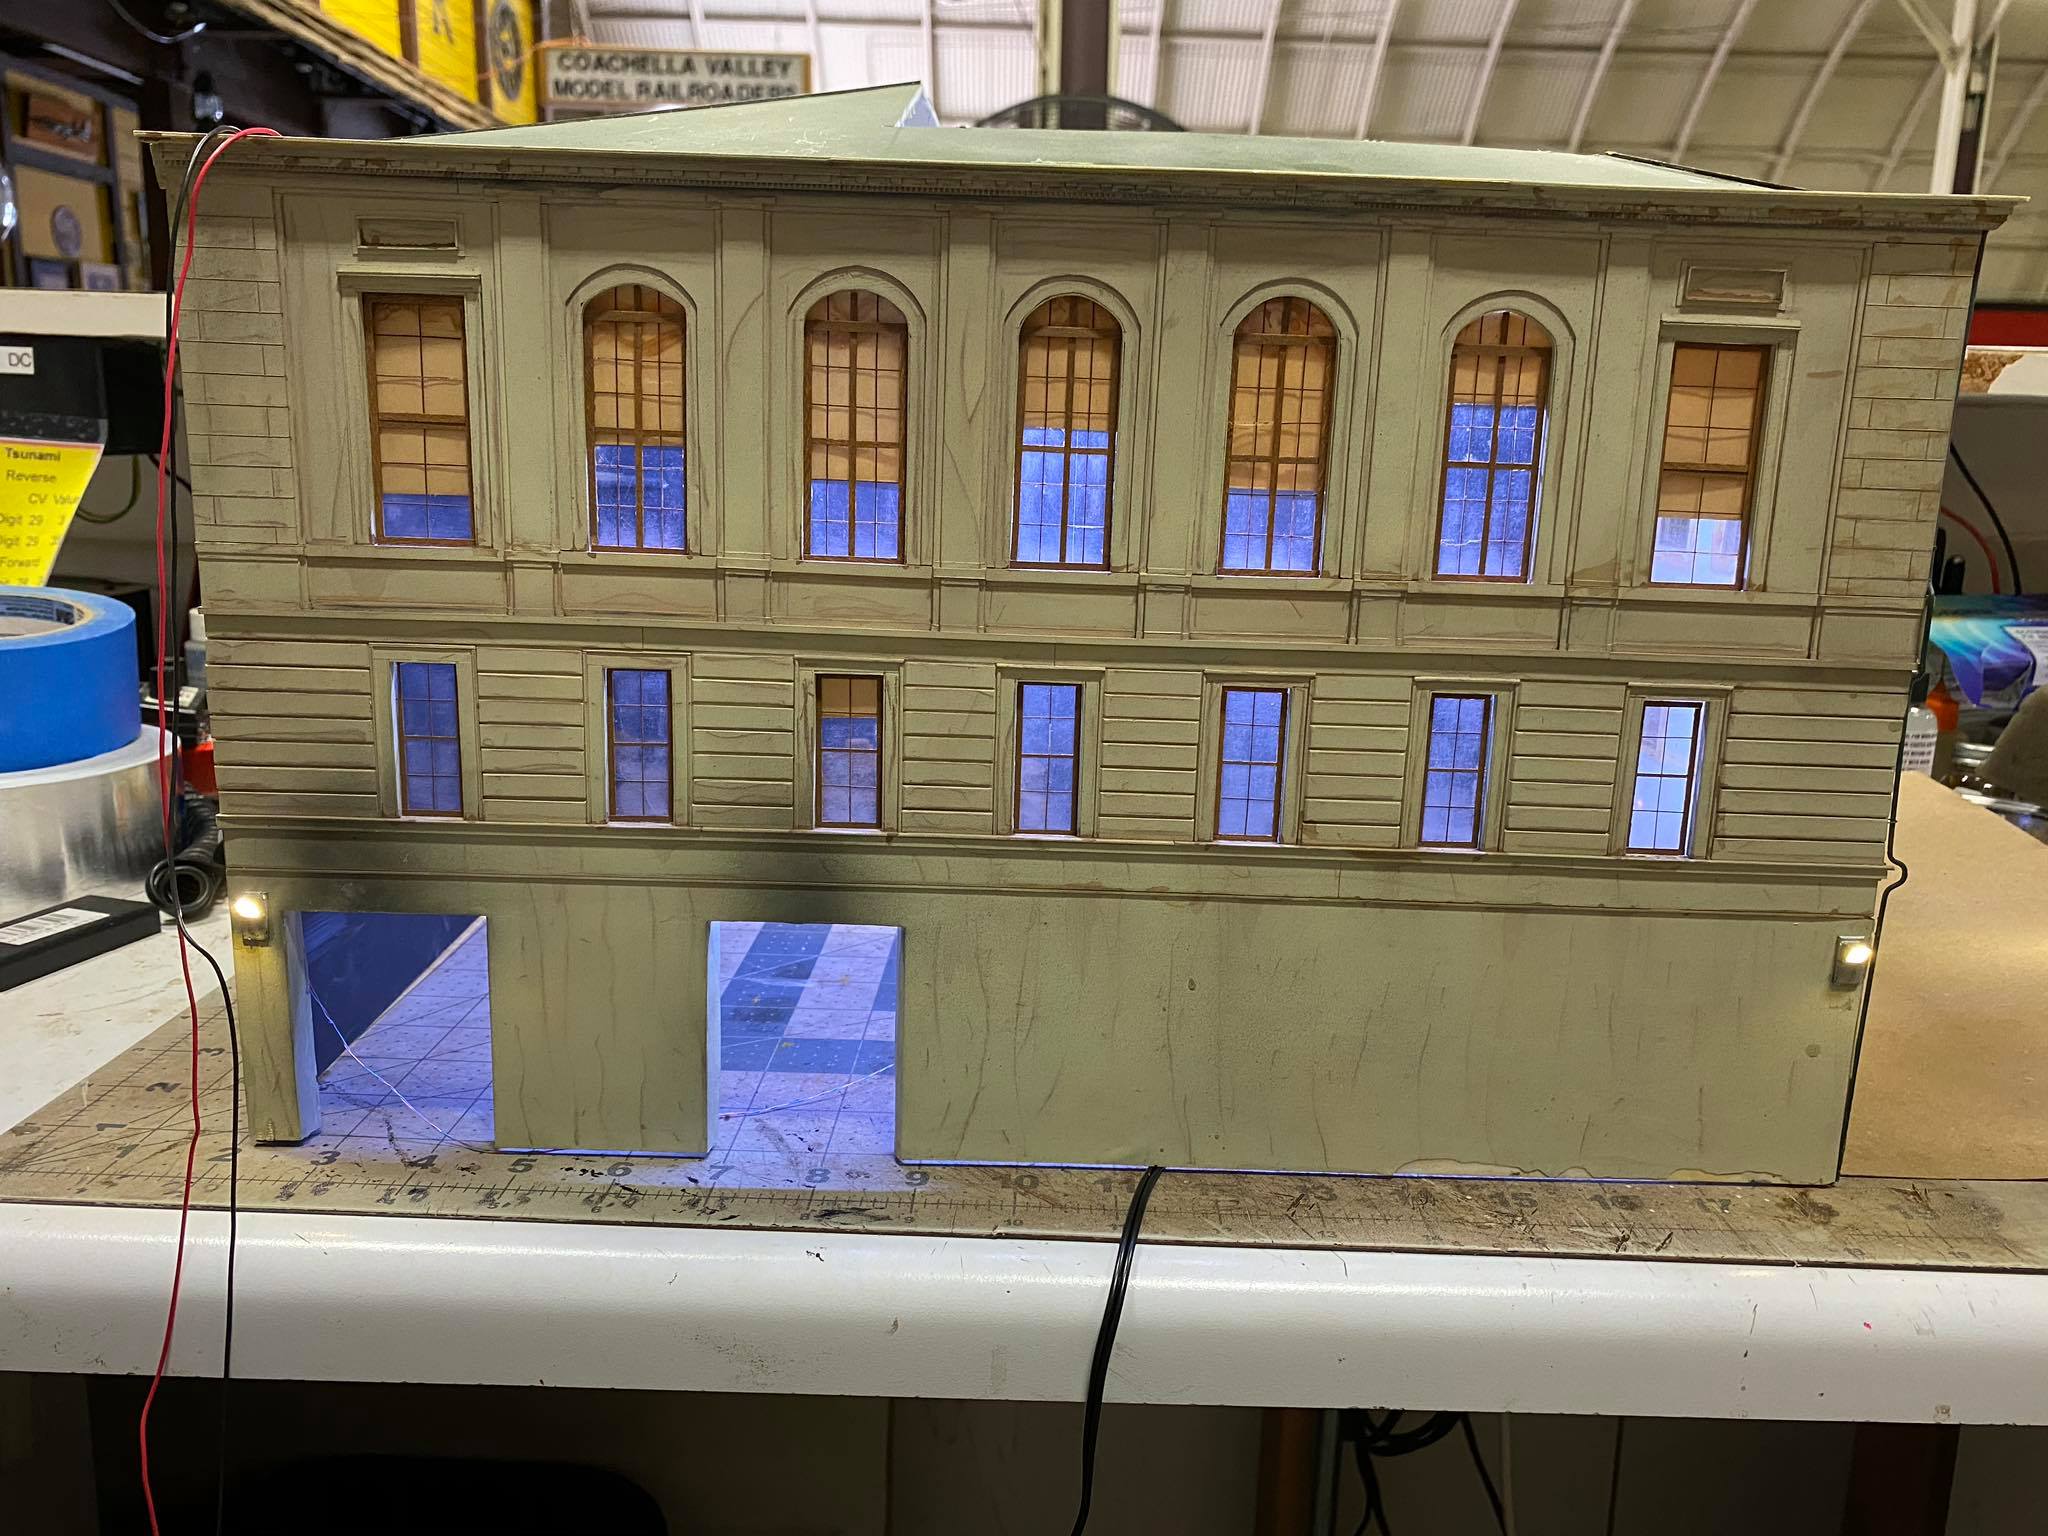 Bench testing the interior and exterior lights. |
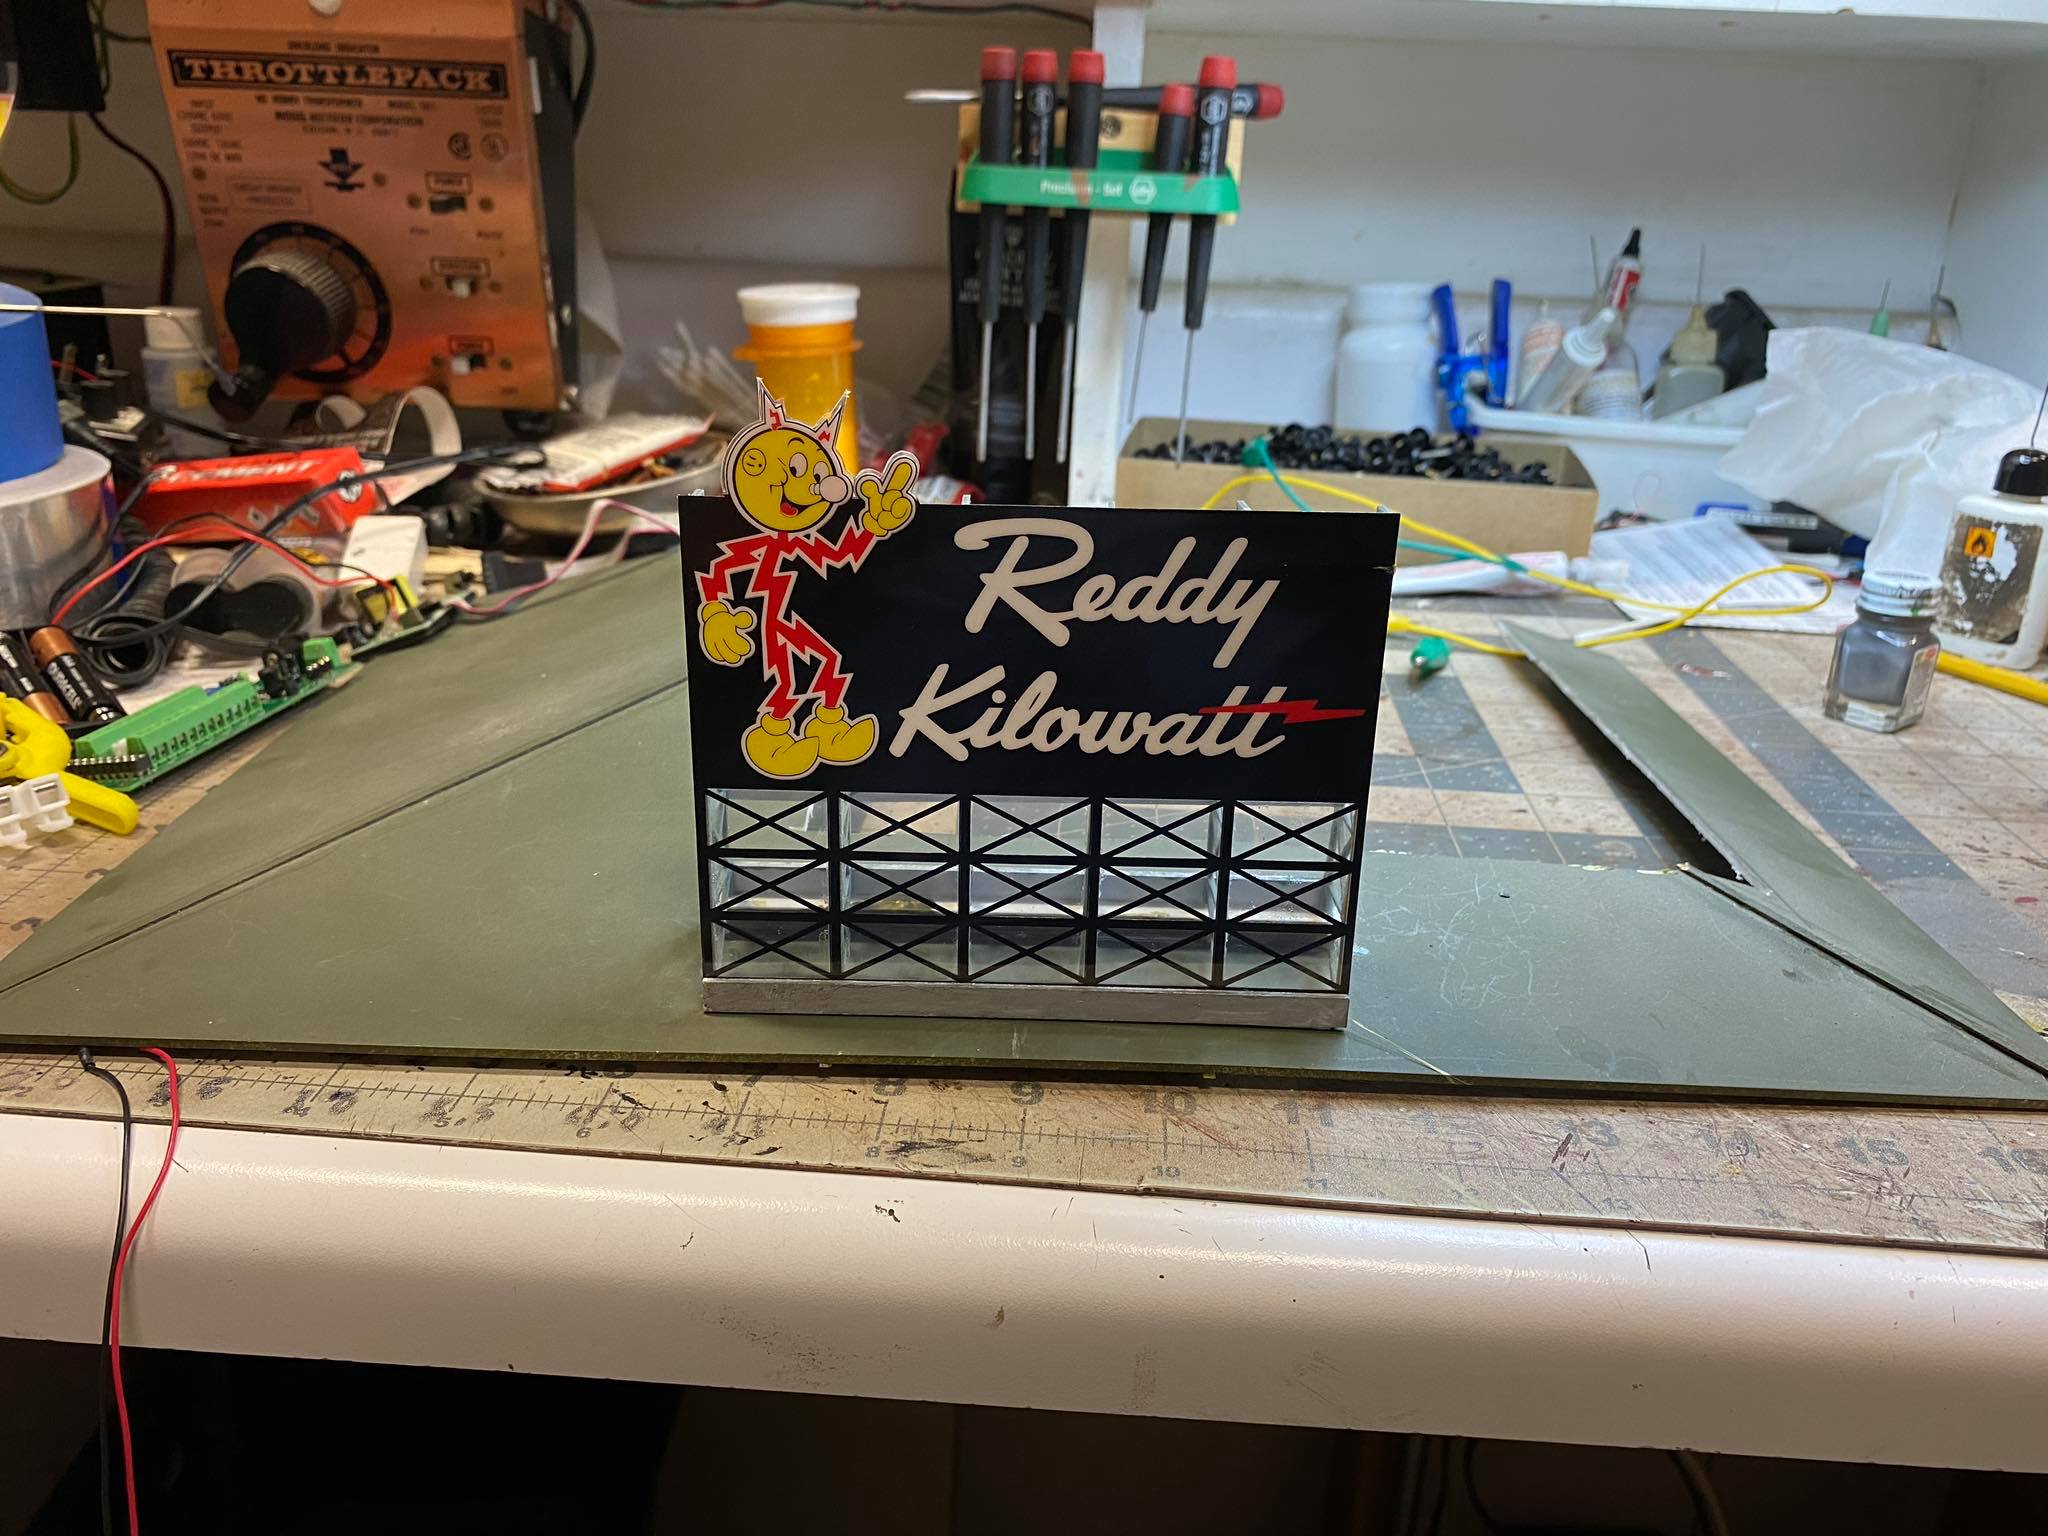 Getting the Reddy Kilowatt sign mounted on the roof |
 Before weathering with a coat of dead flat sprayed on it. |
 After weathering using pan pastels and weathering powder suspended in alcohol. |
 After weathering using pan pastels and weathering powder suspended in alcohol. |
 Roof after weathering using pan pastels and weathering powder suspended in alcohol. |
|